Need a replacement Grid for your Braai?
Need a replacement Grid for your Braai/BigGreenEgg
Well I've had a week off from blogging but not braaiing and I'm back in the groove again but as I mentioned, with a twist. This week I'm going to review a replacement Braai Grid that was kindly sent to me by the good people at Craycourt. If your braai has suffered over the winter or you've just not looked after it and it's seen better days then help is at hand. I came across Craycourt some time ago and I've recommended them to others but it struck me that there must be plenty of you who could do with a new grid!
They specialise in replacement Cast Iron Grids for pretty much all sizes and types of braai. Even for gas braais (god forbid) as well as charcoal with ranges for Webber and BigGreenEgg as well as others. Their pre-seasoned grill grids take your braaiing to the next level and with a little care they will last you a lifetime. Another great reason for having a cast iron grid is that they heat up quickly and they will hold the heat much longer than stainless or aluminium grids. See them here!
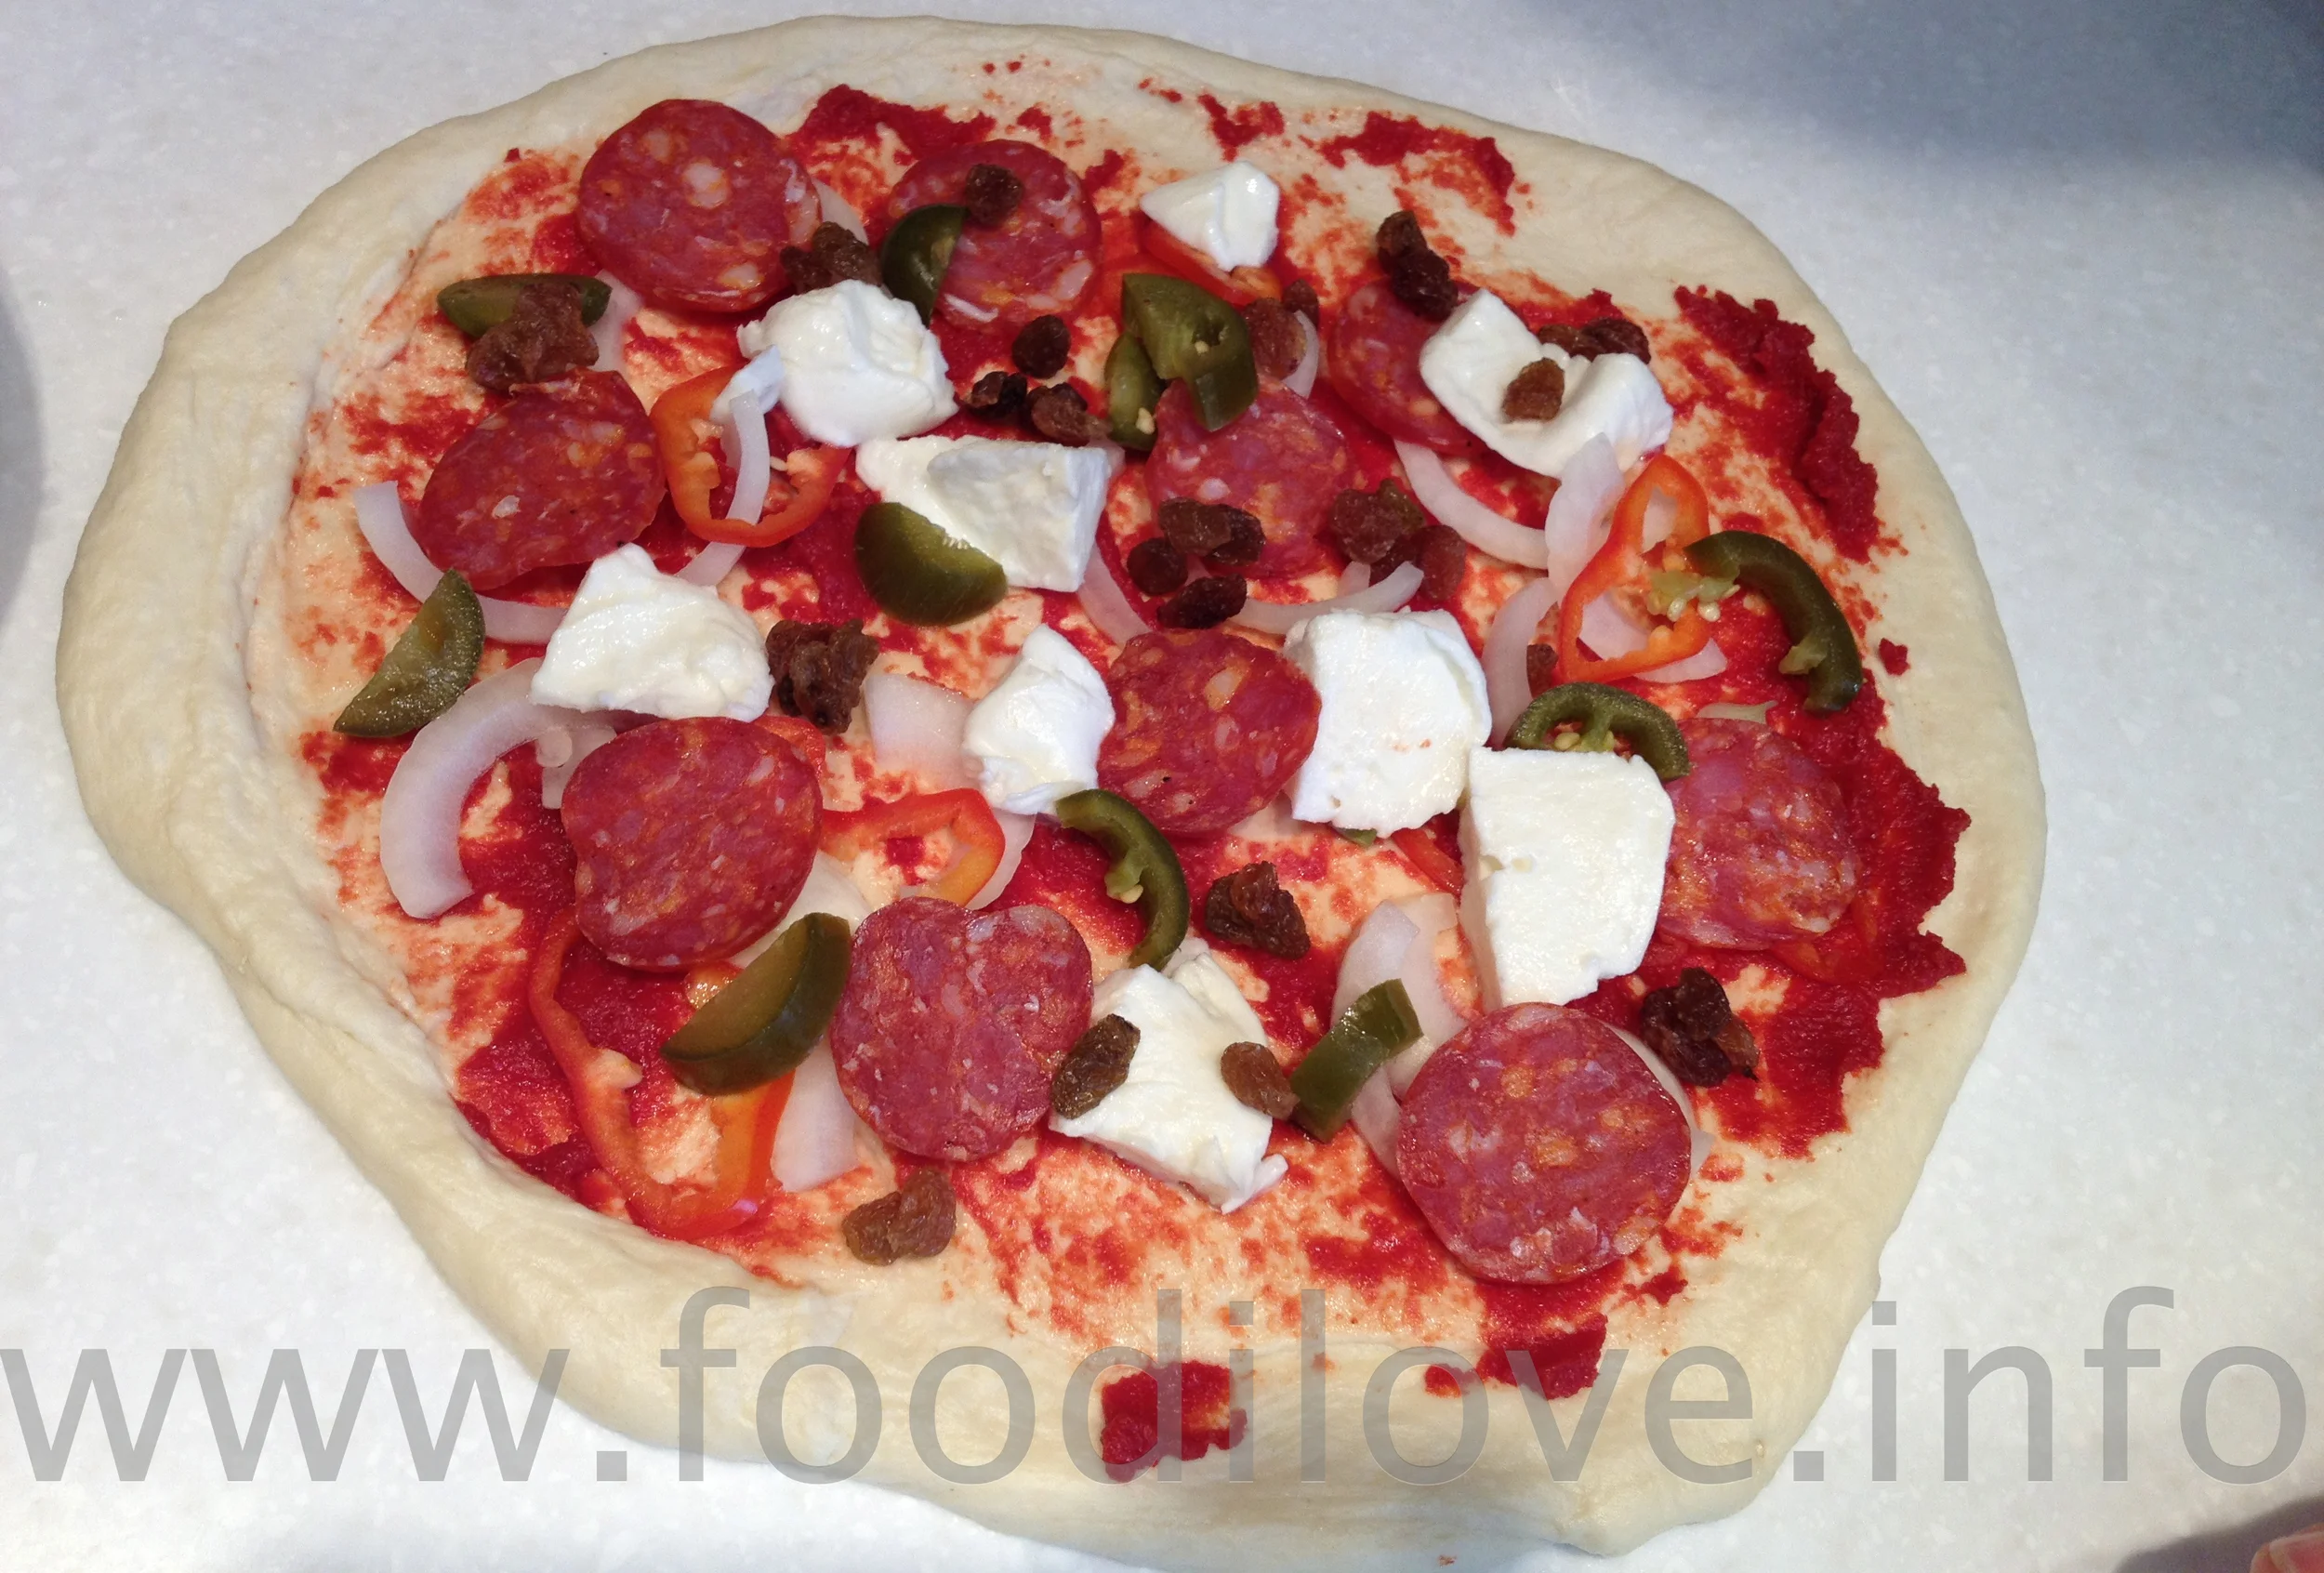
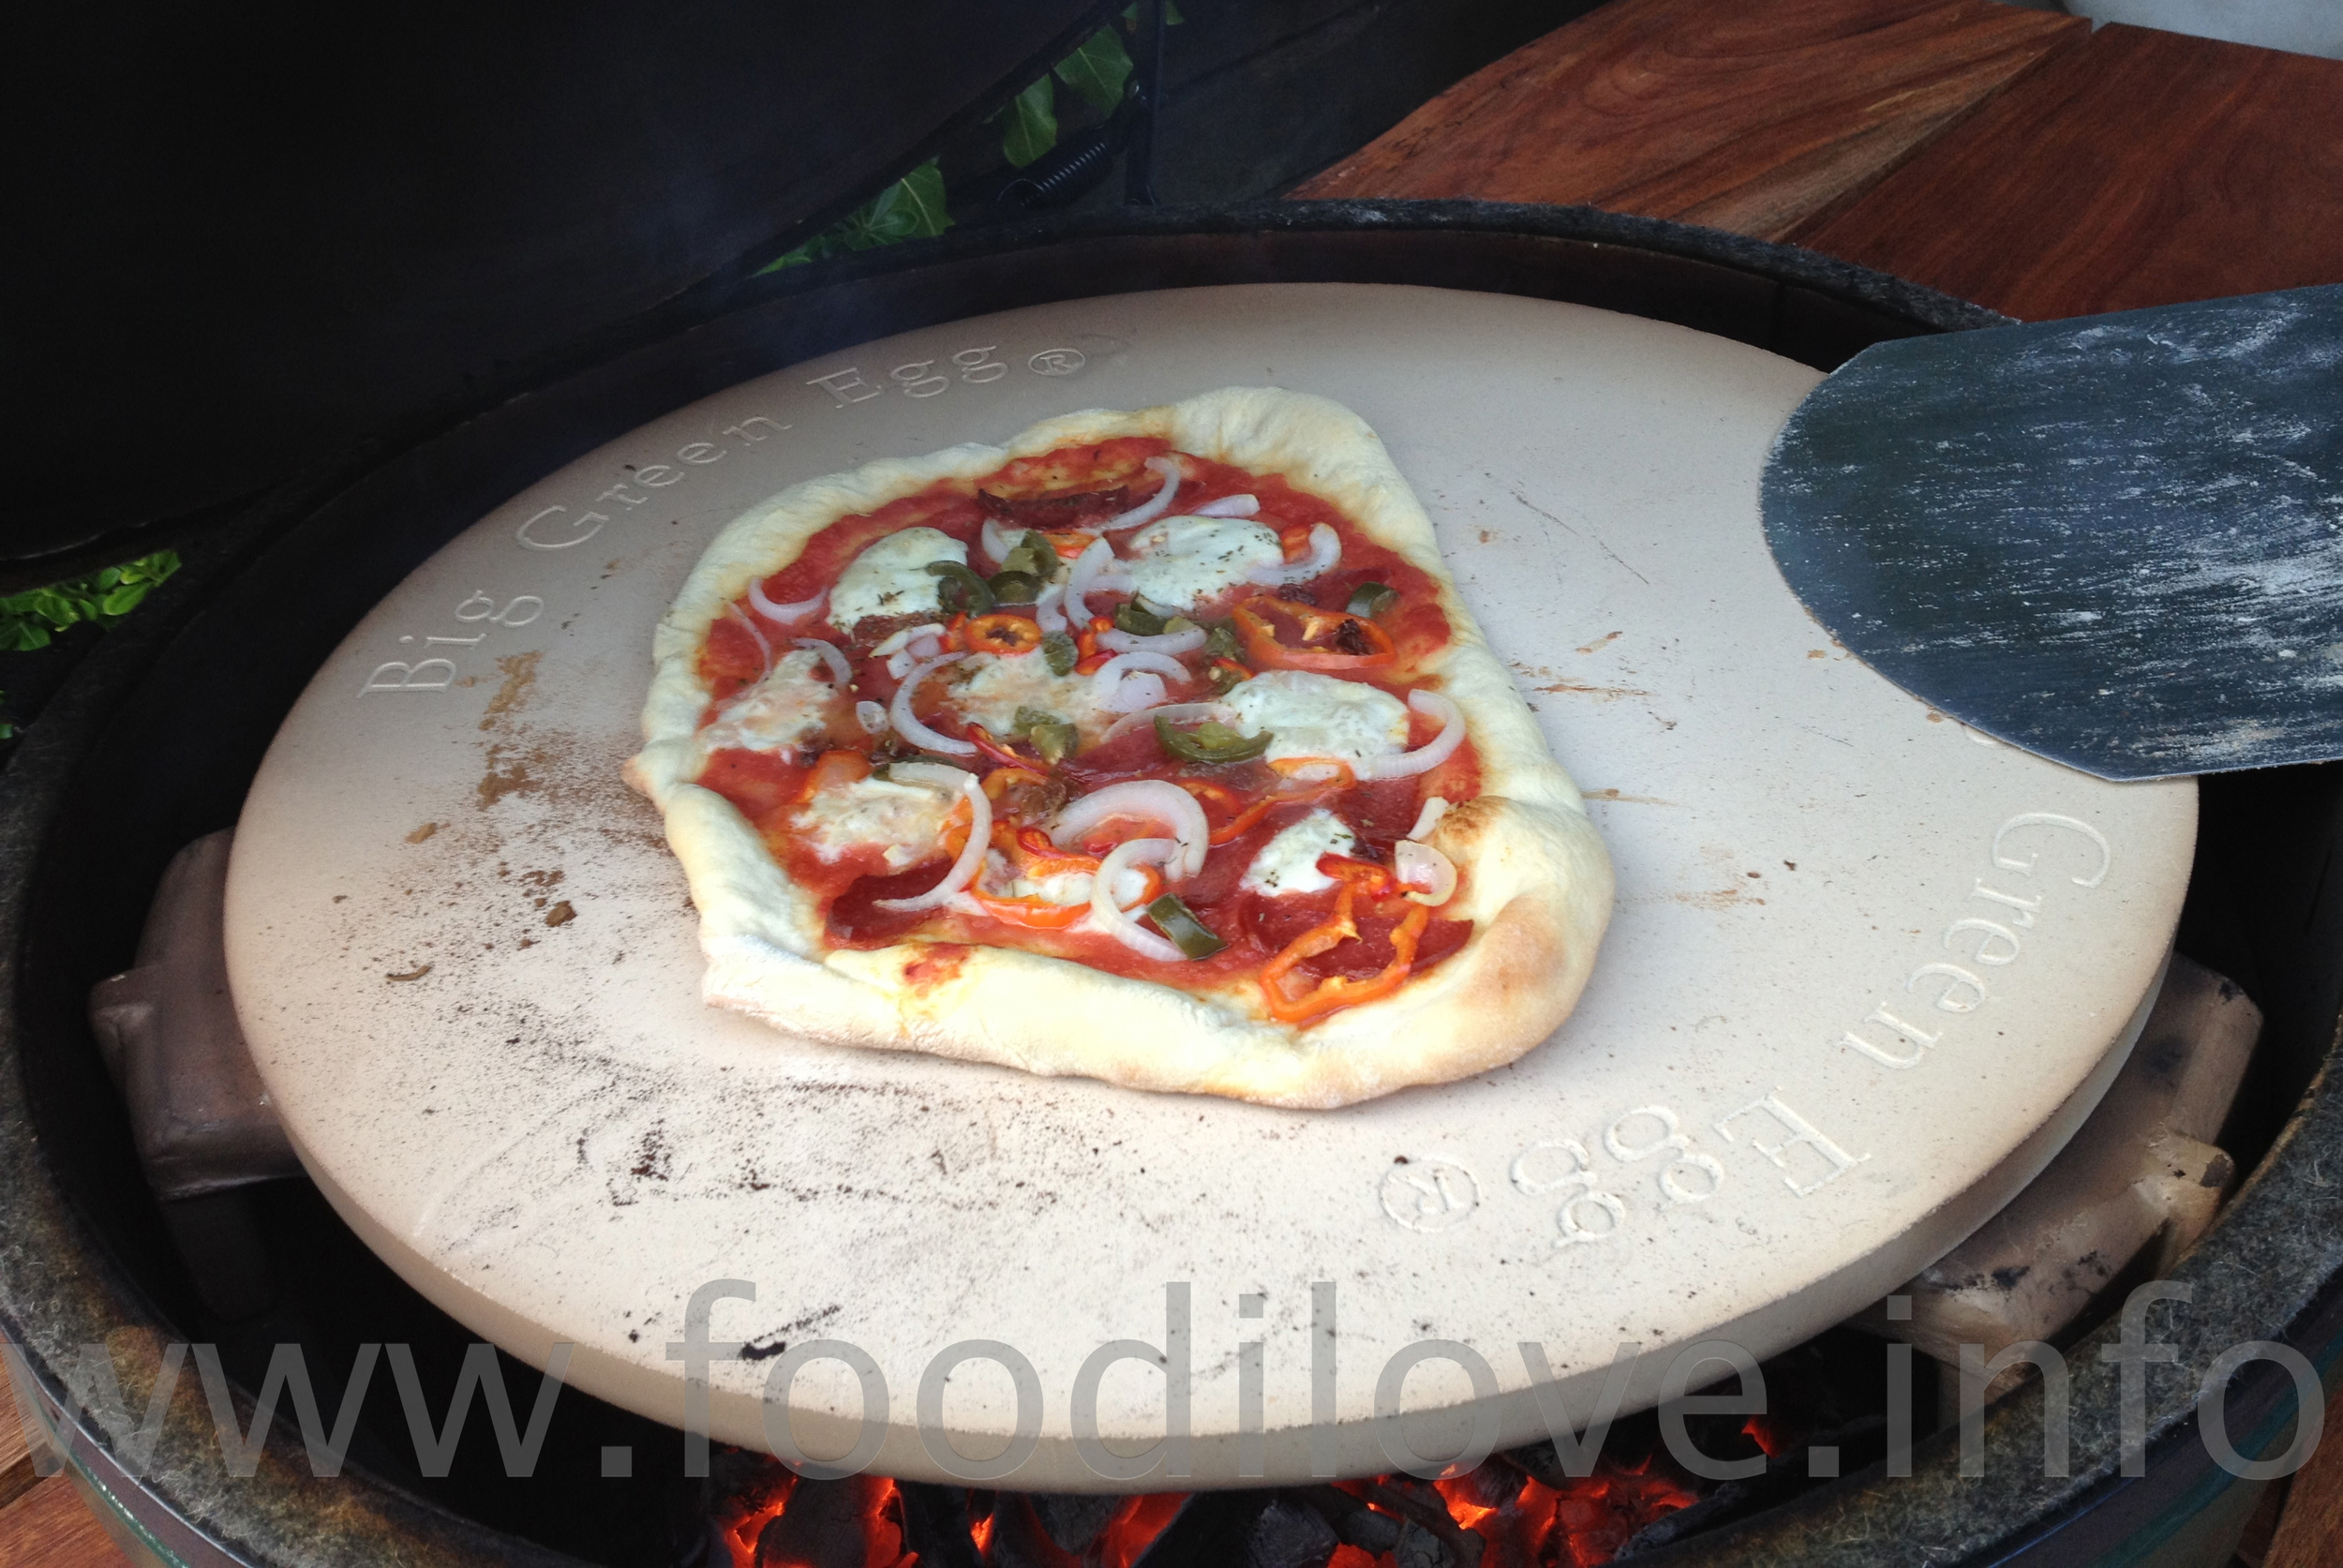
They sent me one for my XL BigGreeEgg Braai and it arrived quickly and was packed very well. What I like about these grids is that they are in quarters, which makes lifting them out so much easier and you can lift just one piece if you need to add more coals or some wood chipping for smoking. You can see from the photos that it's so simple to set up that any "doos" can do it.


I gave it a quick wash before using and that's all. On firing up there were no smells or nasty tastes coming off the grid as Craycourt had done a great job in pre-seasoning it. I chucked some PeriPeri chicken wings, Sosaties and some lamb chops on it and before you can say Braai they were ready. Because the cast iron gets a lot hotter and holds the heat better your meat will cook that bit quicker and leave those fantastic searing marks that make you look like a professional chef!
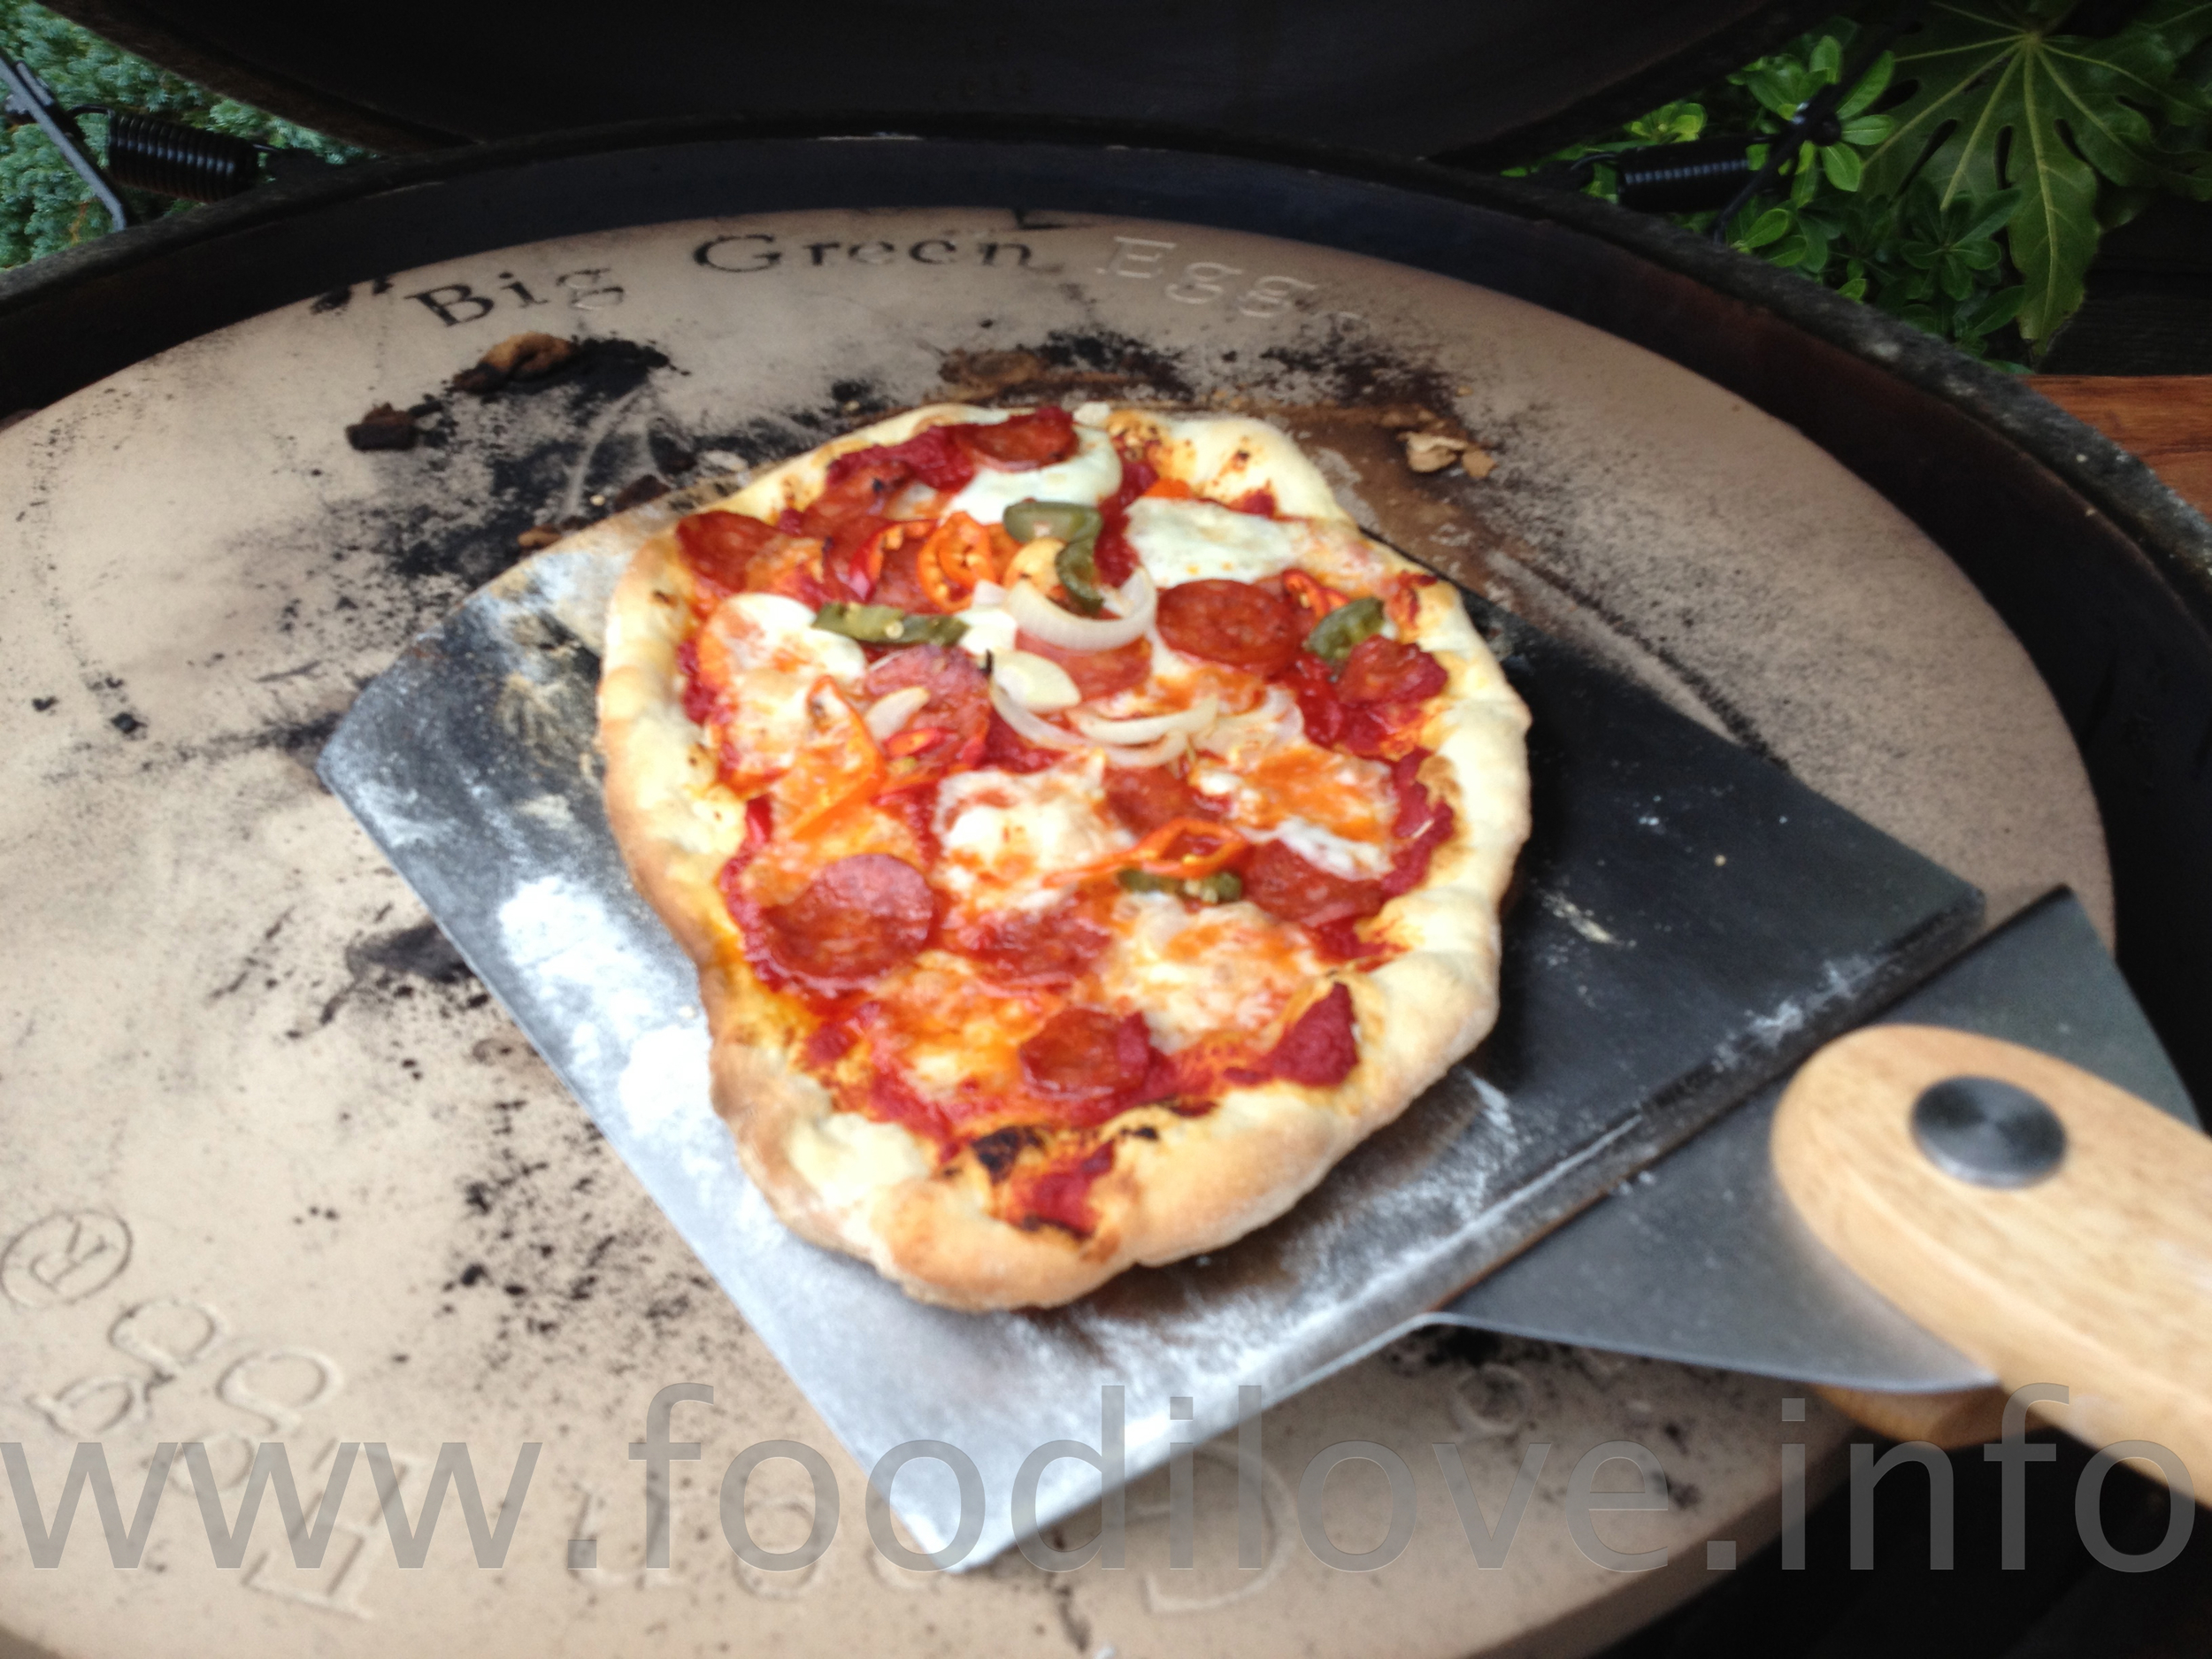
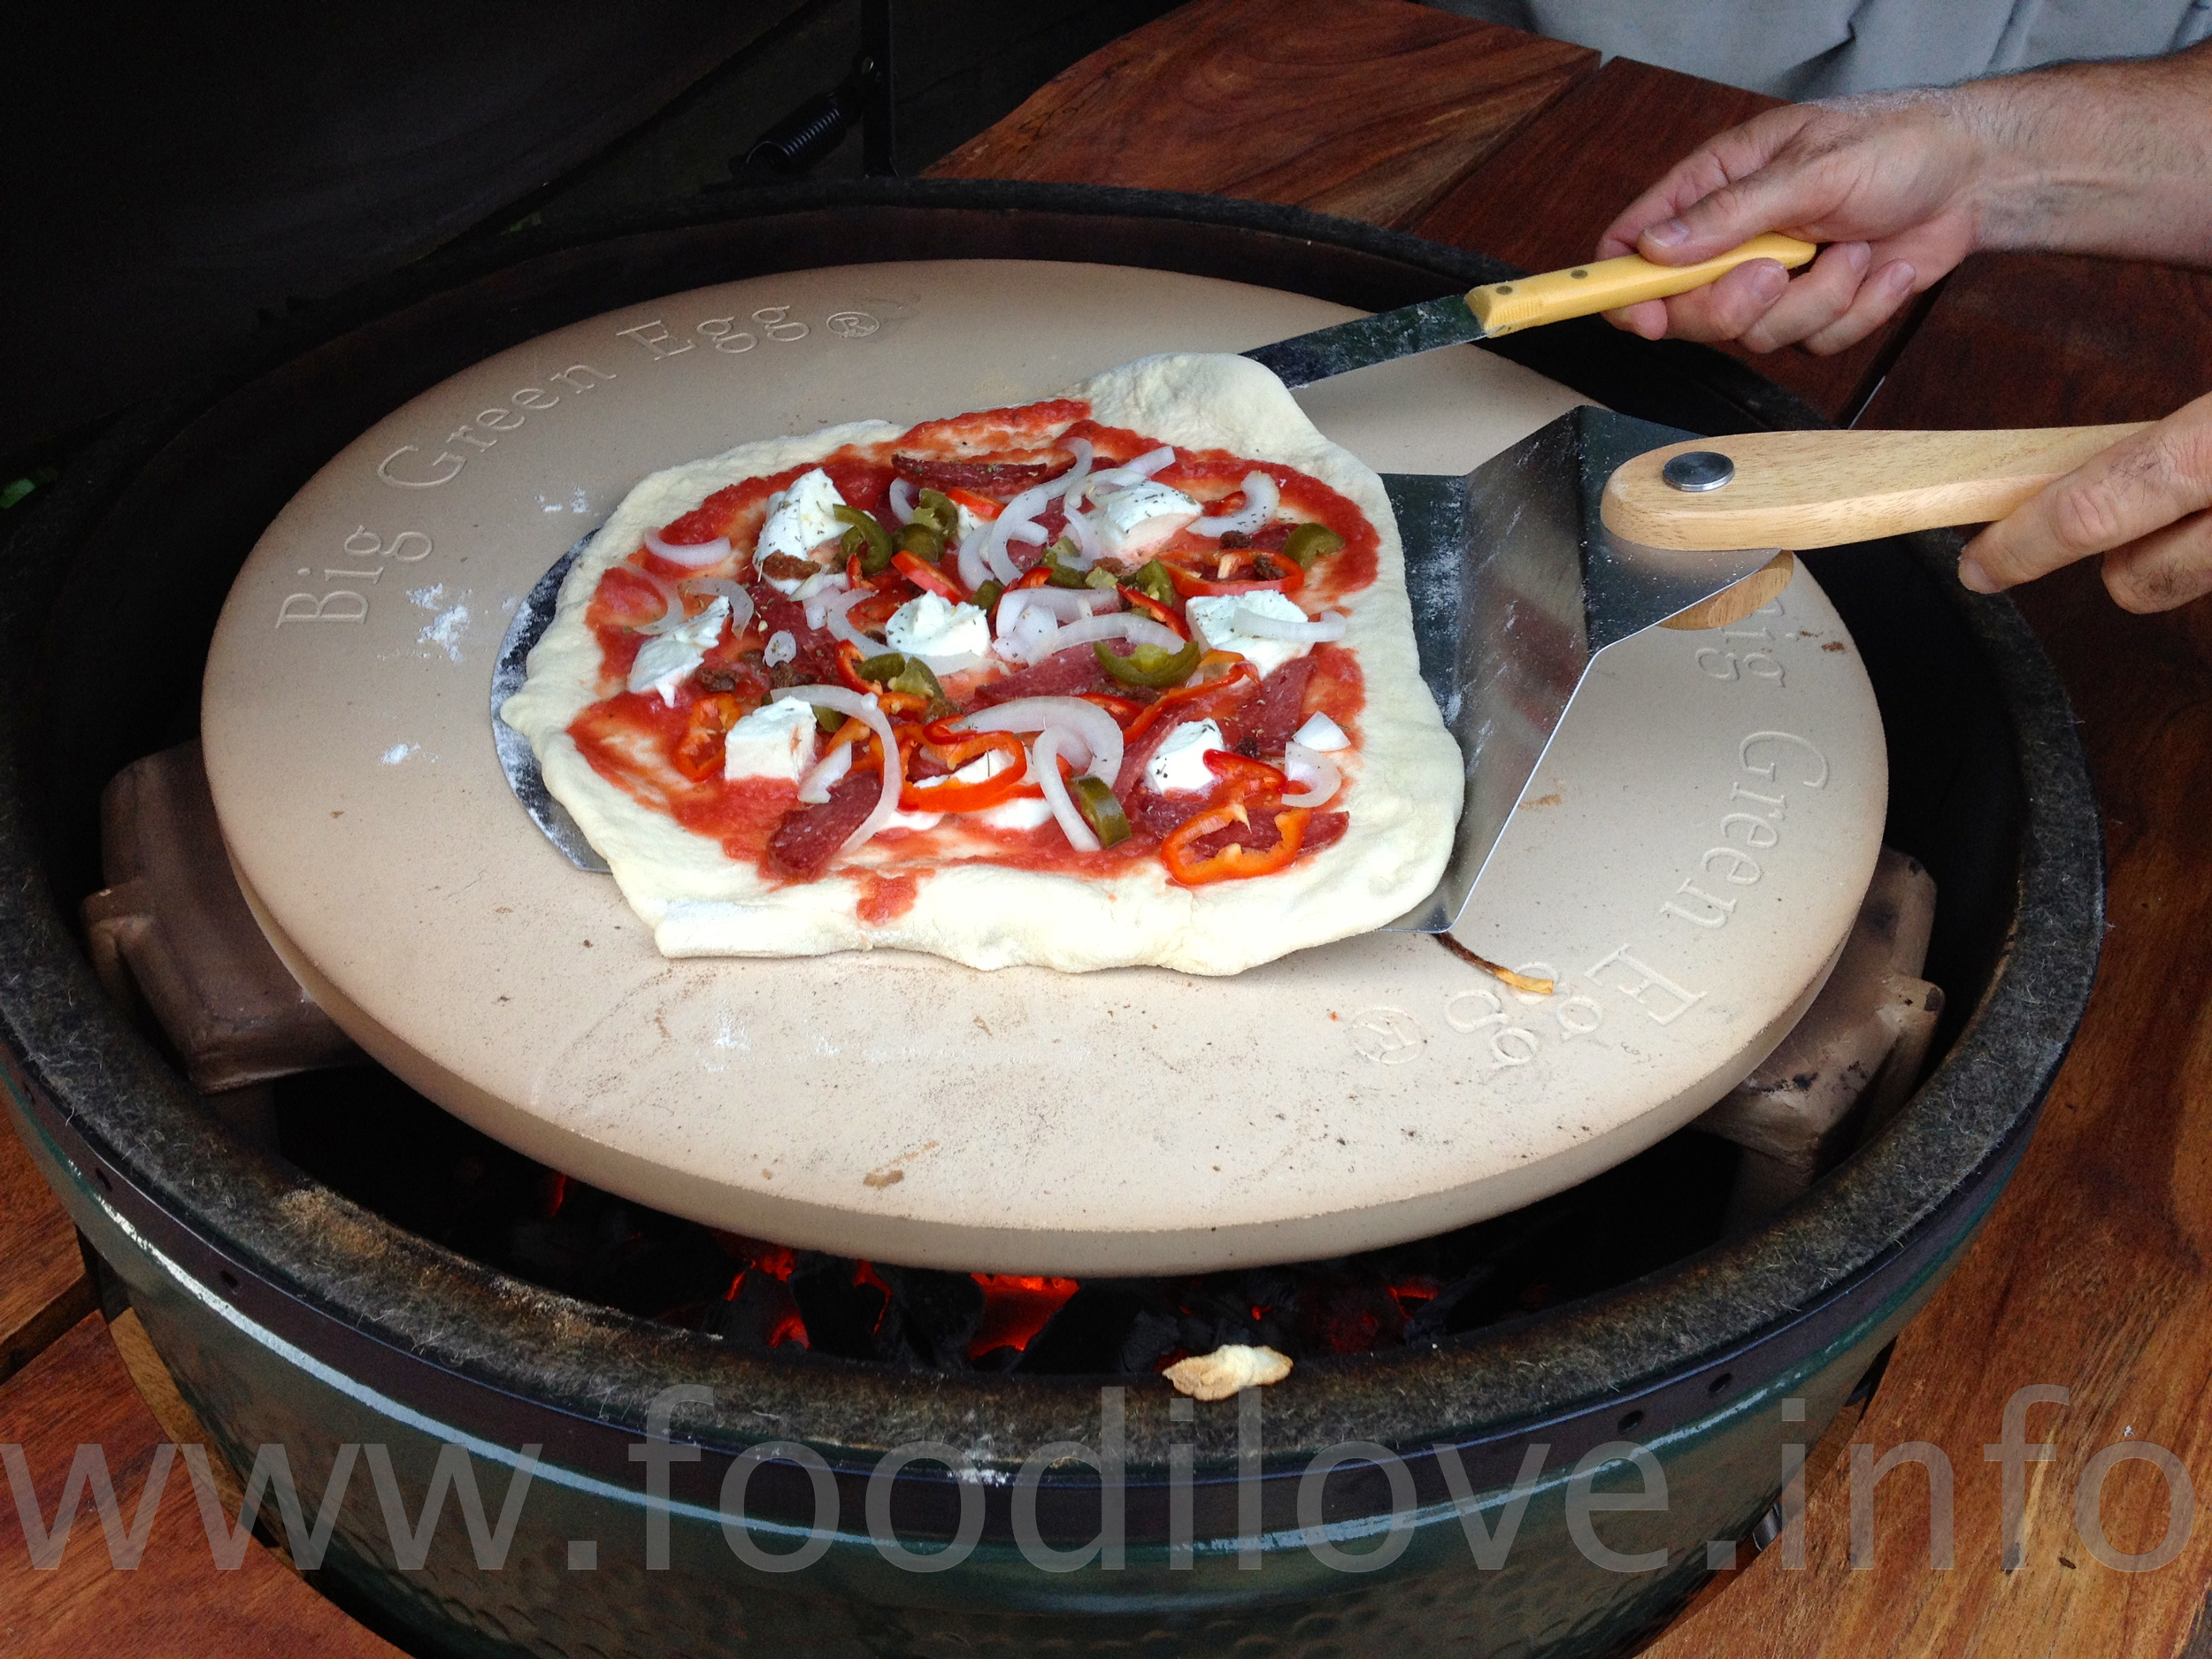
Before you say "why did I need a new grid" I didn't but the time will come when you and I will. Most people just throw their old braais away and buy a new one, when really all that's wrong with them is that the grid has burnt away or gone rusty beyond repair. This is when this company will save you a load of bucks. Their prices start at £27 for a 14.5inch grid up to £69.00 for the 27inch one I received. They even have lifters for £6.53 and you can also convert some of the quarters to flat grills (flat on one side and ribbed on the other) so that you can cook eggs, onions etc. There's also a pizza stone and a wok in the range, there's no limit to what you can do now. What great ideas these are and they will make your braai that bit more versatile as an all year round cooker for a very reasonable price. This is great if you're a braai nut like myself.


Cleaning is easy, just fire up the braai to max for a couple of minutes and then brush the grate clean in seconds! Once it's cooled down just wipe over with a little olive oil and its ready to go next time you want to braai. Keep it clean, a clean braai cooks better, that's a fact and you don't get as many flare-ups with a clean grill. So if your braai needs a revamp these are the guys that can do it for you and I can highly recommend them, buy direct from their web site http://www.cast-iron-grate.com/uk/.