Burgers to die for.

​

Home made Beef & Pepperoni Burgers

​​Well, a week's flown past and the weather has not been great but I managed to find a little sun whilst I made this weeks recipe to cook on the BigGreenEgg. I have been ask by a few people why I think this braai can be used all year round, the main reason is because it fires up so quickly. So I've also made a short video 6 mins long on how easily and quickly this Braai lights and cooked these burgers.

I have used the remainder of last weeks left over pepperoni that I used to make the pizza but you can add a little chilli to get the same effect. Or just leave it out altogether if you don't like a spicy hot burger, its up to you.

Recipe for Pepperoni Burgers (serves 5)

  1.  700g of pure beef mince (the better the quality the better it will taste)
  2. 5 Good size burger rolls or ciabatta
  3. 1/2 a coarsely chopped white or red onion​
  4. 20g of finely chopped pepperoni or chilli​
  5. 1 egg​
  6. 10g of bread crumbs​
  7. 1 teaspoon of white pepper
  8. 1 teaspoon of sea salt​
  9. 3 tablespoons of Worcester sauce​
  10. Garnish your burgers with sliced tomato, onion, lettuce and pickled gherkins​

This is a very quick and easy meal, just put the mince into a large bowl, throw in all the onion, pepperoni​, bread crumbs, salt, pepper Worcester sauce and egg. The egg and bread crumbs are there just to bind the burgers together, this helps when you come to cook then and they will not fall apart. Mix it all together for a few moments and then take a handful and push it together into a firm ball. These are not going to be your paper thin burgers but a good looking 1/2 pounder as they used to say in the old days. Once you have applied a good amount of pressure so that its in a nice ball just flatten off the top and bottom, making that traditional pattie.

You will now need to place in the fridge for about 30 minutes to an hour to help it all stick together, take out for 10 mins before cooking.

Cook for 3 minutes on each side at 485 °C (905 °F) depending on how you like it (this is for medium rare) on a hot braai, remember to let them rest for 3-5 minutes once cooked. This lets the meat relax and the juices will stay in the burger until you bite into it.

Please feel free to leave your thoughts below as I really would like this to be a place you want to come to each week. Feel free to suggest something you would like to see cooked on the braai, cheers Larry.​

Pizza Anybody!!!

It all starts with great ingredients.​

Well, it's time to try something a bit different on a braai, I for one have never even thought about making a pizza. Never mind actually cooking it on a braai, well let me tell you this was an experience, talk about hard work. After its invention in Naples, pizza has become popular in many parts of the world and is made in many different ways. Thin, as in a typical hand-tossed pizza or Roman pizza or thick as in a typical pan pizza or Chicago-style pizza, my plan is to try and make  a Romana pizza. Which should be thin, only take a couple of minuets to cook at 600°F or 315°C, ideally you should cook its at 485 °C but I don't want to fire the Egg up to that at the moment.

Before you even get down to making the dough you need to source some good ingredients to make this pizza. After a bit of research I found a great website that caters for a large range of Italian  products ​www.nifeislife.com . I managed to get some Caputo Pizza flour which is reputed to be the finest flour available and as you will see, even I managed to make a successful pizza dough. I used Lievito live yeast blocks which I think made life easy and the dough rose well above my expectations. Also on my order were the Spicy Salamelia (pepperoni) and Buffalo Mozzarella from Campania DOP which had a fantastic creamy taste. Their website was easy to use and the goods arrived the next day nicely packed and ready to use.

Right lets get down to it, the recipe is as follows:​

Recipe for Pizza dough

    • 1 tablespoon of castor sugar superfine
    • 2 teaspoons of dried yeast or 15g or 1/2oz of fresh yeast
    • 215 ml 7 fl oz of lukewarm water  
    • 450 g or 3/2 cups of playing all-purpose flour as suggested
    • 1/2 teaspoon of salt
    • 3 teaspoons of olive oil
    • cornmeal (to sprinkle on the cooking surface so that its does not stick)

    Okay, put the sugar and yeast into small bowl and stirring in 90 ml or 3 fl oz of the water. Leave it in a draft free spot to activate. If it doesn't start bubble and ferment in about five minutes, then you are going to have to start again as this is an important part process. Your yeast must be fresh and active as this is what is going to make your dough rise.

    ​Add yeast mixture to the bowl.

    Then mix the flower and salt in a bowl or food processor fitted with a plastic blades, do it by hand it's a lot more fun. Add the olive oil and the remaining water to the flour as well as the balance of the yeast mixture and start to stir until it makes a loose crumbly mix, then roll into a ball and empty it onto flat surface covered with flour. Now you are going to have to knead for about eight minutes, this helps with the calorie burn prior to eating the pizza lol. If you need to add a little more flour or a few drops of water do so as necessary. The final dough should not be sticky but is dry to the touch.

    ​Kneed the dough for 8 mins

    Next rub the inside of a large bowl with some olive oil, place you dough mix into it and then roll the ball around the bowl and coat with the olive oil. Then cut small crossing the top of the dough with sharp knife and cover with a teacloth or put it in a large plastic bag with space to grow and leave in a draft free area for about  1-1 1/2 hours until the dough has doubled in size. Once it has risen quite substantially, to double its original size, you will need to punch it down to reform it to the size it was originally. You'll notice that it seems to be very light and airy and if it's like this then you're onto a winner.

    Dough has more than doubled in size​

    At this stage you can now store it for up to 4 hours in the fridge to use later, just remember to bring it back to room temperature before you start to use it. This is where the fun starts and you might "like me start to pull what hair you have left out". Cut your dough into 4 and roll into balls, then using the palm of your hand start to push out into a circle or use a rolling pin if you want or make a small round disc and then try spinning it in the air to stretch it out. BIG TIP sprinkle loads of flour onto the surface that you are going to work on at least 3 times as much as you think you need. Believe me I didn't and I paid the price, my first attempt stuck like a limpet to the work surface and the to the pizza peel. As you will see not a great effort, also I thought that I had pushed it out thin enough. No! I ended up with a deep pan pizza to start.

    Try to push the dough out into 12 inch / 30 cm circles with the edge of it slightly thicker so that it creates a nice crust. I found that spinning it gave me the best result and after you've dropped it three or four times on the floor (adds to the flavour) you will get the hang of it.

    The 3 tomato sauces that I used​

    I did not make my own tomato paste (which I regret now) for my pizza's but I tried three different types form Sainsbury's:

    1. Sainsbury's Organic Tomato Puree
    2. Sainsbury's Pizza Topping Sauce
    3. Odysea Tomato Perasti

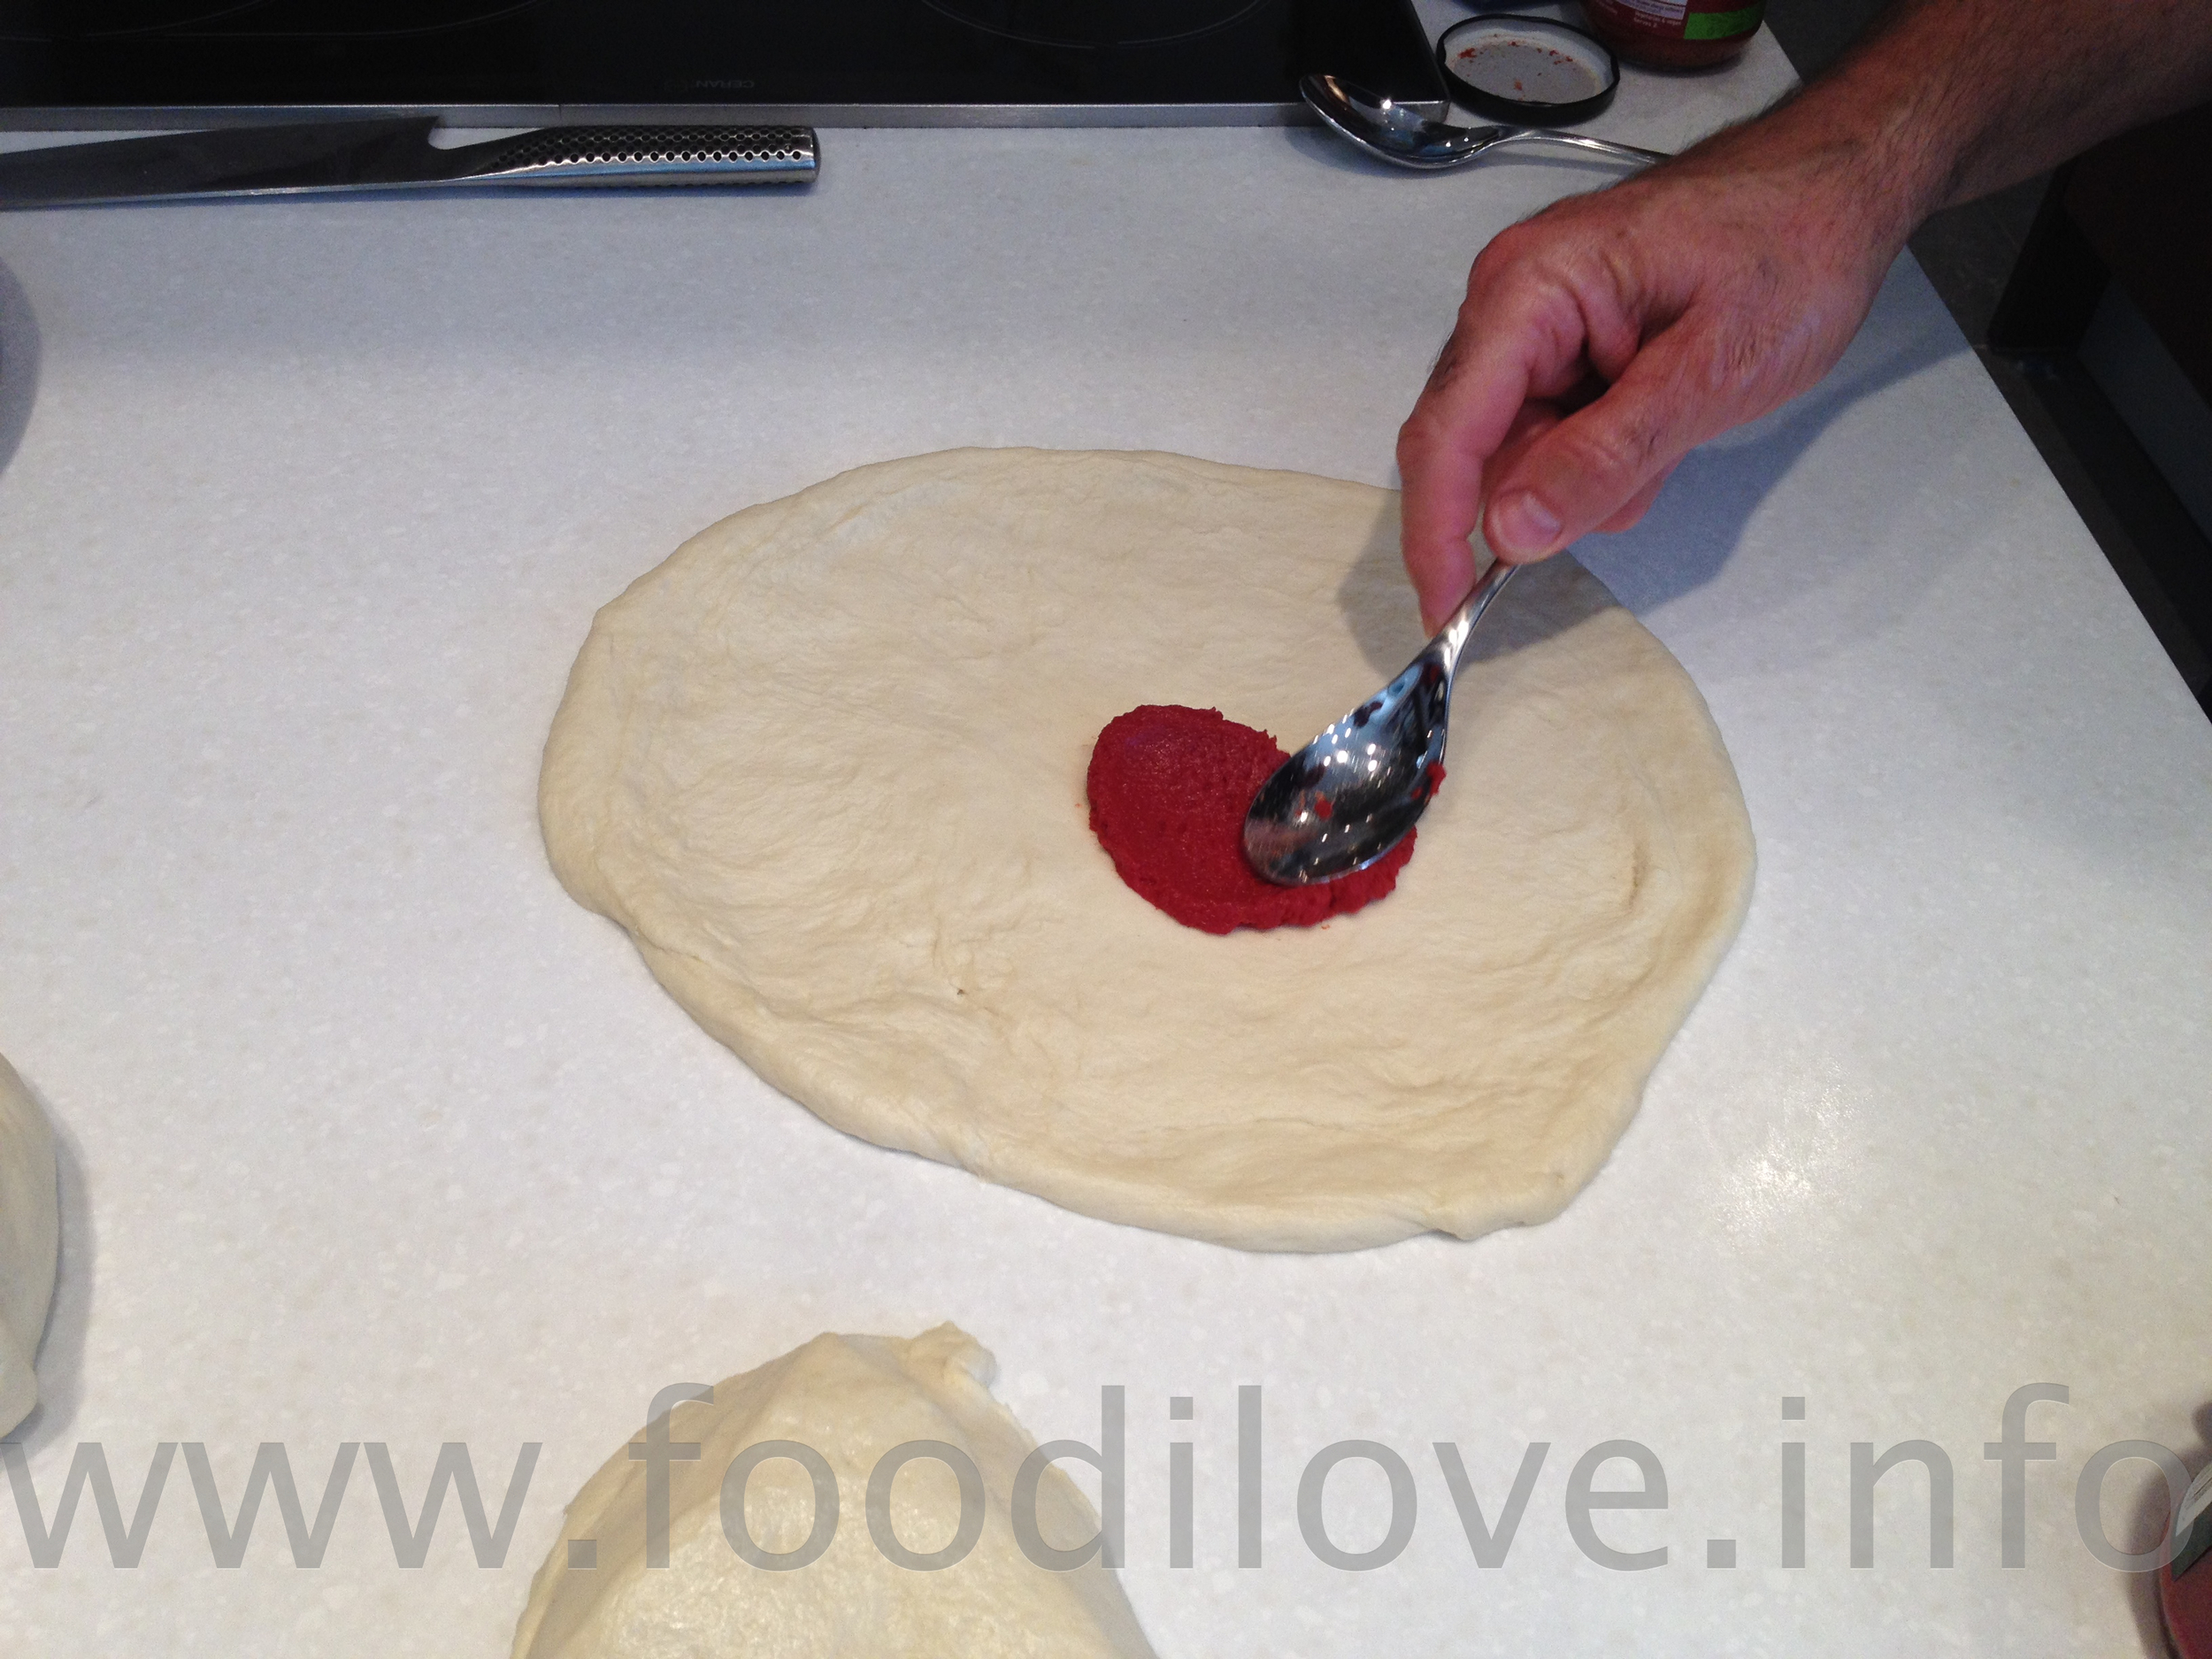
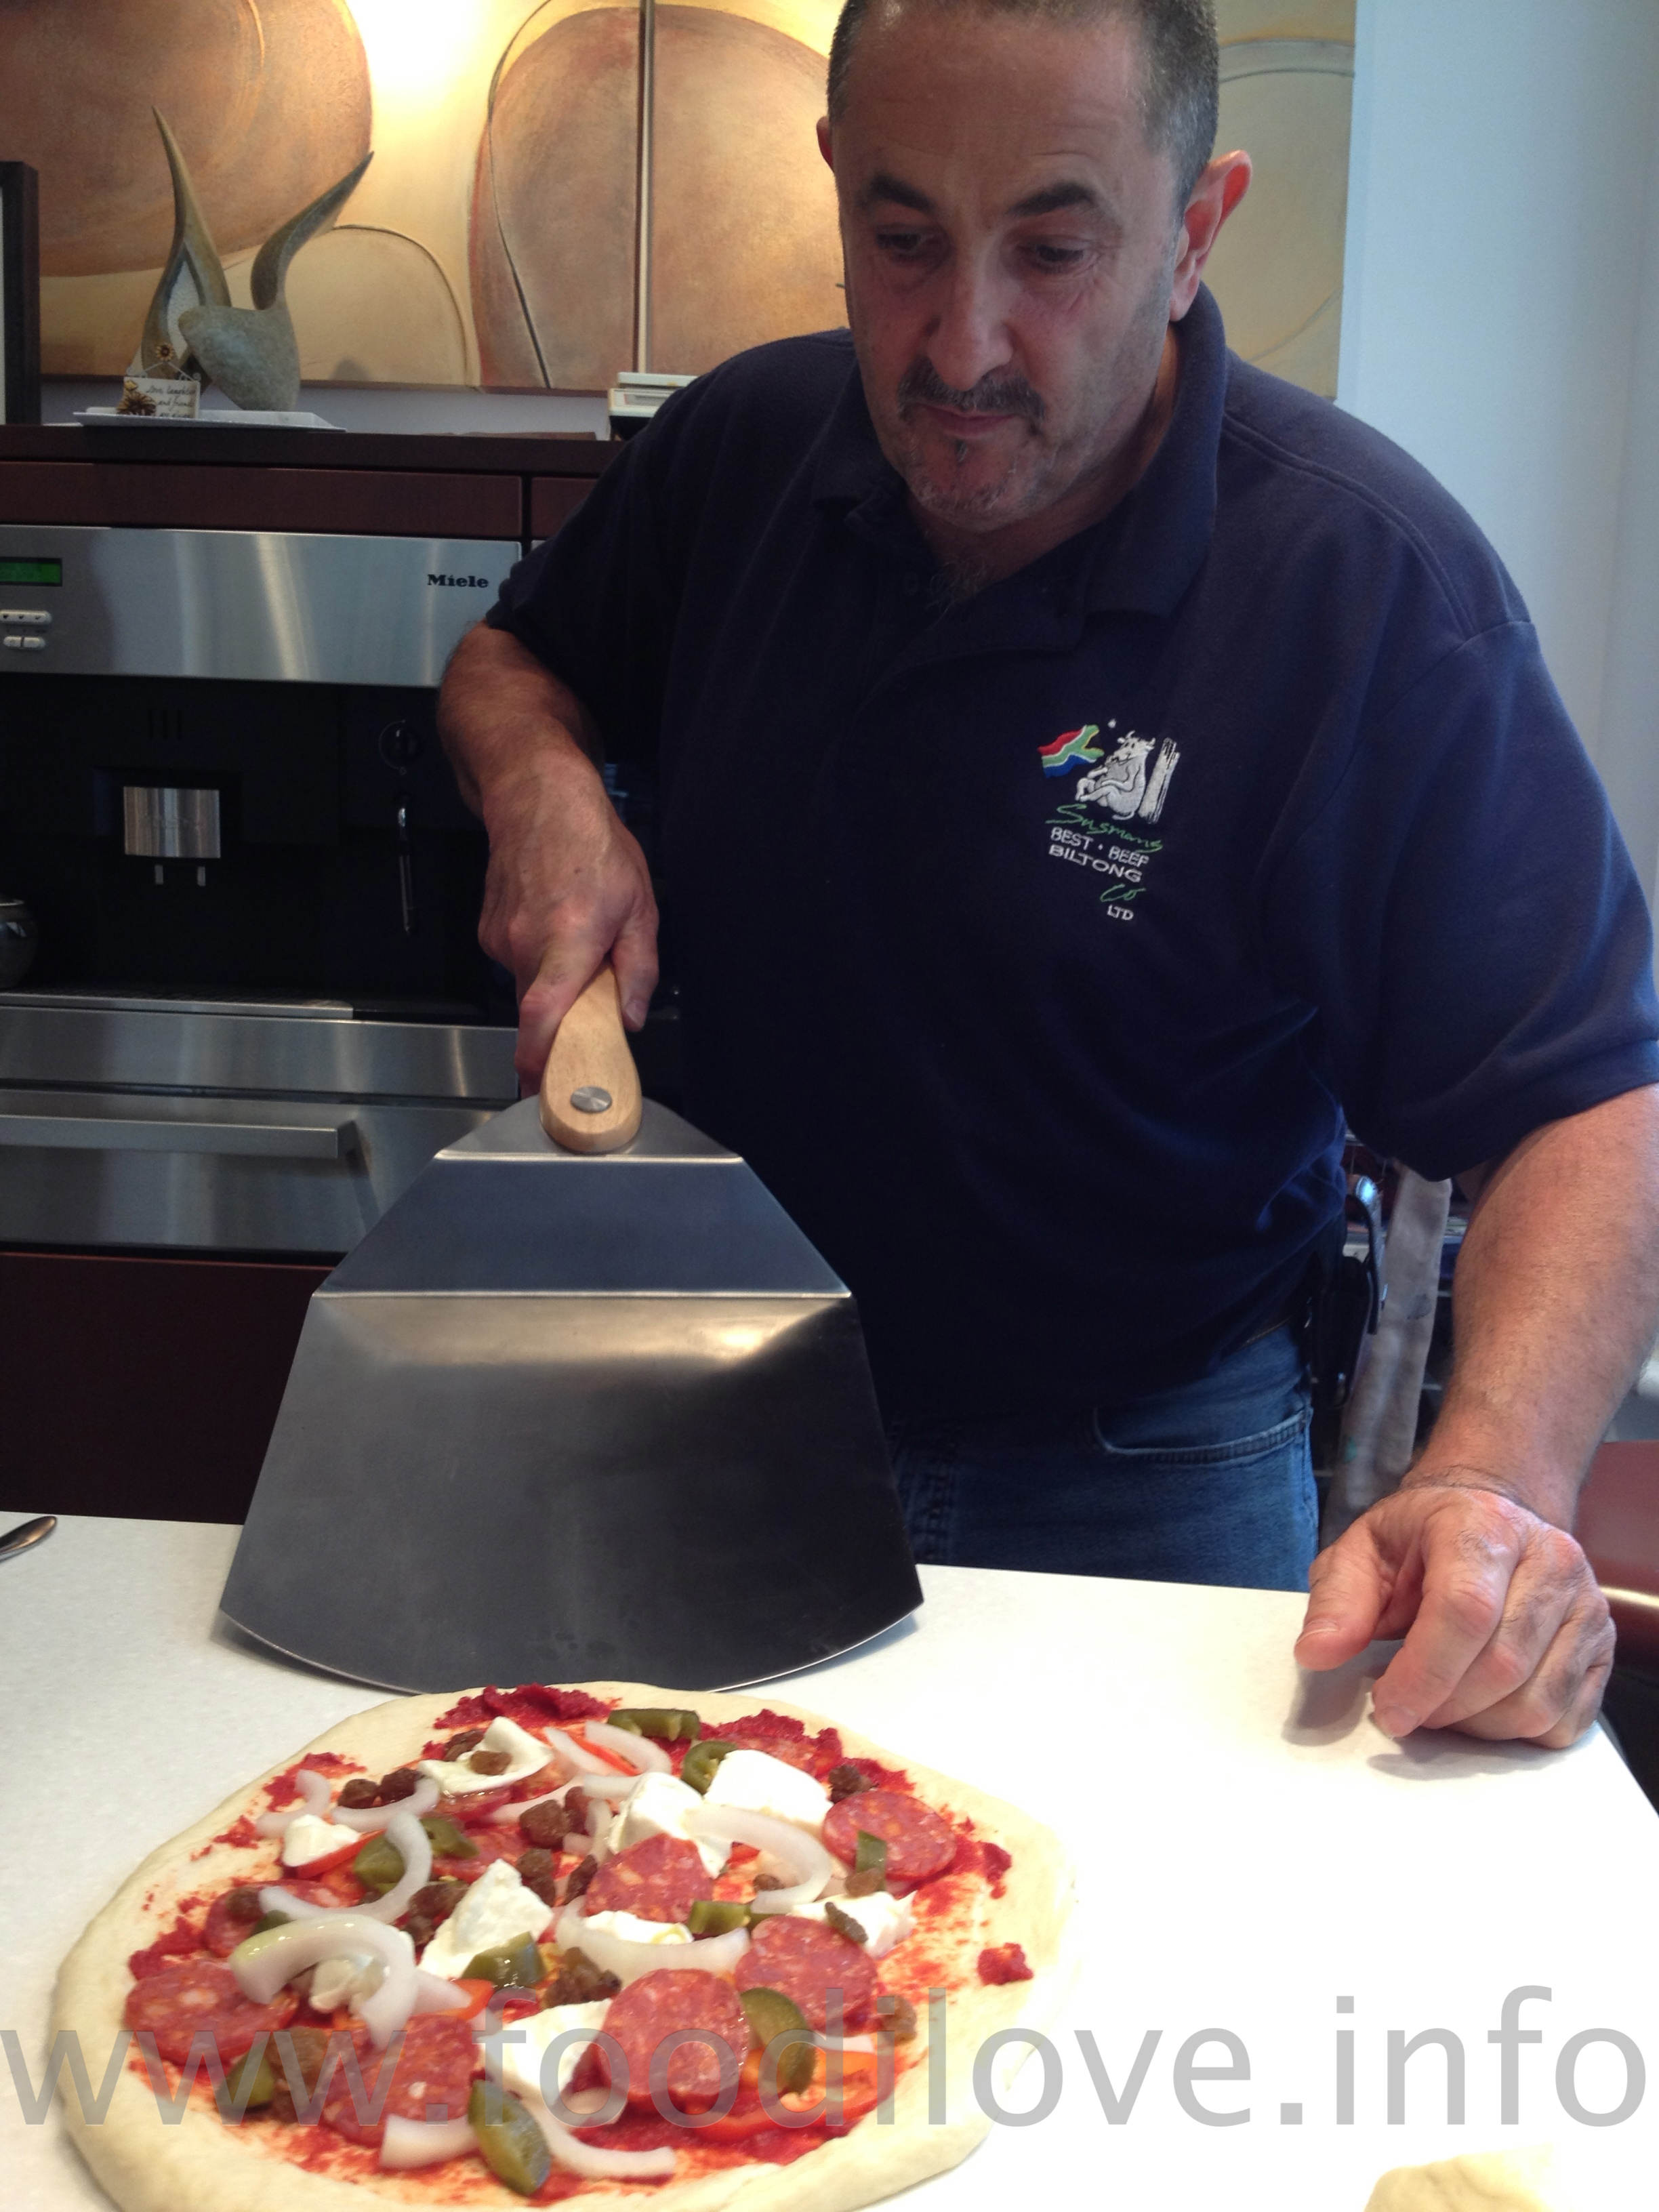
    I found the best results I got from the  Sainsbury's Organic tomato paste which are just purely tomatoes it was slightly sweet to taste but when the other topping were added it had the best over all flavour. The Sainsbury's Pizza sauce was a bit artificial and not really strong enough so that you could not really taste it. The Odysea just wasn't up to the job at all and we felt this was the worst of all. Next time I will definitely make my own sauce and I will revisit pizza making at a later date with the recipe that I come up with to make a better Pizza. Once you have added your sauce start to put your other ingredients onto your pizza, decide before hand what you are going to do. I went for the traditional American hot Pizza with pepperoni, hot jalapeños, onion and added a few sultanas to sweeten. Its really up to you what you want to eat, don't be fooled into thinking you have to make a Margareta, 4 seasons, American or the like. I forgot to bring home some Biltong (can you believe that) otherwise I was planning on making a Biltong Pizza!

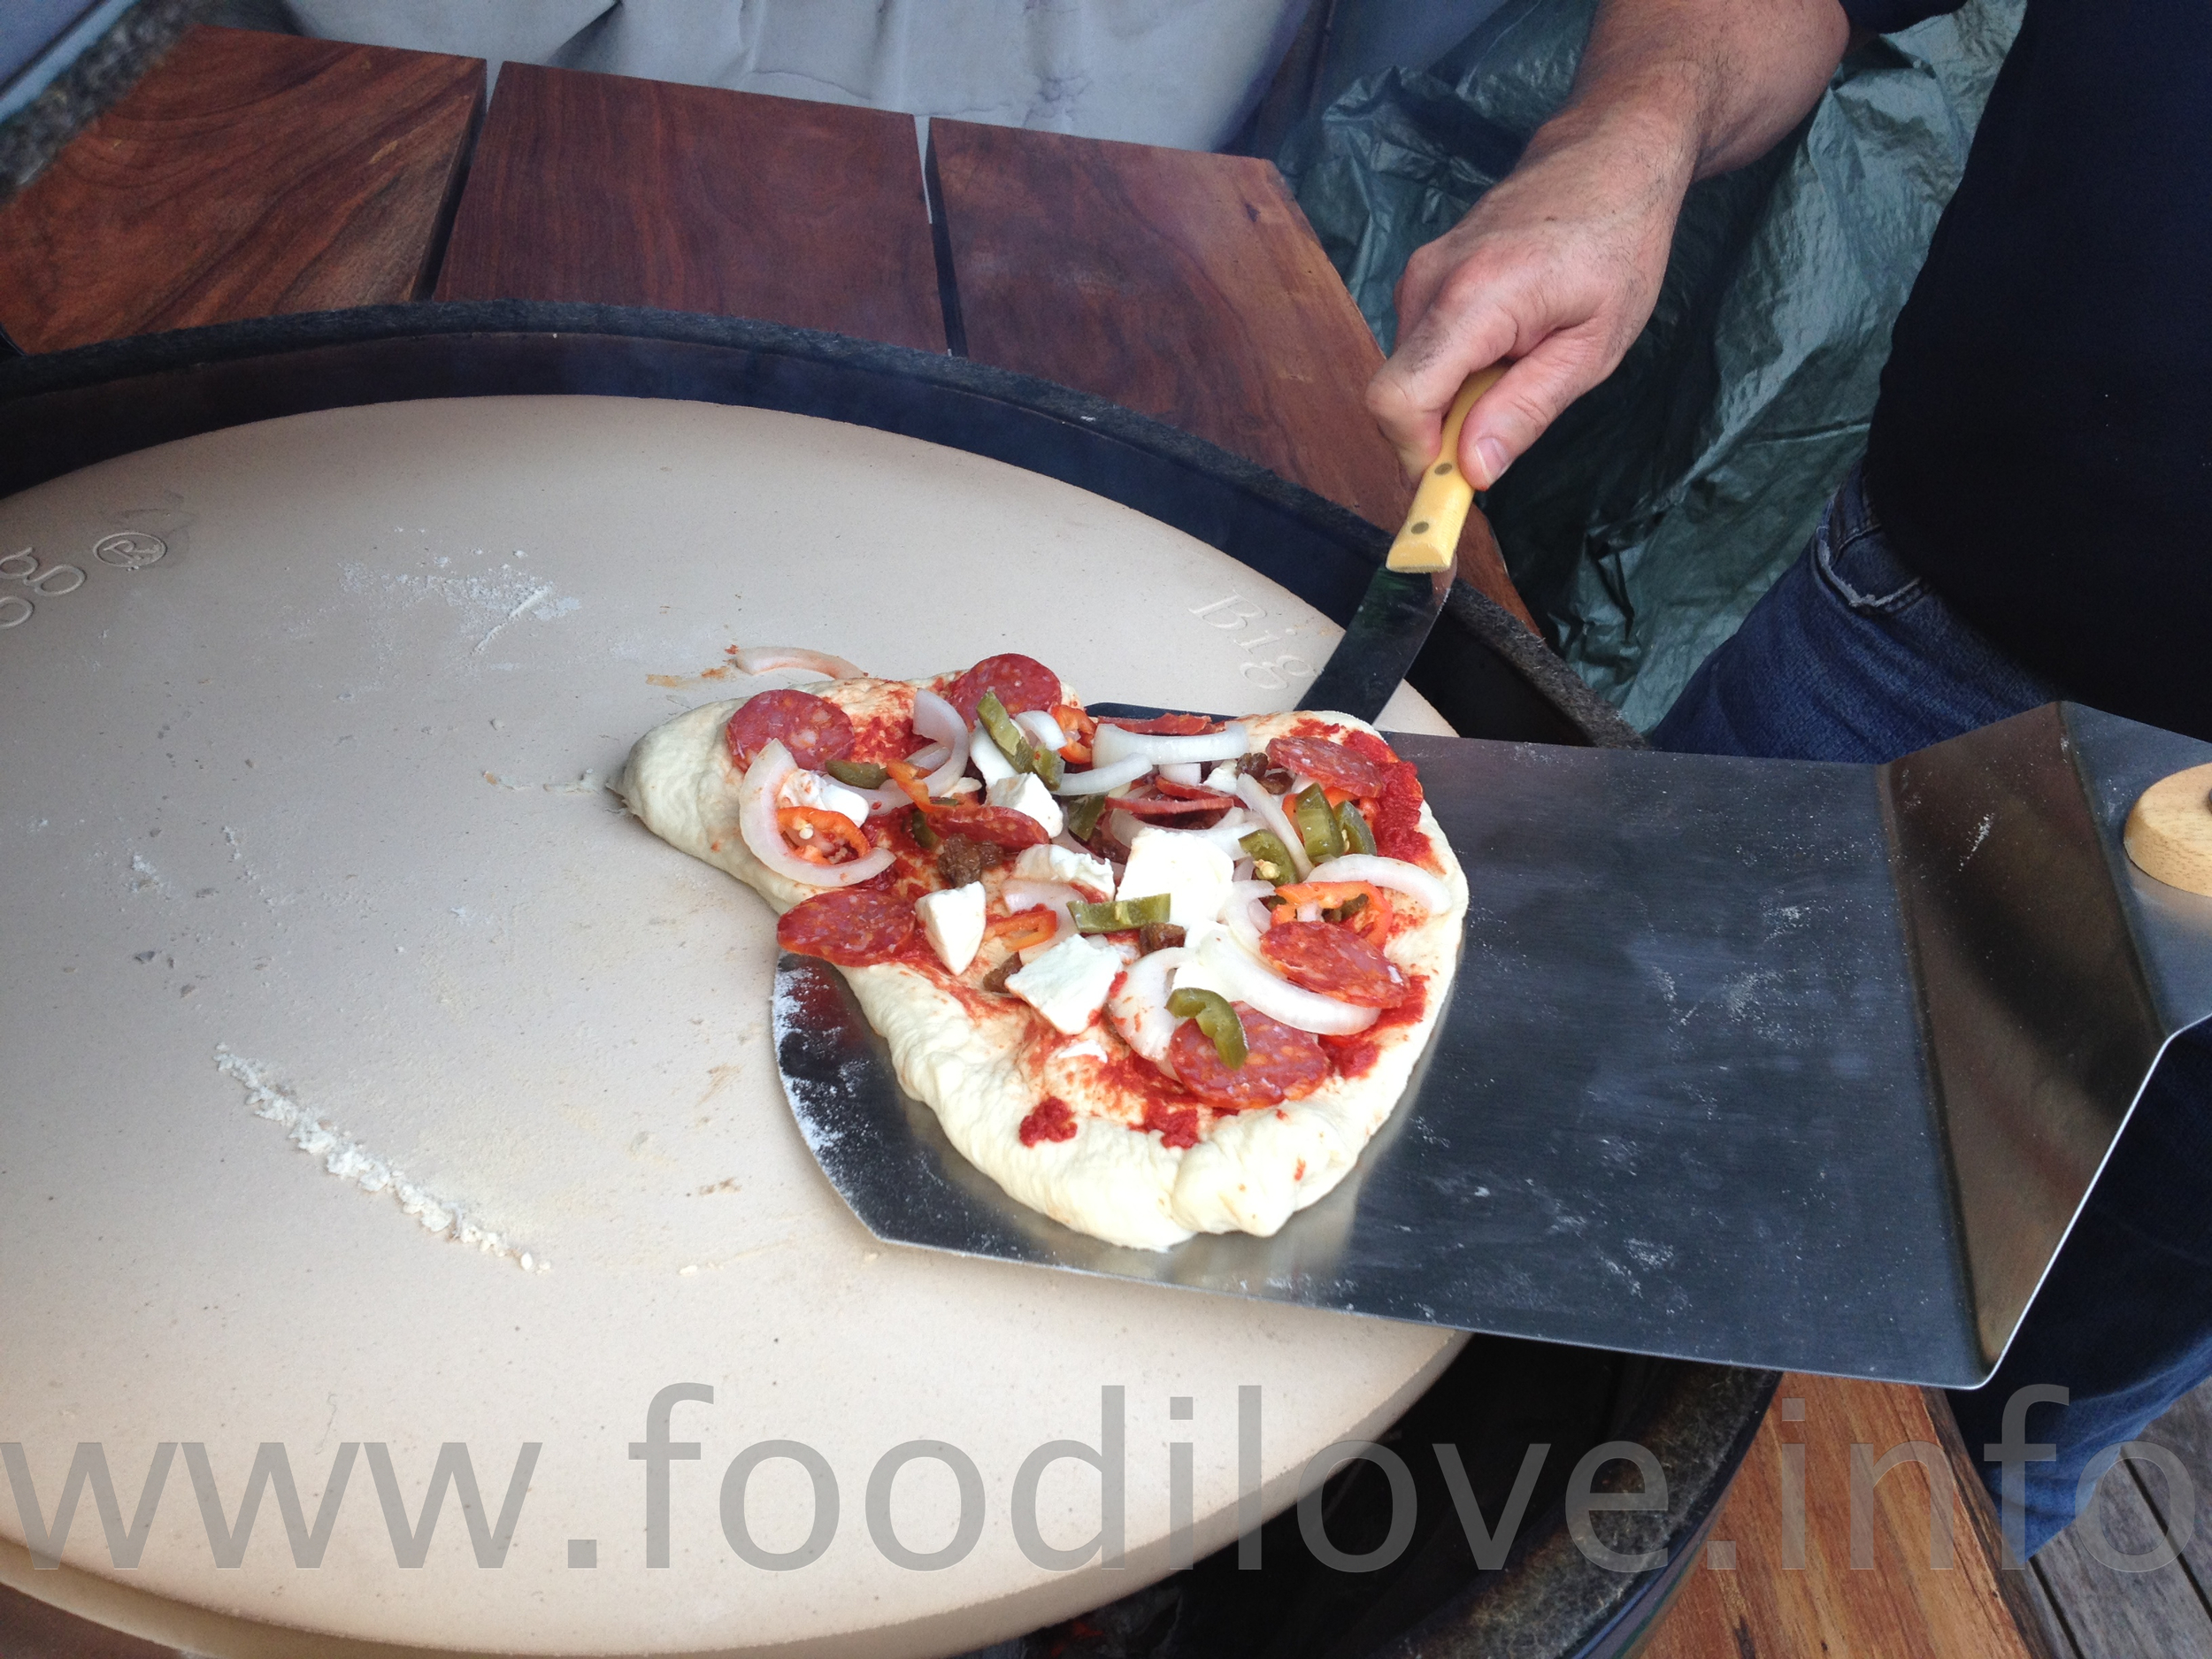
    Once you have all your toppings on, the next trick, is to get your creation onto the pizza peel (shovel). Once again make sure you use extra flour, you need a lot more than you think otherwise it'll stick to the pizza peel. You're now ready for the final hurdle of placing it carefully on your pizzas stone if you have one. 

    I'm using the one on my big green egg, man does it get hot! Had to shut the vents down so that it didn't over heat, as I'm still running it in :-). Make sure that whatever the surface you are going to cook on you sprinkle some cornflour on (I didn't have any so I used the same flour that I made the dough from) this prevents the pizza from sticking to it. Cooking time will depend on your oven, here are some indications:

    • 60–90 seconds in a 485 °C (905 °F)
    • ​3-4 minuets in a 315°C (600°F)
    • 4-6 minuets in a 250°C (480°F)

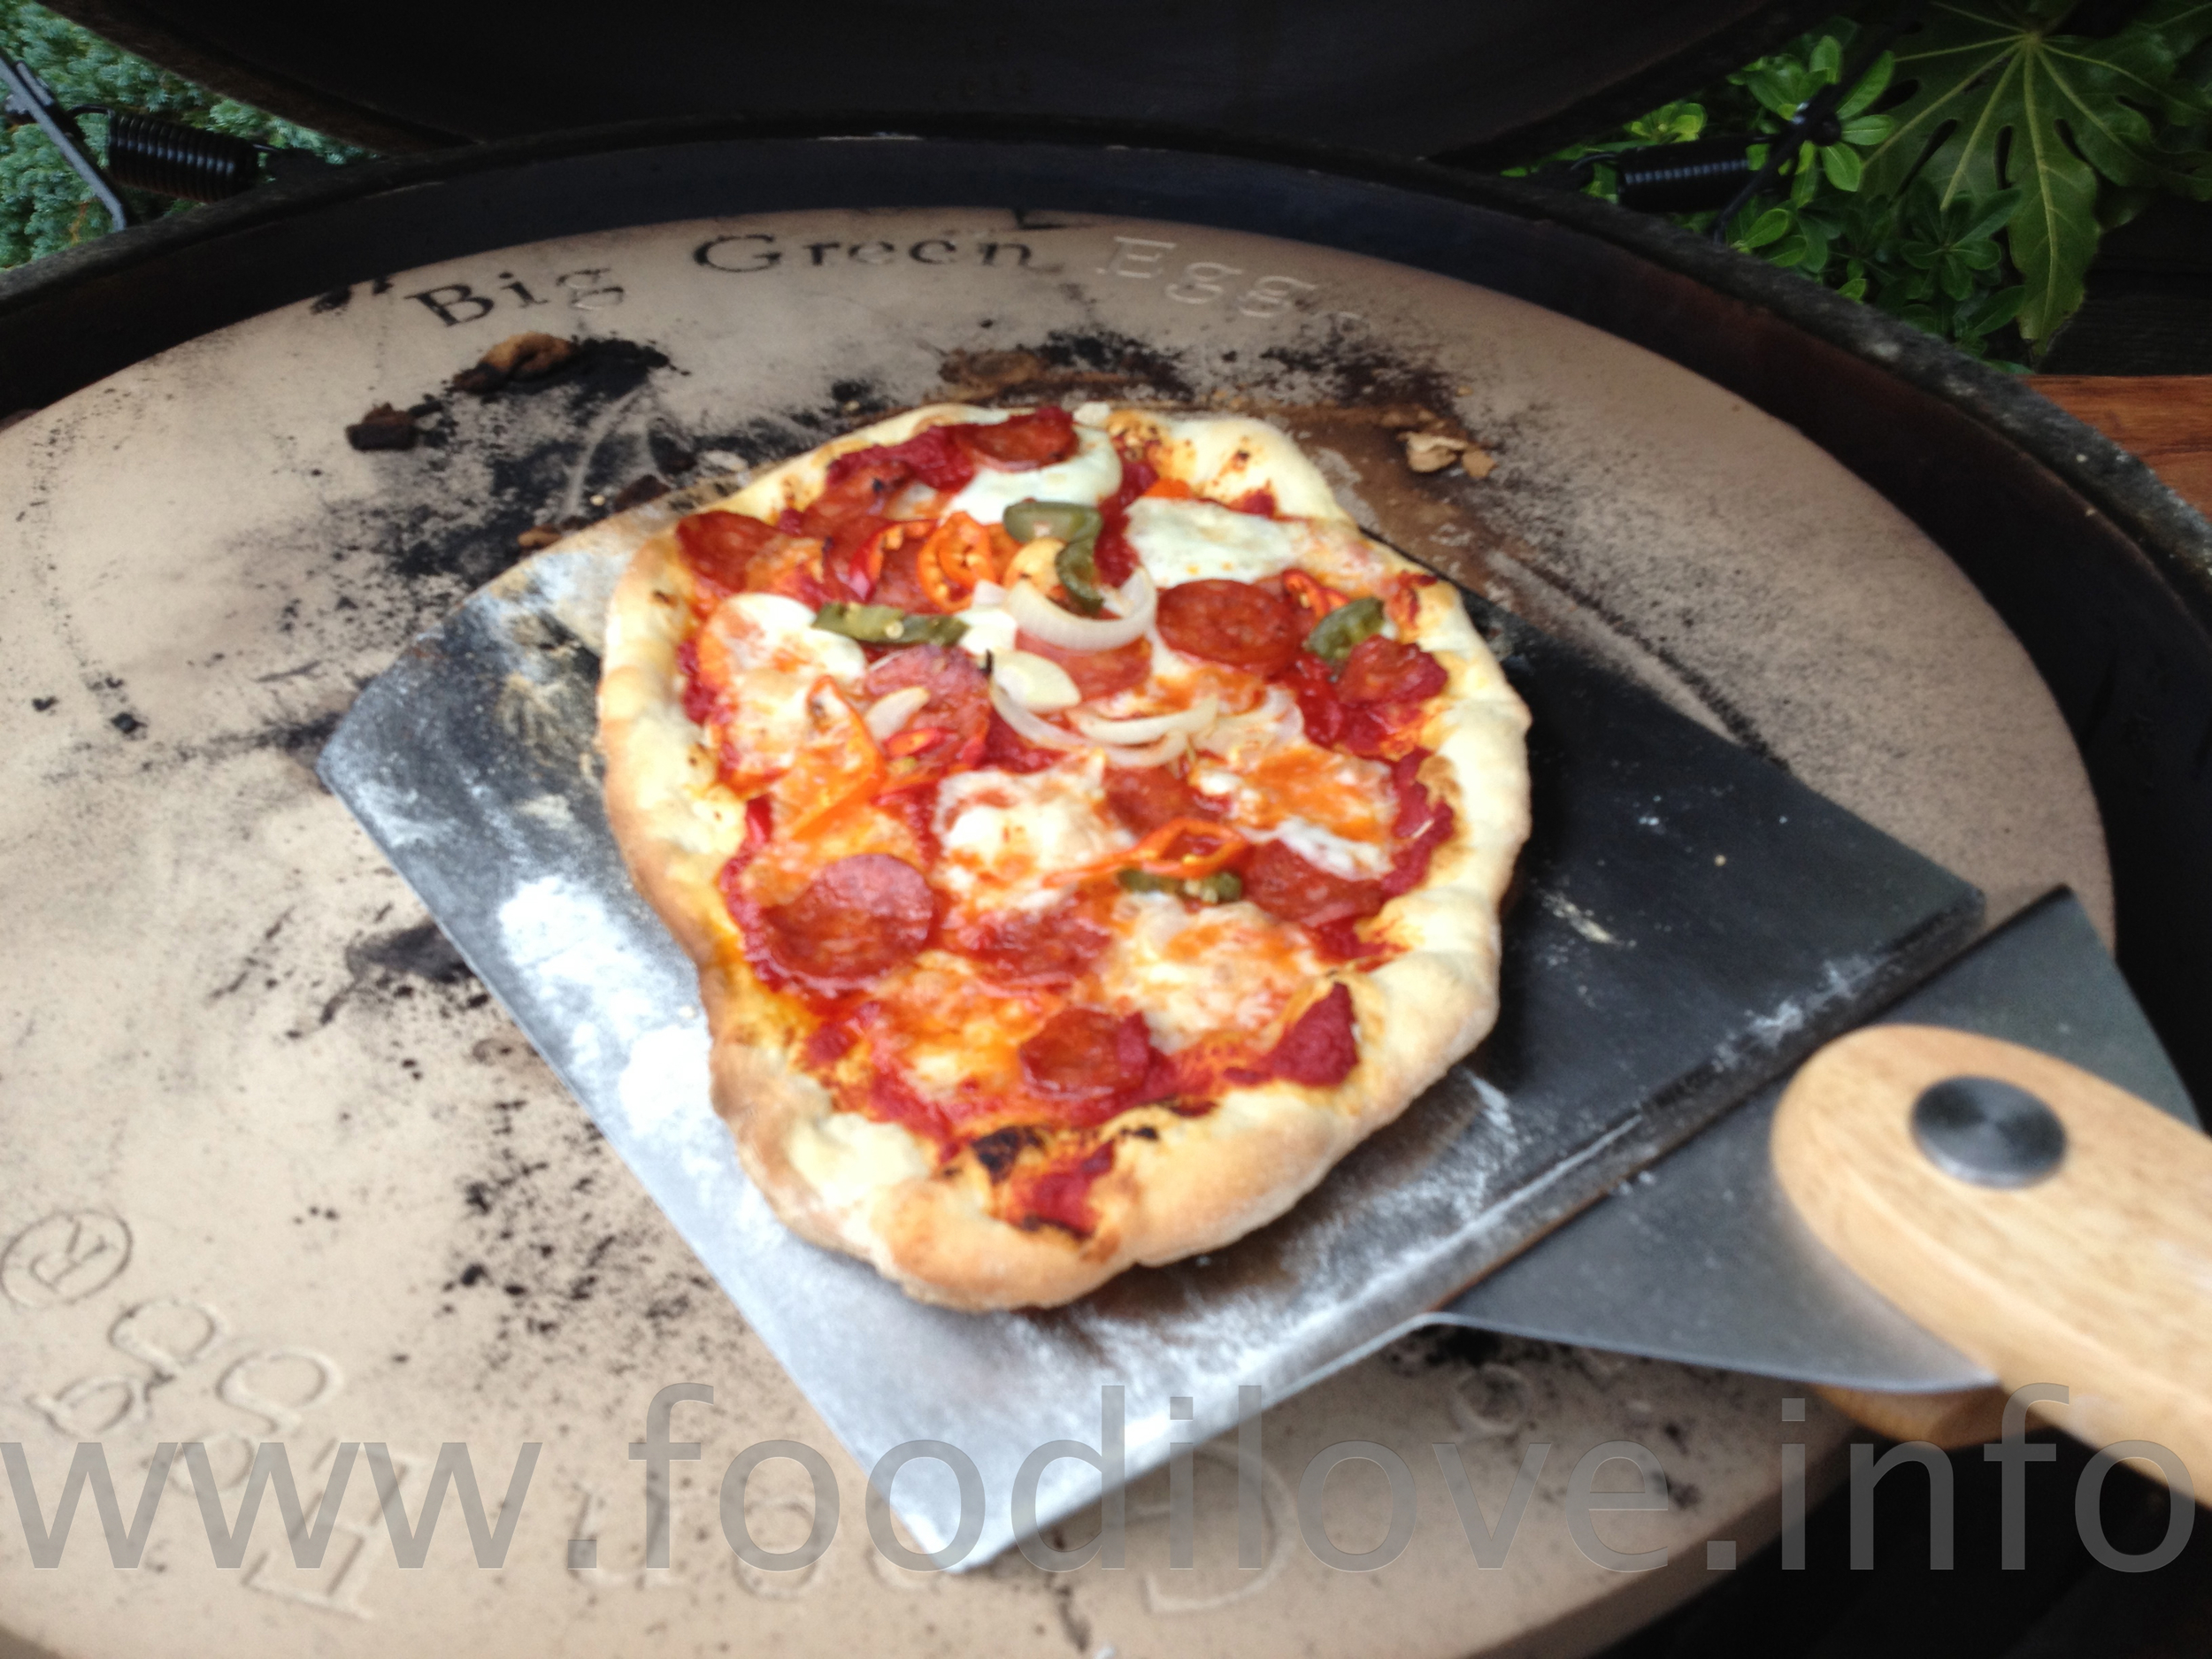
    But go by you own instincts, smell and vision, you will easily be able to tell when it looks cooked. Whatever you do don't think that this is a quick meal, it might be when you go out to a Pizza Resturant but remember they have done all the hard work before you even get there, however it was great fun and I think that 80% of the time your own creations will have more flavour than a shop or restaurant bought ones. So have a go, I was very pleased with my first efforts and I will be making them again. Perhaps not this month but when I do I will definitely make my own tomato sauce. Good luck and happy Pizza making.

    My final attempts, I never managed to make a perfect round one!

    Spicy Portuguese Chicken with Roasted Vegtables

    Glowing and ready to put the chicken on.​

    Glowing and ready to put the chicken on.​

    ​Well, it's the first major firing up for the new Braai and it lights so easily just gooi (throw) the charcoal on add a couple of natural fire lighters (please don't moan to me that I should be building a proper fire with paper and wood) this is definitely the way forward then just light. Gee man, in 15 mins this thing was ready to cook! With only a small amount of coals it burnt for over 3hrs until I closed off the air vents and saved what was not burnt for the next time. Ja, you don't have to throw the old bit away, just add a bit more coal the next time you want to braai and light it again.

    All ready to go chicken, Hunters and a Beerbird​

    All ready to go chicken, Hunters and a Beerbird​

    So first things first, I'm planning on using a BeerBird to cook the chicken on and to make things simple this time I'm using one of the best known SA spices that we sell ​"Robertson's Portuguese Seasoning" . Beerbirds are a fantastic way of roasting a chicken on the braai or in your oven, you will see from the image that I have placed a can of Hunters Gold Cider in the middle of the BB. This does two things, first it gives the chicken a great flavour (you can place whatever drink you fancy, usually I use Castle Lager) and secondly once the liquid heats up it acts as an internal steamer, making sure that the chicken is cooks evenly though out and remains moist.

    Almost there!​

    Almost there!​

    Crack open the can and place it in the BB, rub as much spice at you like onto the outside skin of the chicken. Making sure that you open up the areas between the legs and wings of the bird so that you cover it evenly. Then just pick up the chicken and stuff it legs first over the beer or cider can. Its so simple, all that's left is to put it into the braai or in the oven.​

    Place you chicken in the centre of the braai, you should make sure that the coals are not directly below the chicken as you might end up burning it, if your fire is to hot. The beauty about this BigGreenEGG braai is that you can control the heat exactly like an oven​, I set the heat to 200C and cooked for 90 mins. You can do exactly the same in your oven if you are not cooking on the braai. If you're not sure about when a chicken is ready you can buy poultry thermometers, you just place these in the breast of the bird and it will indicate when its cooked (i'm all for making life easy).

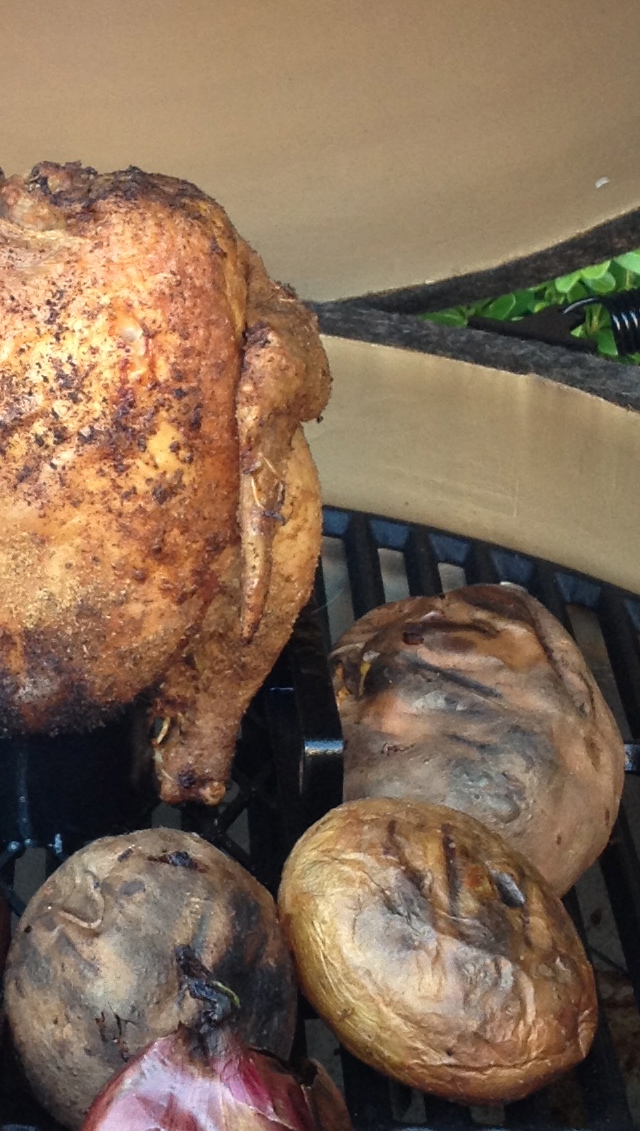
    Chicken, potatoes and onions roasting​.

    Chicken, potatoes and onions roasting​.

    All that's left to do is wash your potatoes (great to mix sweet and normal) some onions, leave the skins on and put them in the braai at the same time as the chicken. These take about the same time as the chicken to cook from raw (the sweet popatos will have that caramelised sweetness) and will have that great lekker charcoal flavour when you eat them.​ Next cut up a selection of veg, I used carrots, broccoli and sweet peppers. For seasoning all i added was a little salt, pepper and a sprinkling of paprika. Then just pour a small amount of olive oil over them and give them a good toss so that all the spices stick to the veg. For cooking all you need to do it put the carrots on 10 mins before you think the chicken is ready and 5 mins later the rest of the veg. It doesn't take long to cook then so keep an eye on it as you really don't want slap (limp) veg. Take a look below to see the final result, please feel free to let mw know what you think about this and any other posts.

    Just needs eating :-)​

    Just needs eating :-)​