Food I Love

& my Big Green Egg

Join me as I share my kitchen adventures and mishaps while trying to create simple food inspired by childhood memories back in South Africa. 

  • Home
  • Blog
  • About
  • Gallery
    • Braai Images
    • Big Green Egg Images
  • Contact Me
Chateaubriand
 with Dauphinoise Potatoes cooked on the  Braai/BigGreenEgg

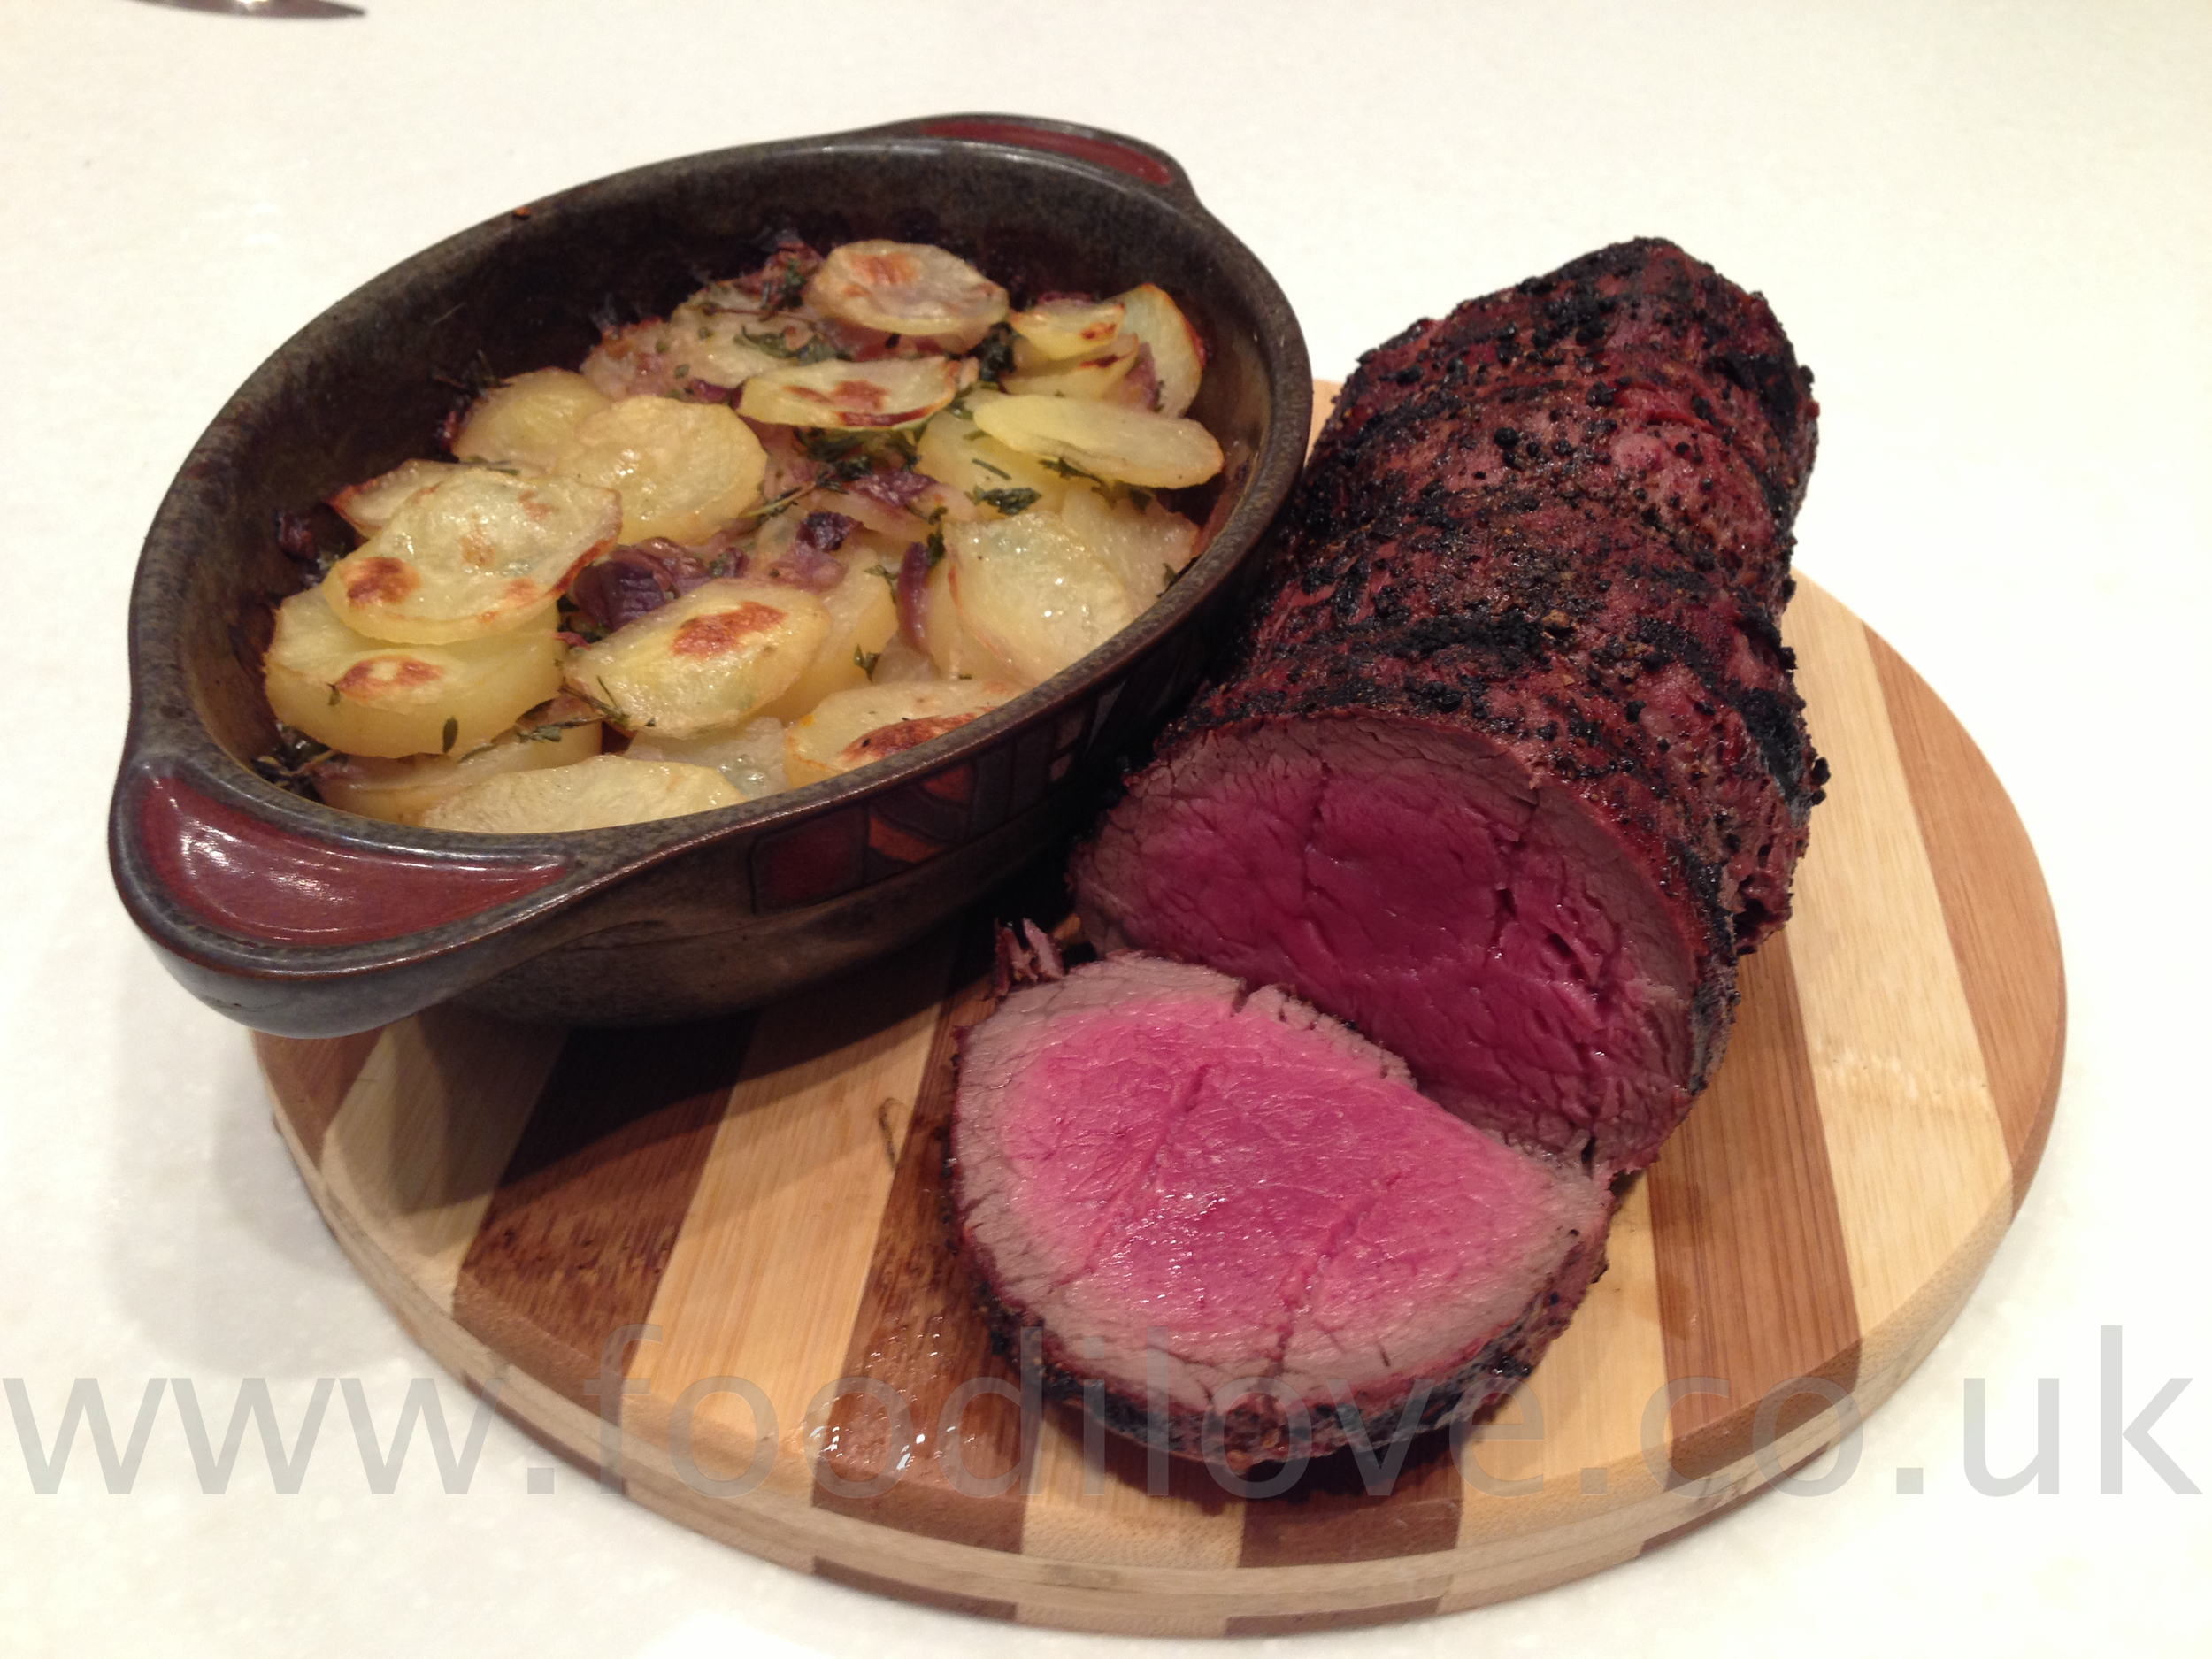
Chateaubriand in the Snow on the Braai/BigGreenEgg

January 25, 2013 by Larry Susman in Meat, Braai, Vegetables, Beef, Big Green Egg, Recipes, Roasts

Chateaubriand with Boulangerie Potatoes cooked on the Braai/BigGreenEgg

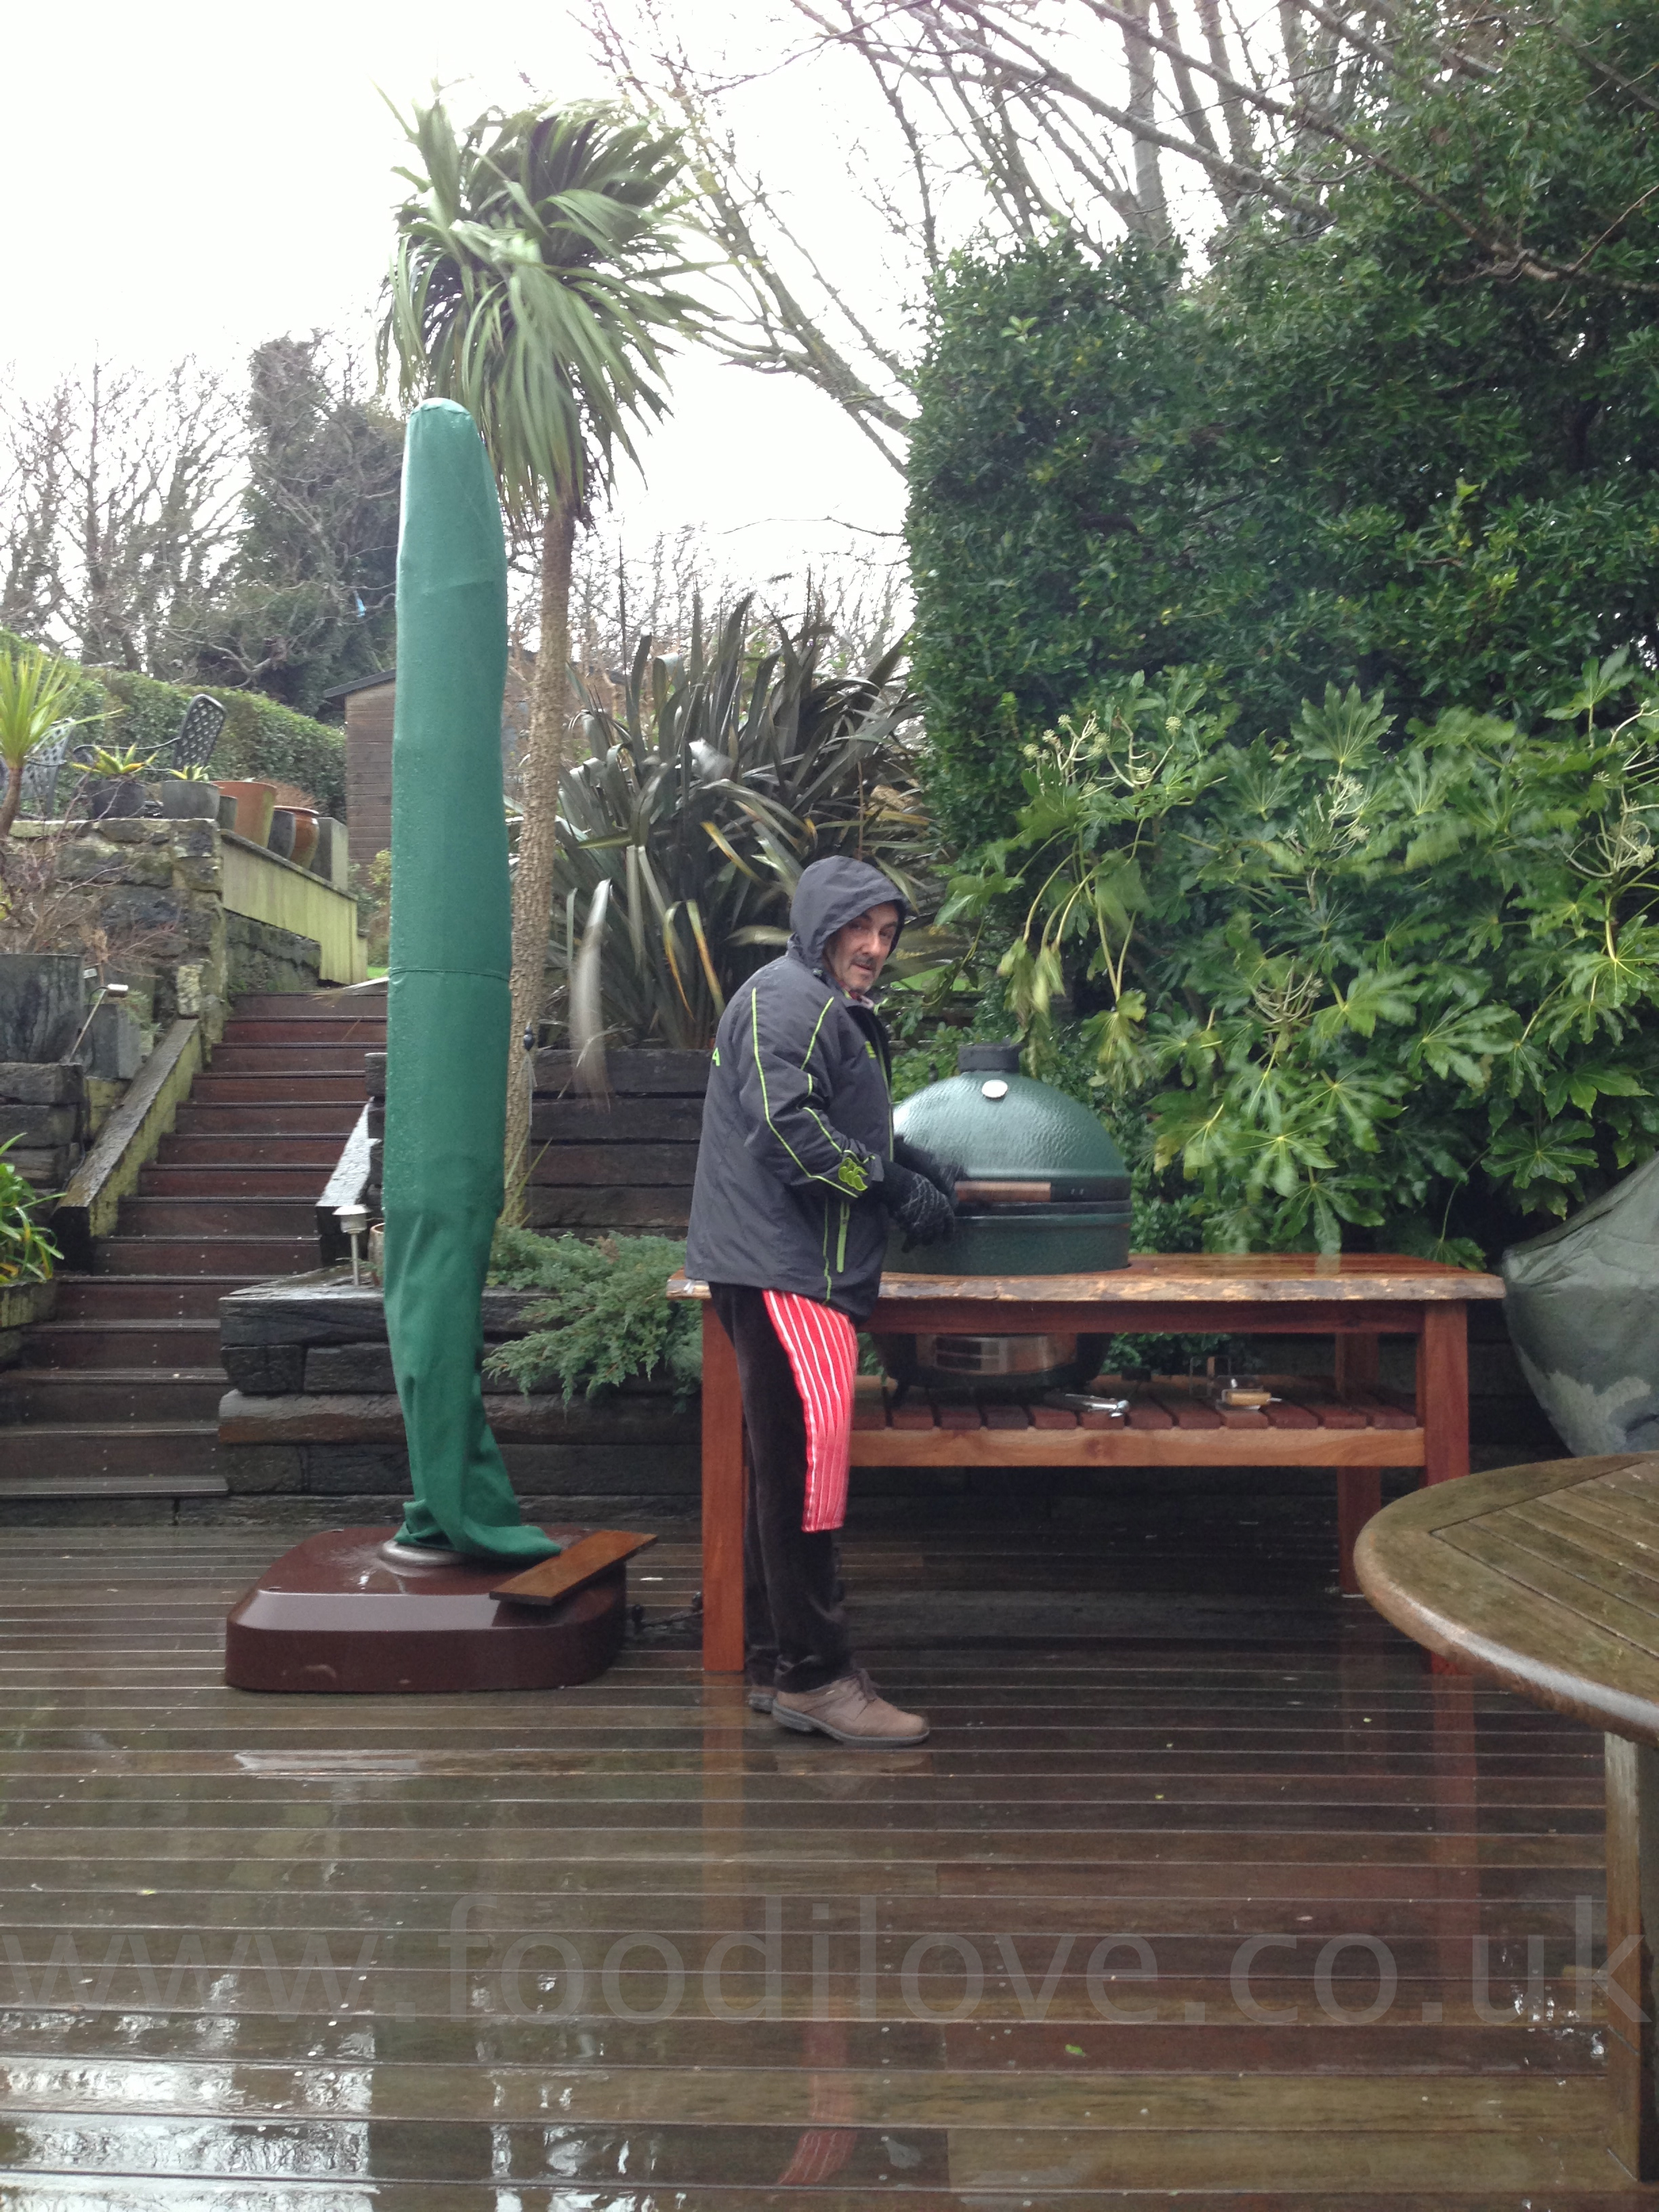
“Man” Its freezing out here and I'm cooking on the braai this week in the snow again, I'm definitely meshuggah! This week I'm cooking my version of this classic French dish with some healthy but extremely tasty Boulangerie Potatoes.

Chateaubriand is a juicy-on-the-inside, seared and roasted beef tenderloin (fillet) with wine sauce frequently ordered for a table of two at French restaurants. Which, according to Larousse Gastronomique, was created by personal chef, Montmireil, for François-René de Chateaubriand, the author and diplomat who served Napoleon as an ambassador and Louis XVIII as Secretary of State for two years. This chateaubriand recipe is the traditional version of the restaurant favourite, seasoned very simply, roasted to perfection, and then sliced on the diagonal. Be sure to make the quick shallot and wine sauce and serve the meal with Boulangerie Potatoes.

SERVES 2-4: PREP: 25MINS: COOK TIME:1-2HR

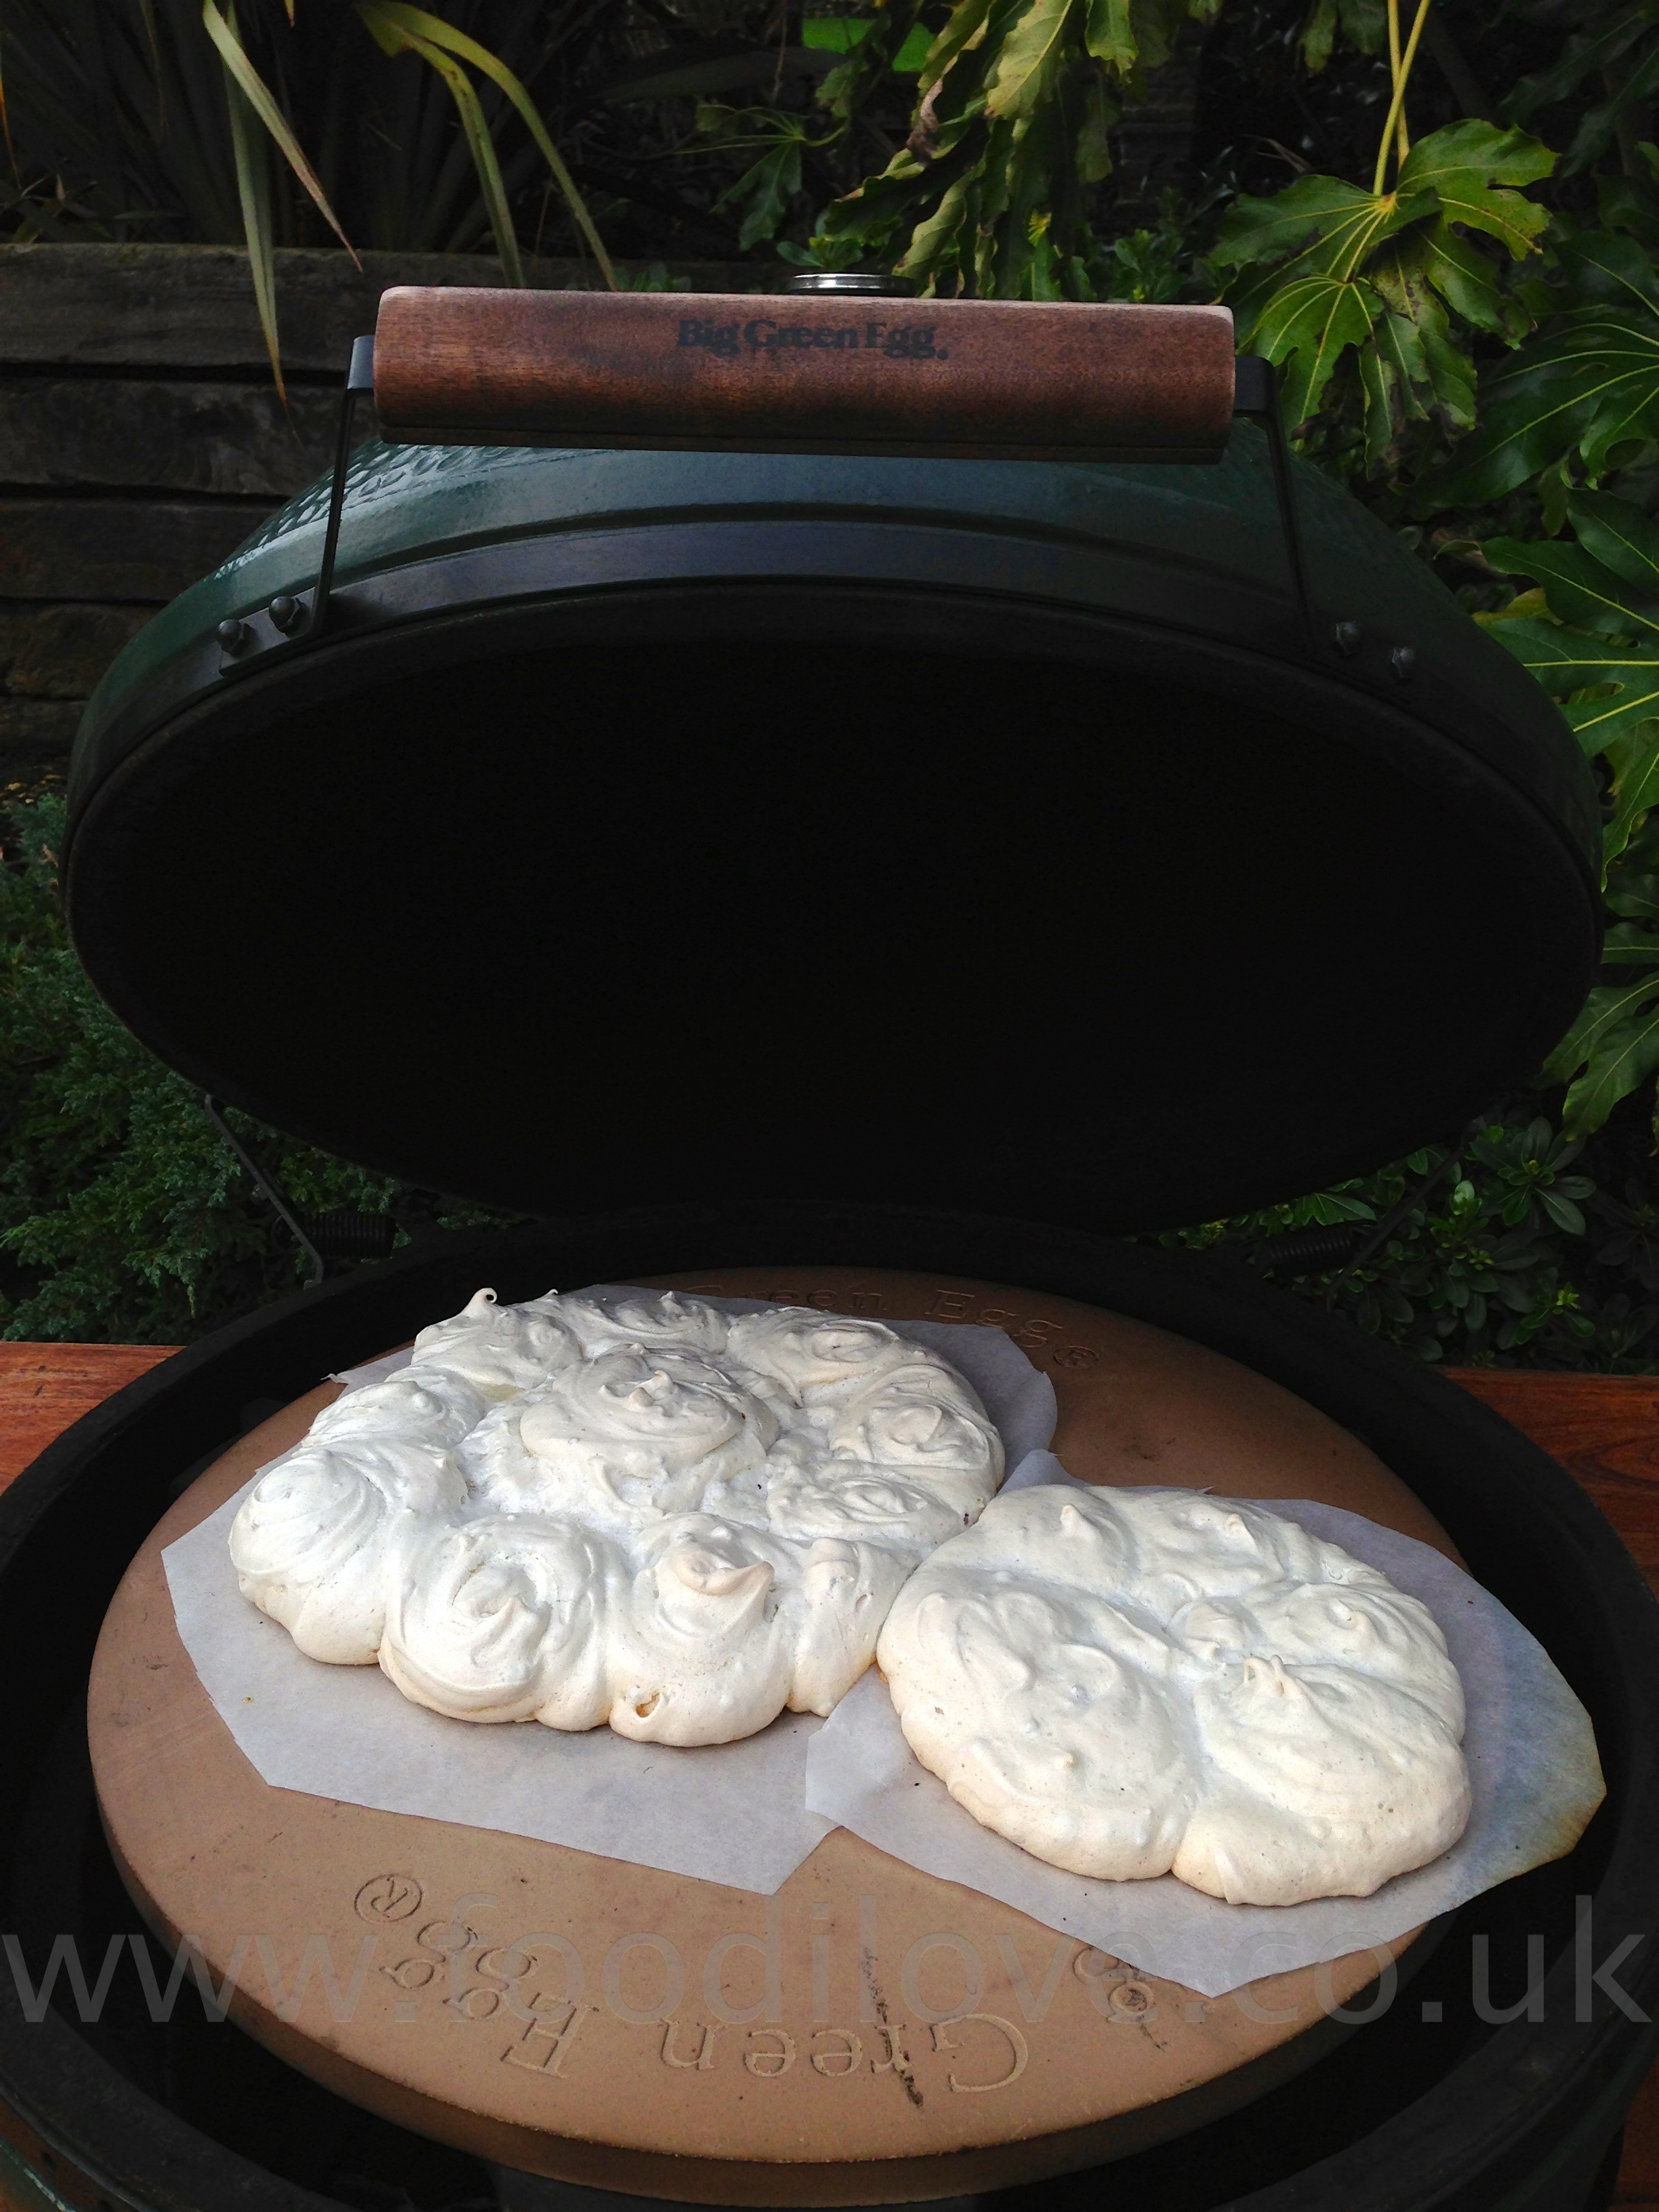
Preheat the Braai/BigGreenEgg to 180°C (356°F)

Ingredients for the Boulangerie Potatoes:

  1. 6 large x potatoes, peeled, sliced and placed in a bowl of cold water to prevent them from browning (use floury potatoes such as Russet, King Edward, Maris Piper or Desiree)
  2. 2 x cloves garlic
  3. 2 x Red onions sliced
  4. 30g x Fresh Thyme
  5. 20g x Fresh Parsley
  6. 300ml x Warm Chicken Stock
  7. Salt and freshly ground black pepper to taste

Method of cooking Boulangerie Potatoes:

Peel, slice and place the potatoes in a bowl of cold water to prevent them from going brown. Chop up the onions and saute them in a knob of butter until they soften add the thyme and set aside. Take two small baking dishes (can use just one large) and add a layer of potatoes. Sprinkle them with some of the onion mix and some parsley and repeat until the dish is full. Pore over half of the chicken stock and finally put a couple of knobs of butter on the top to help brown them off. Place in the braai for 1hr at 180°C simple as that.

View fullsize IMG_3547.jpg
View fullsize IMG_3555.jpg
View fullsize IMG_3556.jpg
View fullsize IMG_3560.jpg

Ingredients for the Chateaubriand:

  1. 500-750g Beef fillet (tenderloin)
  2. 20g x Sea Salt
  3. 20g x Fresh Black Pepper

Ingredients for the Béarnaise sauce:

  1. 2 tbsp x tarragon vinegar
  2. 50ml x white wine
  3. 1 tsp x white peppercorns
  4. 1 x small banana shallot, finely diced
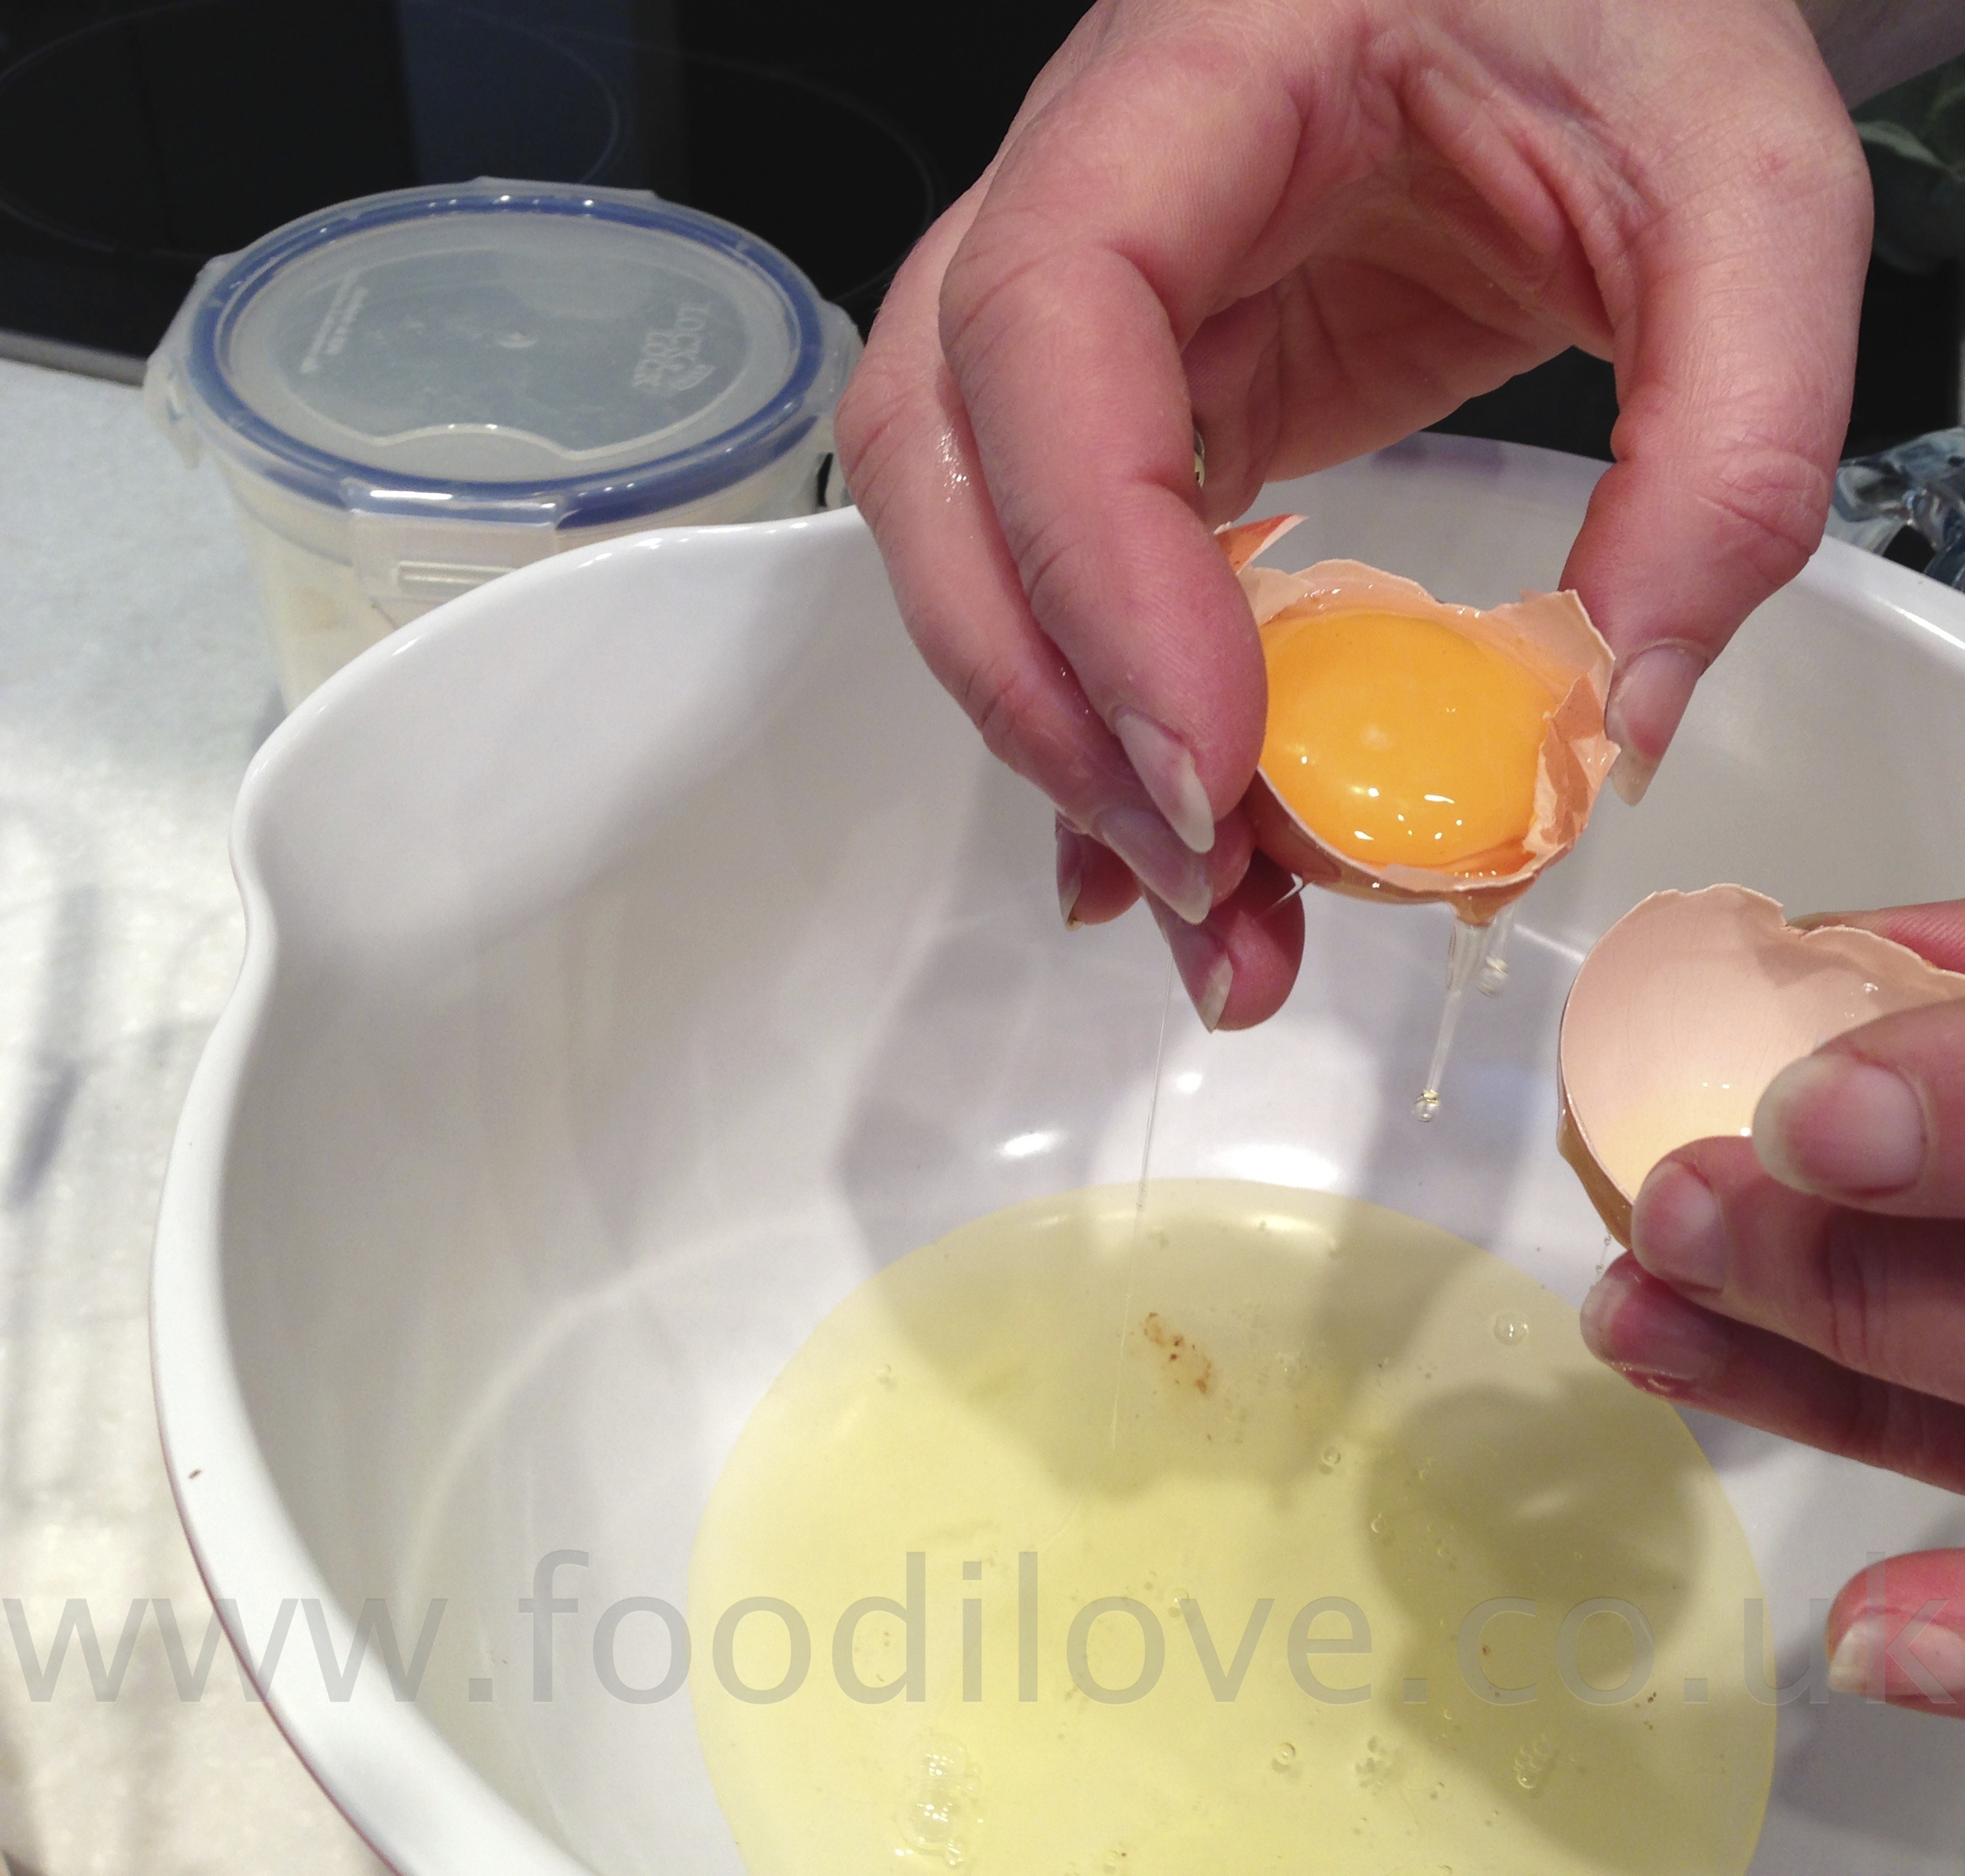
  5. 4 x eggs, yolks only
  6. ¼ x lemon, juice only
  7. 200g x butter, melted
  8. 2-3 tbsp x chopped tarragon leaves
  9. salt and freshly ground black pepper

Method for the Béarnaise sauce:

Traditionally this dish is served with a Béarnaise sauce but I did not make it as I'm trying to be good lol. We made just a simple Red wine reduction with chicken stock but this is the recipe that I would have used if I was going for it. To make the béarnaise sauce, place the vinegar, white wine, peppercorns and shallot into a small saucepan and bring to the boil. Simmer until the liquid has reduced by half and remove the peppercorns then pour into a medium bowl.

Add the egg yolks and whisk well, then add the lemon juice. Place over a pan of simmering water and whisk together until thickened and light in colour. Gradually add in the melted butter, whisking constantly. Season with salt and black pepper and add the chopped tarragon leaves. Turn off the heat and leave the bowl over the pan until ready to use

View fullsize IMG_3563.jpg
View fullsize IMG_3567.jpg
View fullsize IMG_3409.jpg
View fullsize IMG_3575.jpg

Method of cooking Chateaubriand:

Grind the salt and pepper with a pestle and mortar, its amazing the aroma this gives off. Sprinkle the fillet with this mix liberally and set aside for later.

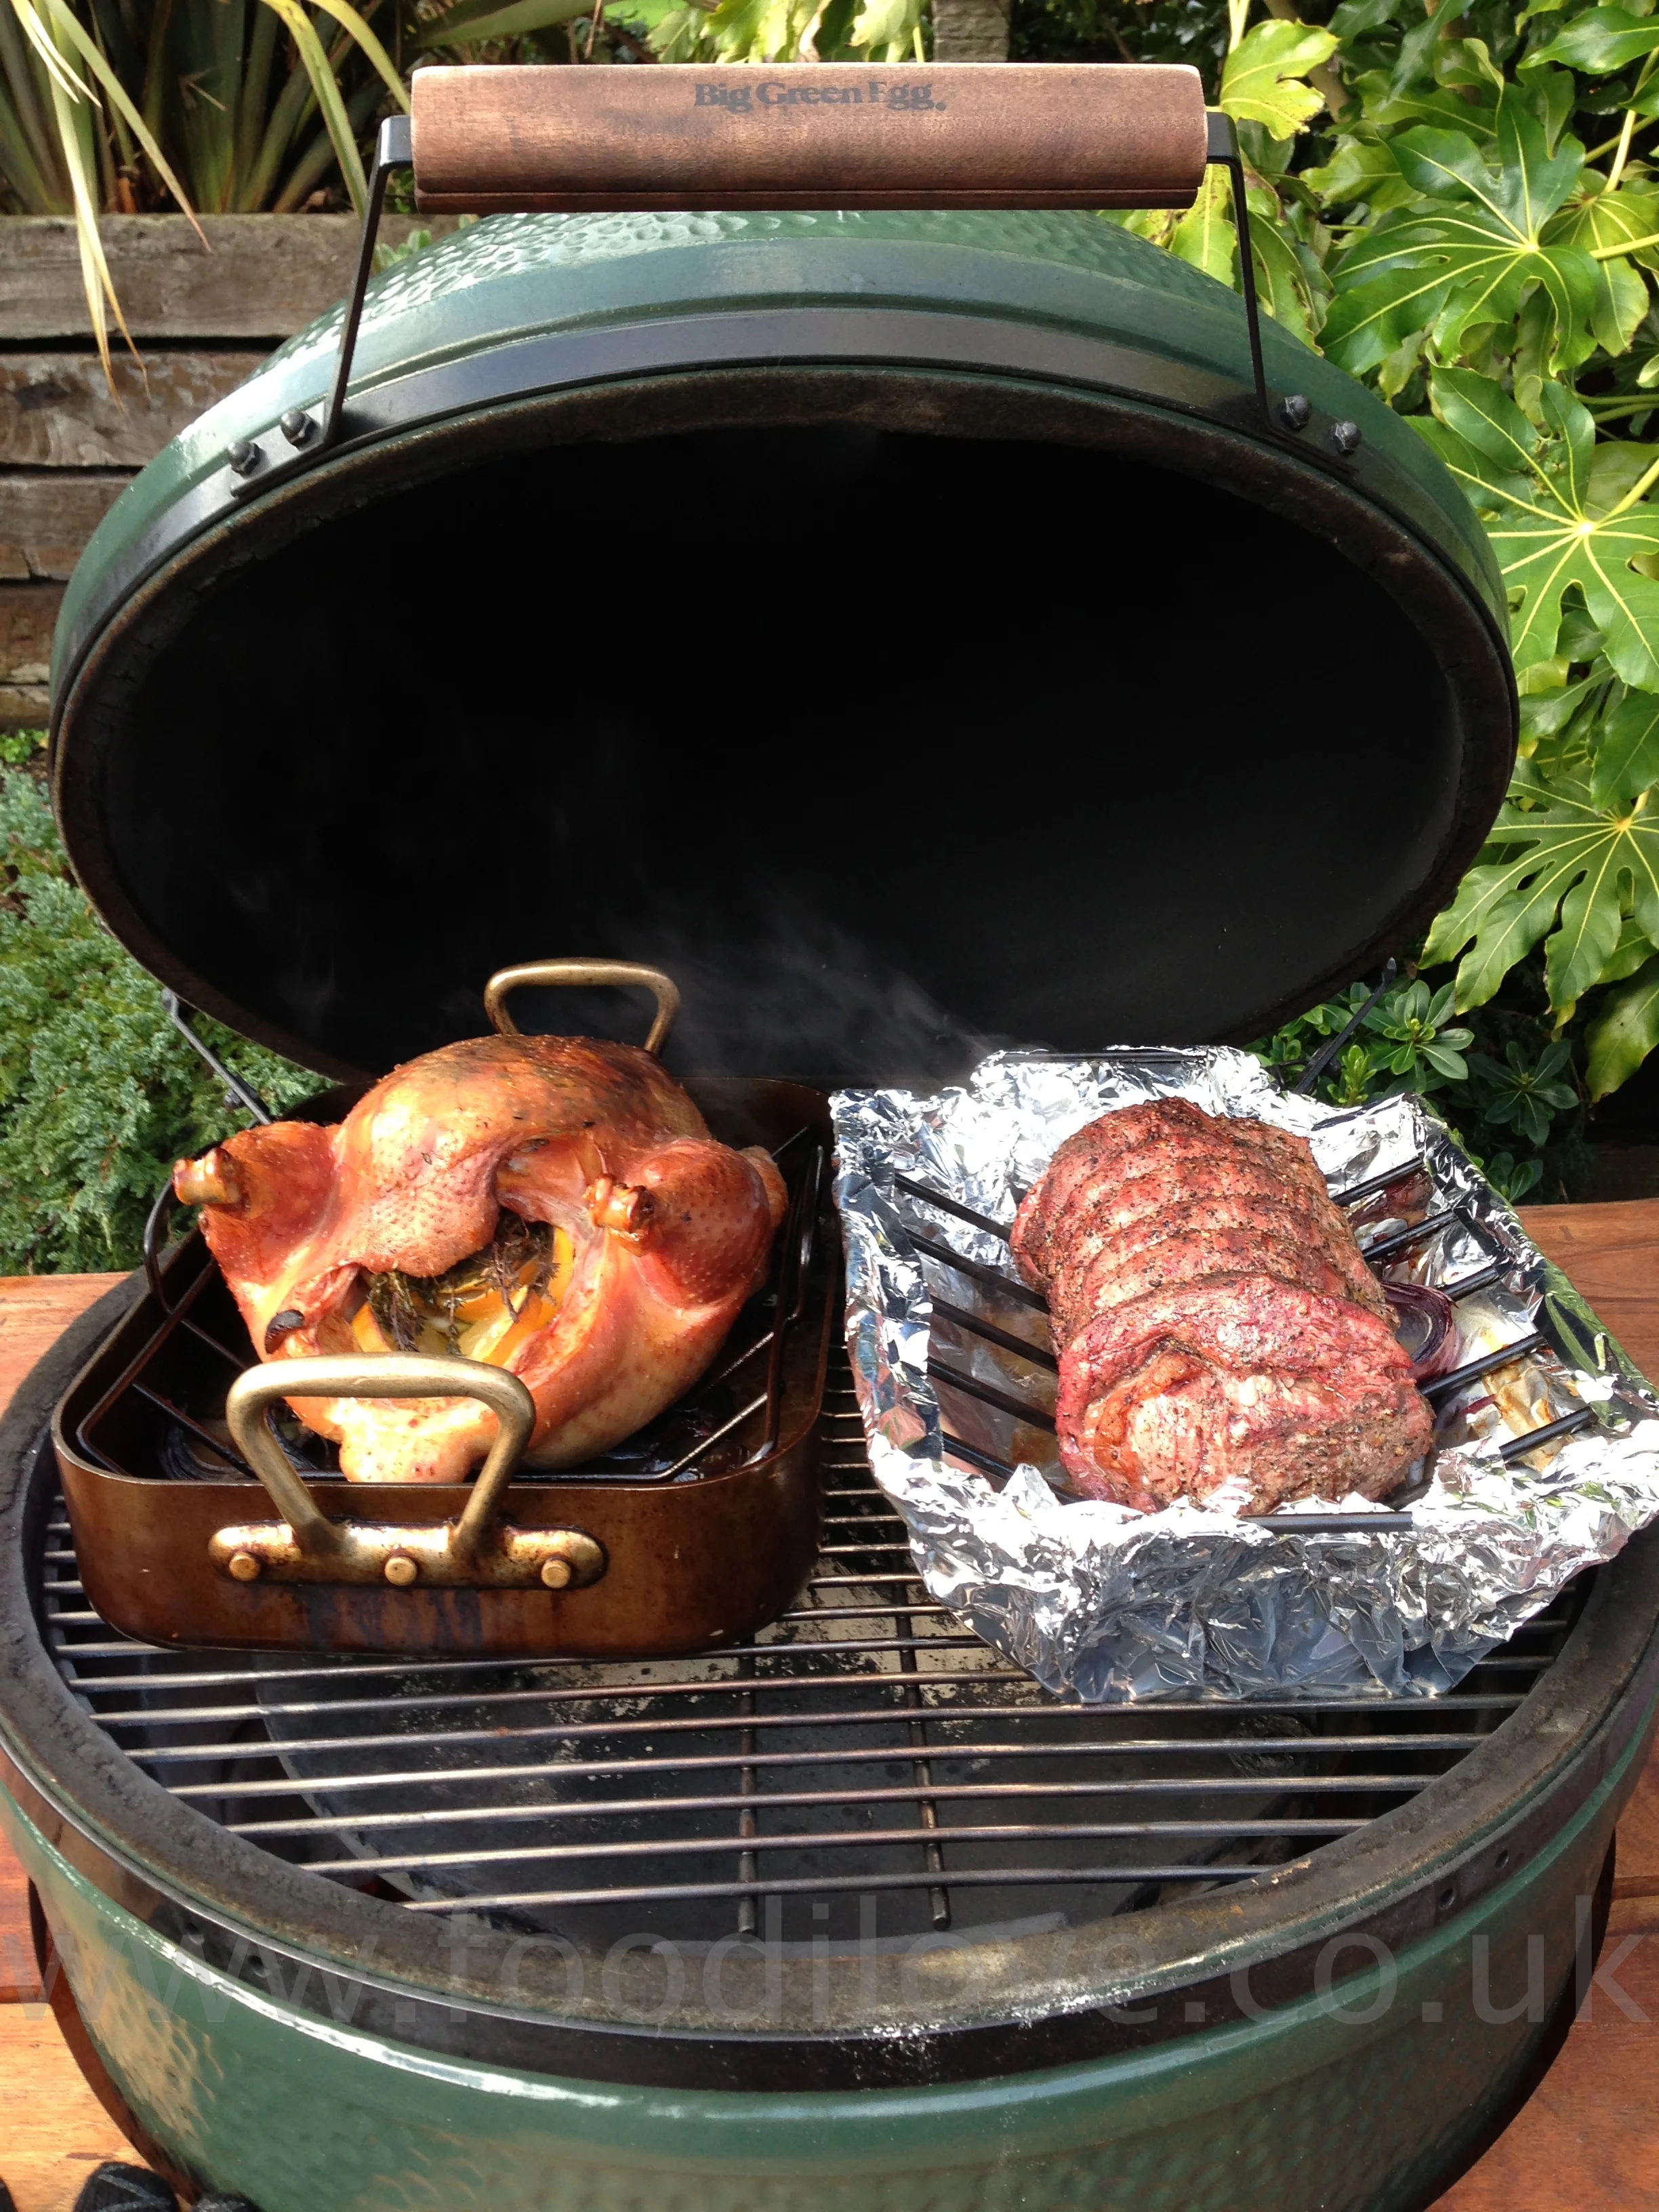
Once the potato’s have been cooking for 1hr, turn up the braai to 260°C (500°F) and place the fillet in the Braai for 20 mins, turning regularly so that it does not burn. It shouldn’t take any longer that this as this dish is best served rare!

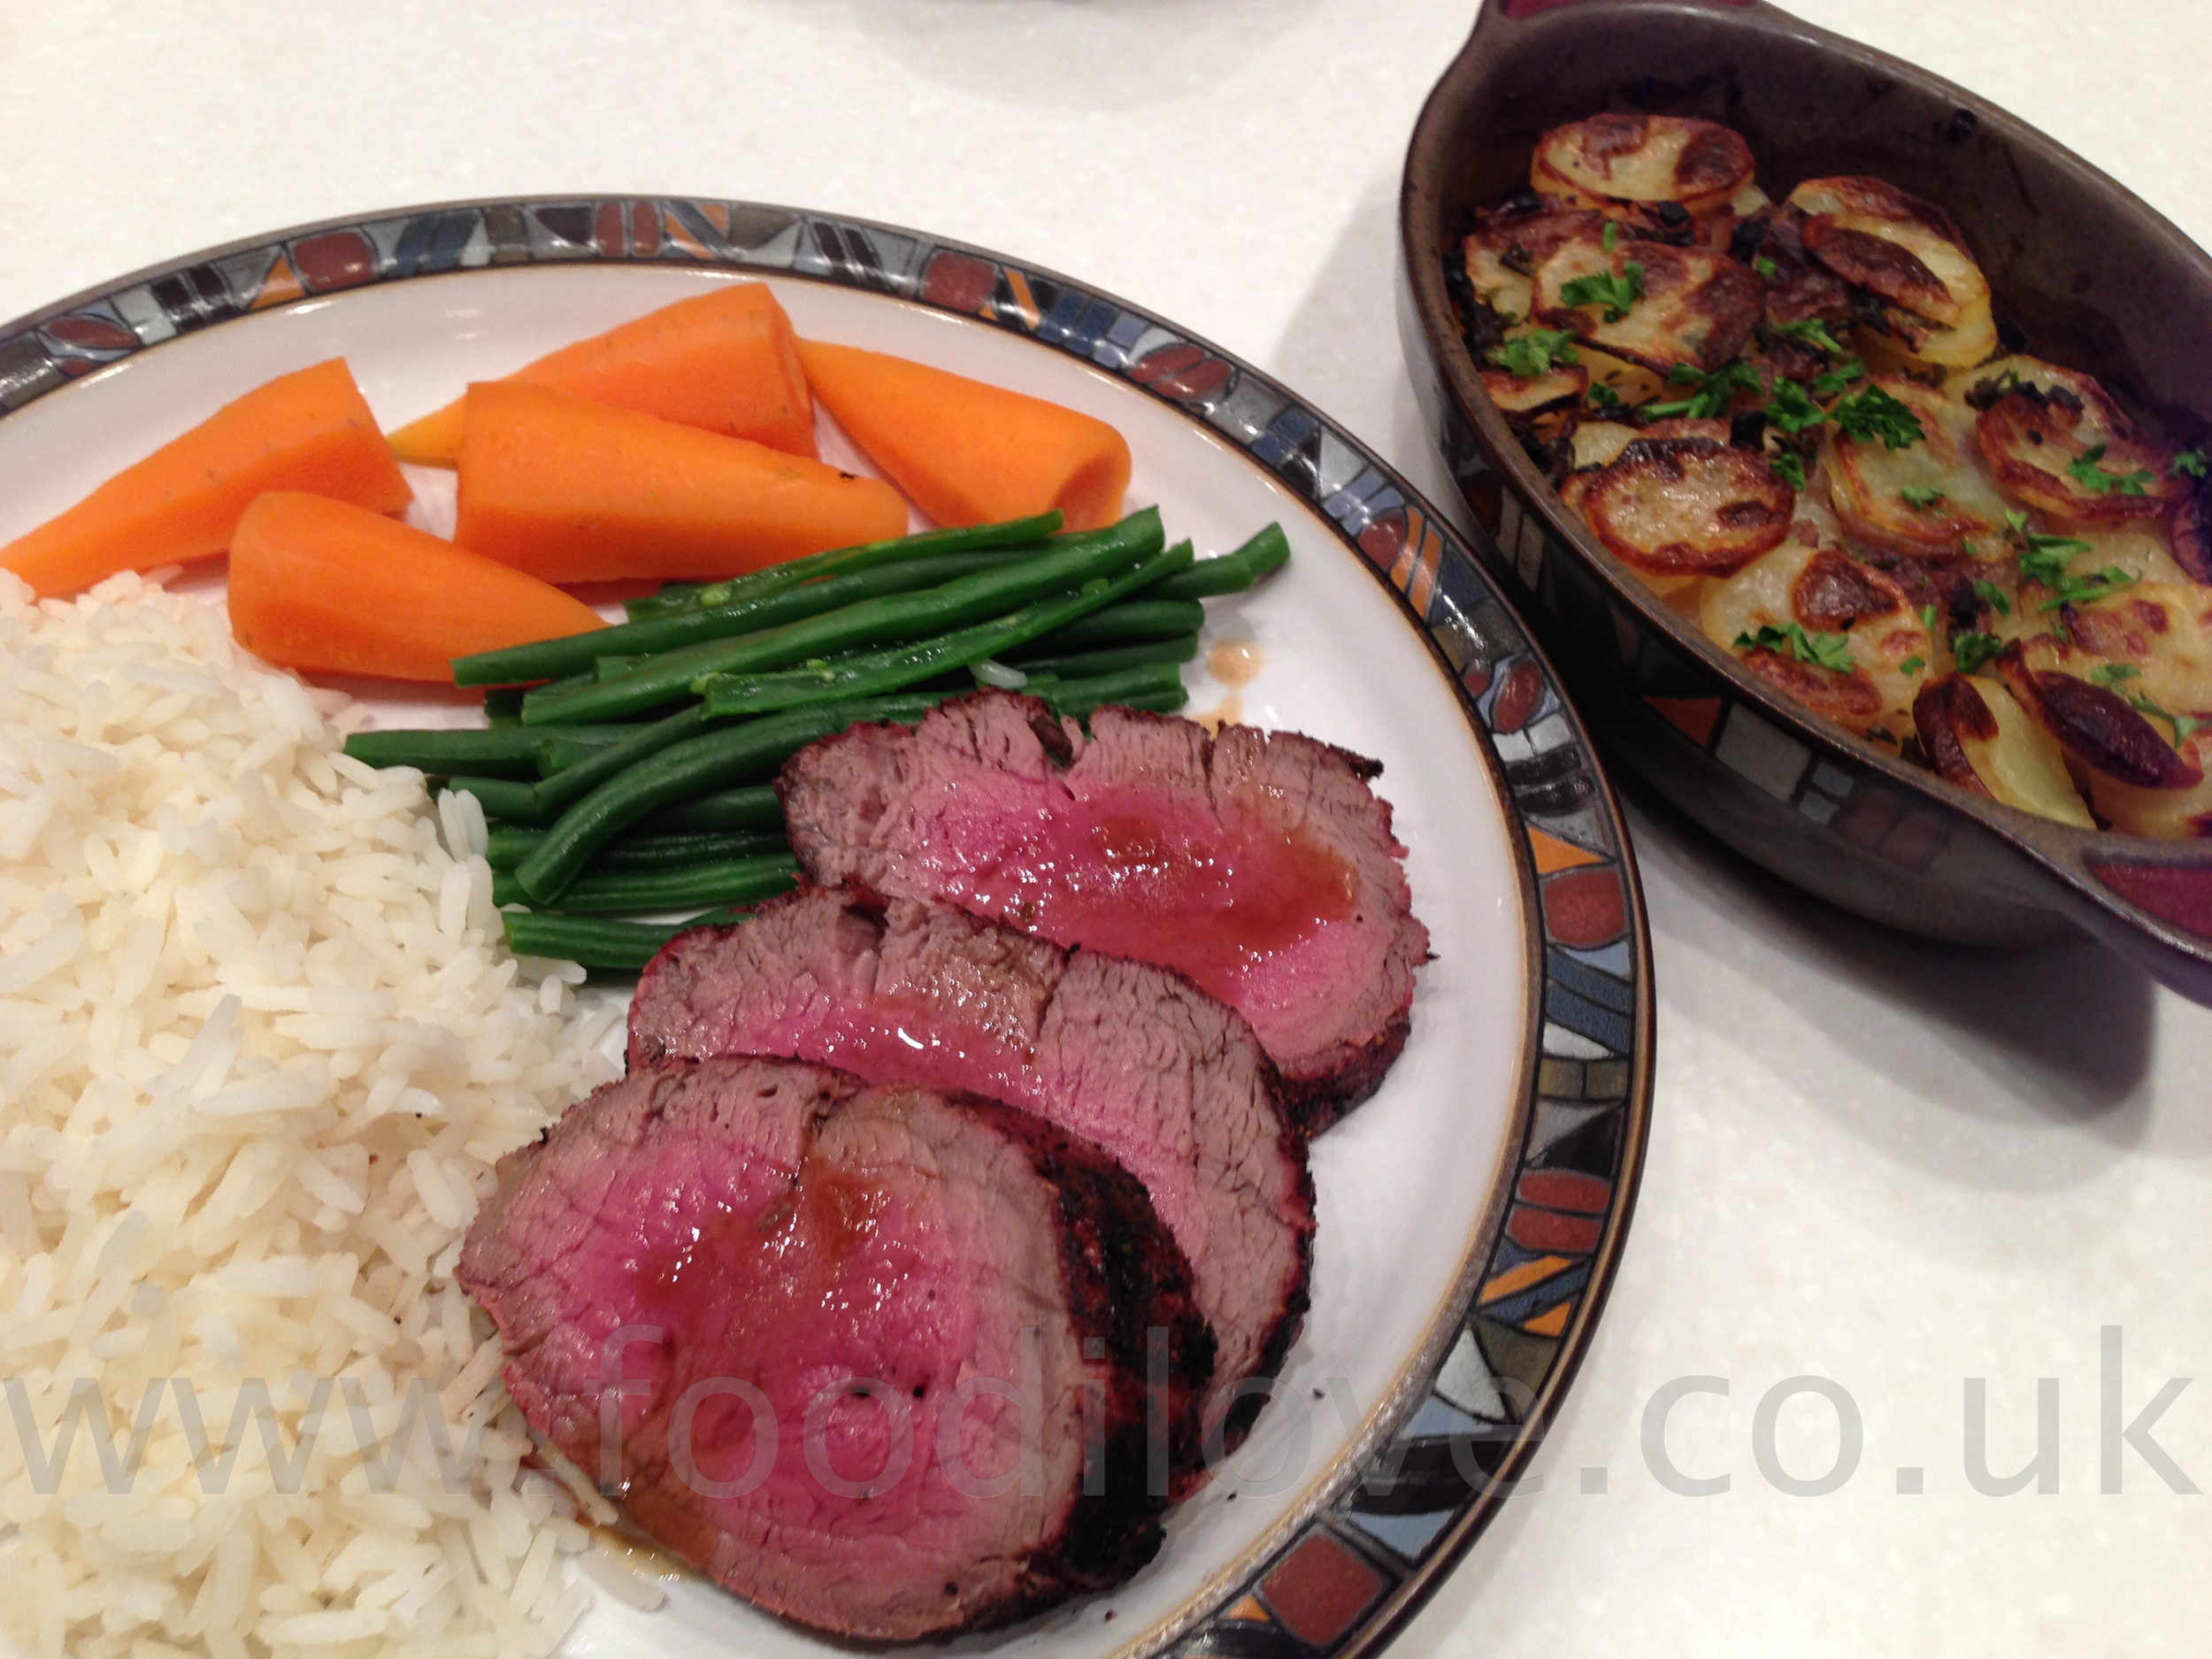
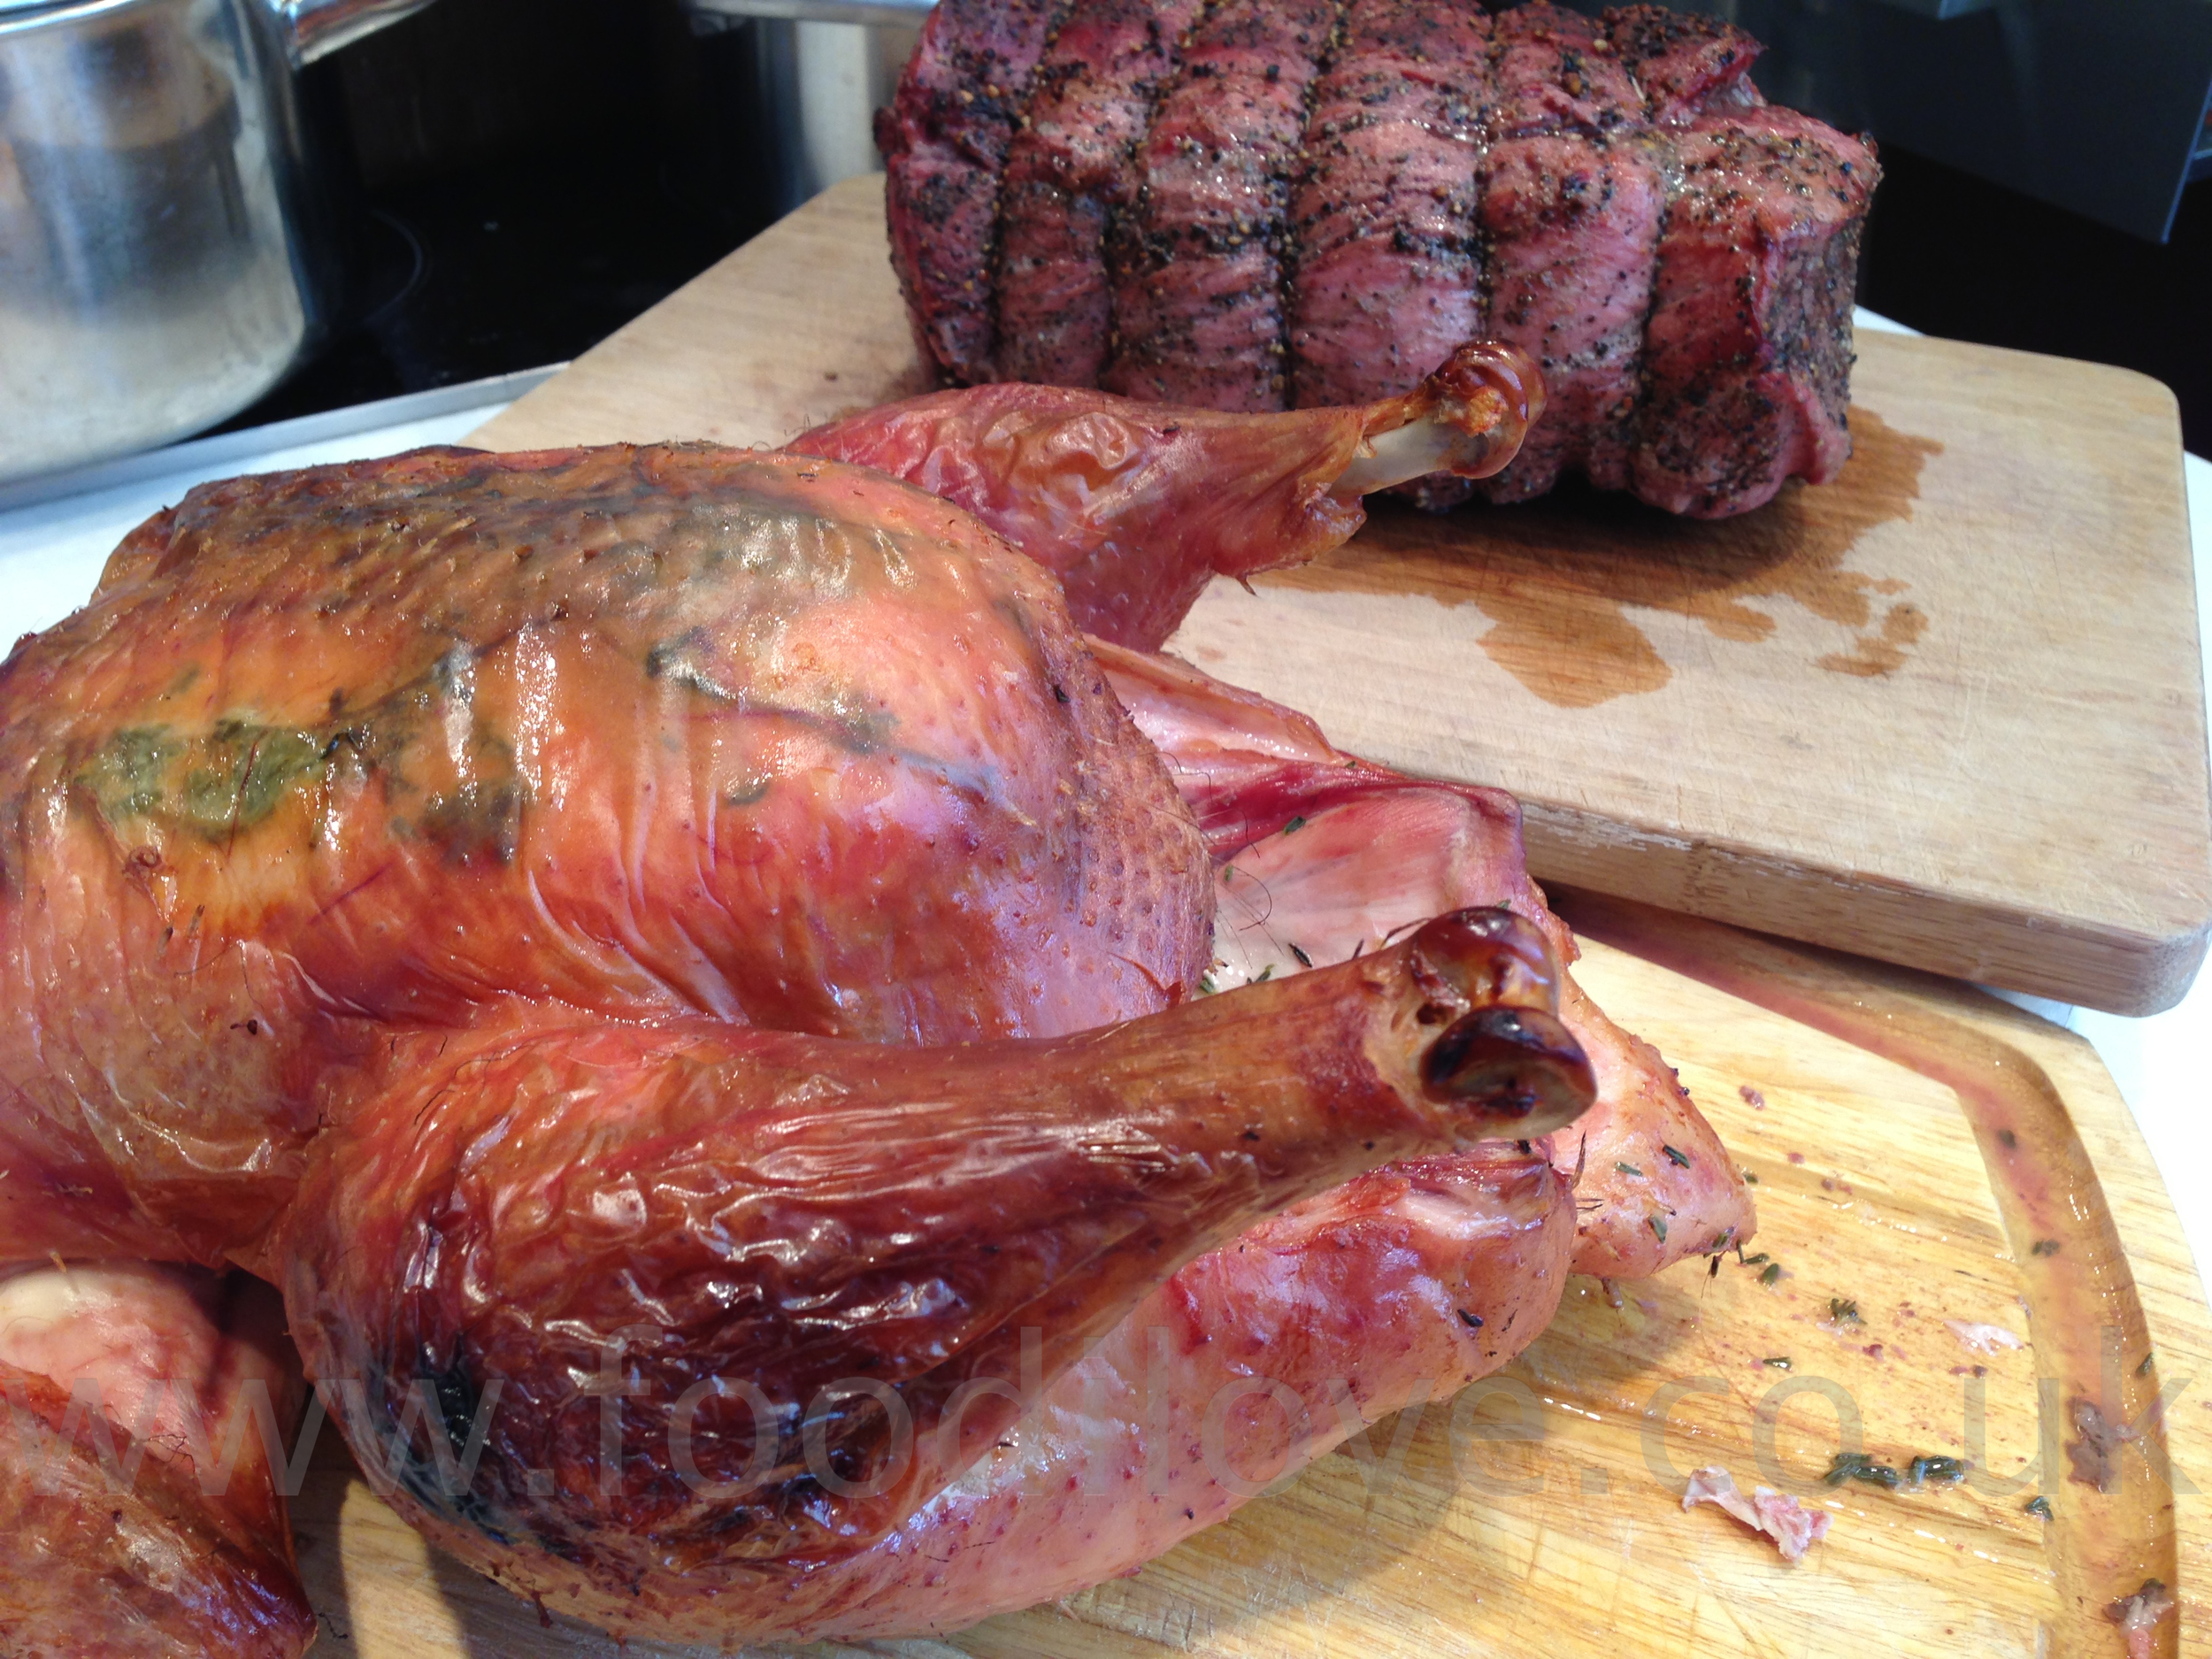
Once cooked remove both the potatoes and beef from the braai and set the beef aside to rest for 15 mins. The potatoes will not go cold as the are in a baking hot dish. As a South african I love rice so we served this up with a helping of Tastic rice and vegetables.

As you can see I only just managed to not overcook the fillet, that is the trick. Its so easy to leave it in the braai for a extra couple moments as you try to decide if its cooked enough. Remember when its resting its still cooking so don’t be tempted to leave it in the braai for a little longer. Please feel free to like and share this blog with other like minded nuts who enjoy Braaiing all year long.

View fullsize IMG_3545.jpg
View fullsize IMG_3579.jpg
View fullsize IMG_3583.jpg
View fullsize IMG_3585.jpg
January 25, 2013 /Larry Susman
Meat, Braai, Vegetables, Beef, Big Green Egg, Recipes, Roasts
2 Comments
Pistachio
Pavlova with Figs and Honey cooked on the Braai/BigGreenEgg

Pistachio Pavlova with Figs and Honey

January 18, 2013 by Larry Susman in Baking, Braai, Cakes, Big Green Egg, Recipes

Pistachio Pavlova with Figs and Honey cooked on the Braai/BigGreenEgg

It's time for something sweet to cheer us all up, unless you happen to be somewhere sunny! What the hell, lets cheer everybody up with this great desert which I am going to cook on the Braai/BigGreenEgg. This is something that I made up but the main ingredients go together like “pup and wors”, “Samson and Delilah” but its Pistachio, Figs and Honey all set on top of a classic Pavlova. What I hear you say, you cant cook this on a braai! Well let me assure you, you can, if its a "BigGreenEgg" man I think you can cook anything on one of these. I'm almost coming to believe in my ability to actually cook. Who knows, perhaps I will end up on TV as a Celebrity chef lol!!!

Actually, this is very easy to do and looks great when you serve it but even better it tastes absolutely LEKKER. This combination of ingredients just work and it will keep you coming back for more, the only problem is that there are about a 1000 calories in each slice ;-)

SERVES 6-10: PREP: 25MINS: COOK TIME:1-1.5HR

Ingredients for the Pavlova:

  • 6 x Large egg whites
  • 330g x White caster sugar
  • 2 x Tbsp corn flour (optional) if you want a soft meringue
  • 100g x Crushed Pistachio nuts

Method for cooking Pavlova:

Preheat the Braai/BigGreenEgg to 275ºF/140ºC. Line a baking tray with some wax paper to lay the meringue on and lightly oil it with some olive oil.

Place the egg whites in a large clean bowl and using an electric whisk on a low speed, begin whisking. Continue for about 2 minutes until the whites are foamy, then switch the speed to medium and carry on whisking until the egg whites reach thew stiff peak stage. Next, whisk the sugar in on high speed and add 1 dstp at a time until you have a stiff and glossy mixture. Next fold in the Pistachio nuts and the Spoon the mixture onto the baking tray and place in the centre of the Braai. Cook for about and hour. Next shut all the vents so that the braai goes out but leave the meringue in there to dry out, until completely cold.

View fullsize IMG_3460.jpg
View fullsize IMG_3463.jpg
View fullsize IMG_3467.jpg
View fullsize IMG_3470.jpg

Ingredients for the Pavlova topping:

  1. 16 x fresh figs
  2. 100g x Crushed Pistachio nuts
  3. 100ml x Honey
  4. 300ml x freshly whipped cream
  5. Knob of salted butter

View fullsize IMG_3484.jpg
View fullsize IMG_3492.jpg
View fullsize IMG_3485.jpg

Method for cooking Pavlova topping:

Melt the knob of butter in a frying pan and quickly sauté the figs for just 2 mins. This is just to soften the skin of the figs, poor a couple of spoons of honey over them and take off the heat. Set aside to cool until needed.

Just before you are ready to serve, whip the cream and then spoon onto the centre of the meringue. Next spoon the figs over the cream and sprinkle the crushed Pistachio nuts over the top. To finish it all off drizzle the remainder of the honey all over and serve.

View fullsize IMG_3497.jpg
View fullsize IMG_3505.jpg
View fullsize IMG_3501.jpg

I wasn’t sure how this would work or even if it could be cooked on the braai but I must say it came out fantastically and everybody just loved it. This is going to be one of those dishes that comes out more than once over the next year. All you need to do once you’ve eaten it is go down to the gym for about 3hrs to work it off. Once again please leave any feed back below, this really helps me work out what to do, many thanks. Larry

January 18, 2013 /Larry Susman
Baking, Braai, Cakes, Big Green Egg, Recipes
Comment
Ham to
Die for on the  Braai/BigGreenEgg

Double Smoked Ham on the Braai/BigGreenEgg

January 11, 2013 by Larry Susman in Meat, Braai, Smoking, Pork, Big Green Egg, Recipes

Ham to Die for on the Braai/BigGreenEgg

Well, it's another week closer to Spring and man I cant wait for this to arrive, its a miracle that I'm still braaiing every week with the weather we’ve had and it gets dark at 4.00pm. You can check me out braaiing with my cycling helmet on and light to see what the hell I'm doing lol. Guess what, it's now going to snow as well this week, so it will be interesting to see how the BGE works when it arrives.

This week I've cooked a leg of pork, to be precise its a smoked ham which I am going to smoke again. I've cheated a bit because I made this at the same time that I made the bread that I blogged about last week. Trust me, when I say these two together were just a match made in Heaven or Hell depending on wether you like or eat pork. So lets get on with it.

SERVES 10-12: PREP: 15MINS: SMOKE Time 2HR: COOK TIME:2-3HR

  • Preheat the Braai/BigGreenEgg to 200ºF/94ºC.
  • Place the hickory chips in a small bowl, cover with water and let soak for at least 1 hour.
  • Ingredients for the first stage of cooking:
  • 4 x Bay leaves
  • 12 x Cloves
  • 10g x Black Pepper corns
  • 1lt x Cider preferably Savanna (I forgot to being it back so we used Bulmers)
  • 1lt x cold water

Method for first stage of cooking:

Take the ham and place it in a very large saucepan and poor the cider and water over it. Add the Bay Leaves and cloves cover and bring to the boil. Leave this to simmer for 2 – 3 hr making sure that you turn it every 30 mins. This helps the salt to be drawn out from the smoked ham. Once its been cooking for 3hrs take it out and peel of the skin of the ham, this would not be great to eat anyway, so through it away. Score the ham in a diamond pattern with a sharp knife, ready for the next stage.

Ingredients for the second stage of cooking:

  • 100ml x Maple Syrup
  • 100ml x Bourbon
  • 100g x Cloves

Method for second stage of cooking:

Mix the Maple syrup and Bourbon together and brush over the ham. Take the cloves and push into the ham in the middle of each diamond. Brush the ham again with the mix and do so continually during the smoking so that it keeps the ham moist. Next add the wood chipping to the braai, place the ham in the middle of the BigGreenEgg and close the lid. Do not open for at least an hour and the baste every 15 mins with the mixture. Once its been smoking for 2 hrs take the ham out of the braai and place on a board and cover so that it can relax for 30mins at least before you carve.

View fullsize IMG_3283.jpg
View fullsize IMG_3326.jpg
View fullsize IMG_3362.jpg
View fullsize IMG_3369.jpg
View fullsize IMG_3296.jpg
View fullsize IMG_3323.jpg
View fullsize IMG_3380.jpg
View fullsize IMG_3381.jpg
View fullsize IMG_3379.jpg
View fullsize IMG_3388.jpg
View fullsize IMG_3391.jpg
View fullsize IMG_3390.jpg

All that is need now is to carve the ham and serve with either freshly baked bread (see last weeks blog) or with mashed potatoes, sauerkraut and some English mustard. Mmmm it tasted as great as it looks. Please leave any feed back below, this really helps me work out what to do, many thanks. Larry.

January 11, 2013 /Larry Susman
Meat, Braai, Smoking, Pork, Big Green Egg, Recipes
Comment
Quick and easy white and
Brown Bread on the BigGreenEgg!

Fresh Bread Baking on the BigGreenEgg Braai, hmm!

January 03, 2013 by Larry Susman in Braai, Baking, Big Green Egg, Recipes

Quick and easy White and Brown Bread on the BigGreenEgg!

Its still raining out there and all the stats show that its been the wettest year since records began in England and I like a doos decide to Braai every week for a Year!! What more can I say? But the truth is I've loved doing it, thats the braaiing side of things, having to write it up so that you can all see what you can actually cook on a braai apart form the traditional Steak, Chops and Wors has been challenging to say the least. From the feed back so far I think that i'm getting the balance right but if there is anything you would like to see me cook, please feel free to let me know below.

This week I'm going to make some home made bread and it not as hard as you think. I'm making both white and brown so check them both out and see which you prefer. Personally I think the brown it 10 times better. The method for making both is the same but obviously the recipes are different so I will not be repeating the method twice.

MAKES large 800g loaf

PREP: 15 MINS – PROVE 2-4HRS – COOK TIME: 25 mins

Ingredients for the Brown Bread

  • 500g Mixed Grain Bread flour if you can find it the "Wessex Mill" was fantastic
  • 2 teaspoons of dried yeast or 15g or fresh yeast
  • 320 ml of lukewarm water  
  • 1.5 tsp sugar
  • 10g or 1.5 teaspoon of salt
  • 2.5 tbsp of olive oil
  • Flower (to sprinkle on the cooking surface so that its does not stick)
View fullsize IMG_3335.jpg
View fullsize IMG_3339.jpg

MAKES 4 large rolls

PREP: 15 MINS – PROVE 2-4HRS – COOK TIME: 20 mins

Ingredients for the White Bread

  • 450g of plain all-purpose flour as suggested
  • 2 teaspoons of dried yeast or 15g or fresh yeast
  • 215 ml of lukewarm water  
  • 1 tablespoon of castor sugar superfine
  • 1/2 teaspoon of salt
  • 3 teaspoons of olive oil
  • Flower (to sprinkle on the cooking surface so that its does not stick)

Method for making the Bread

Pre Heat the Braai to 250°C (480°F)

Okay, put the sugar and yeast into small bowl and stirring in 90 ml of the water. Leave it in a draft free spot to activate. If it doesn't start bubble and ferment in about five minutes, then you are going to have to start again as this is an important part process. Your yeast must be fresh and active as this is what is going to make your dough rise.

Then mix the flower and salt in a bowl or food processor fitted with a plastic blades, do it by hand it's a lot more fun. Add the olive oil and the remaining water to the flour as well as the balance of the yeast mixture and start to stir until it makes a loose crumbly mix, then roll into a ball and empty it onto flat surface covered with flour. Now you are going to have to knead for at least eight to ten minutes. If you need to add a little more flour or a few drops of water do so as necessary. The final dough should not be sticky but is dry to the touch.

Next rub the inside of a large bowl with some olive oil, place you dough mix into it and then roll the ball around the bowl and coat with the olive oil. Then cut small crossing the top of the dough with sharp knife and cover with a teacloth or put it in a large plastic bag with space to grow and leave in a draft free area for about 1 - 1.5 hours until the dough has doubled in size. Once it has risen quite substantially, to double its original size, you will need to punch it down to reform it to the size it was originally. You'll notice that it seems to be very light and airy (it will be slightly heavier with the brown) and if it's like this then you're onto a winner.

At this stage you can now store it for up to 4 hours in the fridge to use later, just remember to bring it back to room temperature before you start to use it. This is where the fun starts, I'm going to make the white into rolls and leave the brown as one large loaf so cut your dough into 4 and roll into balls, then using the palm of your hand you are going to kneed the dough for a second time for a minuet or two. Then reshape and cover with a teacloth or put it in a large plastic bag with space to grow and leave in a draft free area for about another two hours to prove again. I suggest leaving it at this stage on the baking tray or bread peel that you will use to put it in the braai to cook with. This is so that you don’t have to pick the dough up again, which will cause you to knock the air out of it and this is where it will sink and you will end up with a poorly risen loaf of bread.

View fullsize IMG_3342.jpg
View fullsize IMG_3352.jpg
View fullsize IMG_3343.jpg
View fullsize IMG_3353.jpg

All you will need to do now is cut two or three cuts along the dough, this not only makes it look good but helps with the even baking of the bread, just sprinkle some flour over the dough and this will also stop it from burning the top of the bread. Place it in the braai/BigGreeEgg and close the lid, whatever you do don’t be tempted to open the lid for the first 10 mins of the bake. This will only cause the bread to deflate and sink not only that it also stops the yeast from being baked off. If you don’t allow the heat to kill the yeast you will end up with a severe case of indigestion, as the bread will still be fermenting in your chest after you have eaten it.

After about 20 mins or so open the lid up and carefully lift up the bread, turn it on its side and give it a tap with your knuckle. If it sounds like a drum then its cooked if not place it back down and give it another couple of mins to bake.

Once cooked place on a rack to cool for 20 mins at least below you are tempted to break open and eat. That is going to be the longest 20 mins that you will have experienced for a while. The smell of freshly baked bread is just so tempting and will bring back memories of your childhood that you did not know you had. My whole family just loved the brown loaf and said it was better than anything we can buy locally, which is fantastic but now they want me to bake it every other day, Help!

View fullsize IMG_3355.jpg
View fullsize IMG_3375.jpg
View fullsize IMG_3399.jpg
View fullsize IMG_3402.jpg
View fullsize IMG_3407.jpg

All you need now is some cold fresh butter, none of that margarine crap please and a big dollop of fig Jam, Hmmmm.

January 03, 2013 /Larry Susman
Braai, Baking, Big Green Egg, Recipes
Comment
Christmas Lunch on the Braai cooked on
the BigGreenEgg!

Christmas Lunch on the Braai, cooked on the BigGreenEgg!

December 28, 2012 by Larry Susman in Meat, Braai, Food Websites, Chicken, Beef, Big Green Egg, Recipes, Roasts

Braaiing in the rain in storm force winds.

As I said last week I'm glad that I had a test run making half of the christmas lunch, thus giving me no excuses to get it wrong this week. In addition to cooking a Capon on the Braai I'm also going to braai a whole Rib Eye of Black Gold Beef which we sell in our shop and on the web site www.biltong.co.uk .

I'm sure that most of you can remember having Christmas lunch around the pool or on the beach in 80 degree sunshine, well for me, those days are long gone and now I find myself braaiing in the rain and getting blown away at the same time. I must be nuts!! But I'm holding up the flame for US BRAAI NUTTERS from SA who insist on braaing on Christmas Day no matter what and I can tell you it was well worth the effort.

Sorry if i'm repeating myself but I will be listing the recipe for the Capon again plus the cooking instructions for the rib eye. The spicing of the Beef is going to be very basic but simplicity is the best way to braai beef in my opinion. As this is being posted after Christmas Day, I hope that you all enjoyed the festive season, whatever you were doing. Needless to say the curry that I hinted at was not required as the meat part of the lunch turned out perfectly as well as the accompanying vegetables that were prepared and cooked by the rest of the family.

SERVES 4-8 - PREP: 5 MINS     -    COOK TIME: 1 - 2hrs

Ingredients for the Beef

  • 1 x Beef Rib Eye 2.5kg
  • 1 x tbsp Sea Salt
  • 1-2 x tbsp Black Pepper corns

Method for cooking beef

  1. Preheat the Braai to 230°C (446°F)
  2. Take the beef out of the fridge so that it comes to room temperature before aplying the spices and cooking
  3. Pour the salt and pepper corns into a pestle and grind into a course mix, this is so much better than using pre ground as the aroma’s really come out.
  4. Rub the mix all over the beef 5 minutes before you place on the braai to cook, this is so that the salt does not take all the moisture out of the beef. You want it to season, not preserve.
  5. Place on a roasting rack, cover with tin foil and place in the braai for 1hr. After an hour take the foil off and allow the beef to colour for about 30 mins, this should give you medium rare beef, add 15mins to bring to medium and another 20 for well done.
  6. Once cooked take out of the braai and allow to rest for 20 mins before you carve.

SERVES 4-8 - PREP: 10 MINS     -    COOK TIME: 2 - 2.5hrs

Ingredients for the Capon and sauce

  • 1 x Capon 4.6kg / large free range chicken or even your turkey
  • 2 x large lemons, 1 thinly sliced and the other halved
  • 150gm x salted butter
  • 3 x large red onions, peeled and quartered through the root
  • 1 x 30g pack fresh thyme (reserve a few sprigs and roughly chop the remaining leaves)
  • 2 x cloves garlic, peeled and crushed

  • 1 x teaspoon olive oil
 Seasoning

For the gravy

  • 425ml dry white wine
  • Juice of 1 lemon

View fullsize IMG_3413.jpg
View fullsize IMG_3415.jpg
View fullsize IMG_3419.jpg

Method for cooking Capon

  1. Preheat the Braai to 230°C (446°F)
  2. Take a knob of butter and slide it under the skin on the Capon along with some thyme, this will help the breast stay succulent.
  3. Next mix the sliced lemon with the remaining thyme and place it inside the cavity of the capon and position it in the centre of the tin.
  4. Add some seasoning then arrange the vegetables all around.
  5. Add more seasoning, then place the capon on a rack in the middle of a roasting tin, Cover the Capon with some silver foil. Then place it on the centre shelf of the braai and time it for 90 minutes without opening the lid. Then remove the foil and allow the capon skin to crisp up for 20 mins (Because Braai`s vary, test the thickest part of the chicken with a skewer – if the juices run clear it is cooked. If not give it another 10-15 minutes).

Method for making the gravy

  1. Now remove the vegetables to a serving dish and keep warm. Then spoon out the lemon slices into the tin, put a wooden spoon into the cavity and, using a spatula to hold the breast end up, tip the capon and let all the juices run out into the tin.
  2. Transfer the capon to a carving board and leave it in a warm place to rest for 20 minutes.
  3. Next stir the juices in the tin to release any crusty bits and transfer everything to a medium saucepan. Now add the wine, bring it up to a simmer and let it bubble and reduce by half – this will take about 8-10 minutes. Then add the lemon juice, taste and season.
  4. Carve the capon and serve with the vegetables on warm plates.
  5. Add any escaped chicken juices to the sauce then spoon it over the chicken and serve the rest in a warmed jug.

View fullsize IMG_3435.jpg
View fullsize IMG_3424.jpg
View fullsize IMG_3441.jpg

I can only say a big sorry for the fact that there are no images of this plated up but the family were not willing to wait for me to set up the shots as they were eating as I carved it. Even if I say so myself this was a great meal, simple and easy to prepare for me that is (Janet made 11 different veg and potatoes to go with the meat) man what a feast! Could not move the rest of the day LOL. Please leave your comments below as usual, always interested to hear what you think. Merry Christmas Larry

December 28, 2012 /Larry Susman
Meat, Braai, Food Websites, Chicken, Beef, Big Green Egg, Recipes, Roasts
Comment
  • Newer
  • Older

© 2017 Susmans Best Beef Biltong Co Ltd