Food I Love

& my Big Green Egg

Join me as I share my kitchen adventures and mishaps while trying to create simple food inspired by childhood memories back in South Africa. 

  • Home
  • Blog
  • About
  • Gallery
    • Braai Images
    • Big Green Egg Images
  • Contact Me
To Buy or Not To Buy a BigGreenEgg that is the question?

To Buy or Not To Buy a BigGreenEgg?

July 19, 2013 by Larry Susman

To Buy or Not To Buy a BigGreenEgg that is the question?

Welcome to this weeks’ blog,

I know that you thought that this was going to be the last one of the year. However I’ve had to make a change as we extended the competition to win £50 of gift vouchers to use on our web site www.biltong.co.uk and I have to go away this week to see my son graduate after 4 years of hard work at Uni.!!! No really, he has done so well and we are so proud of him, he actually got a 1st, which is fantastic and goes to show that if you spend enough time in those halls of learning called a "Pub" you will succeed LOL.

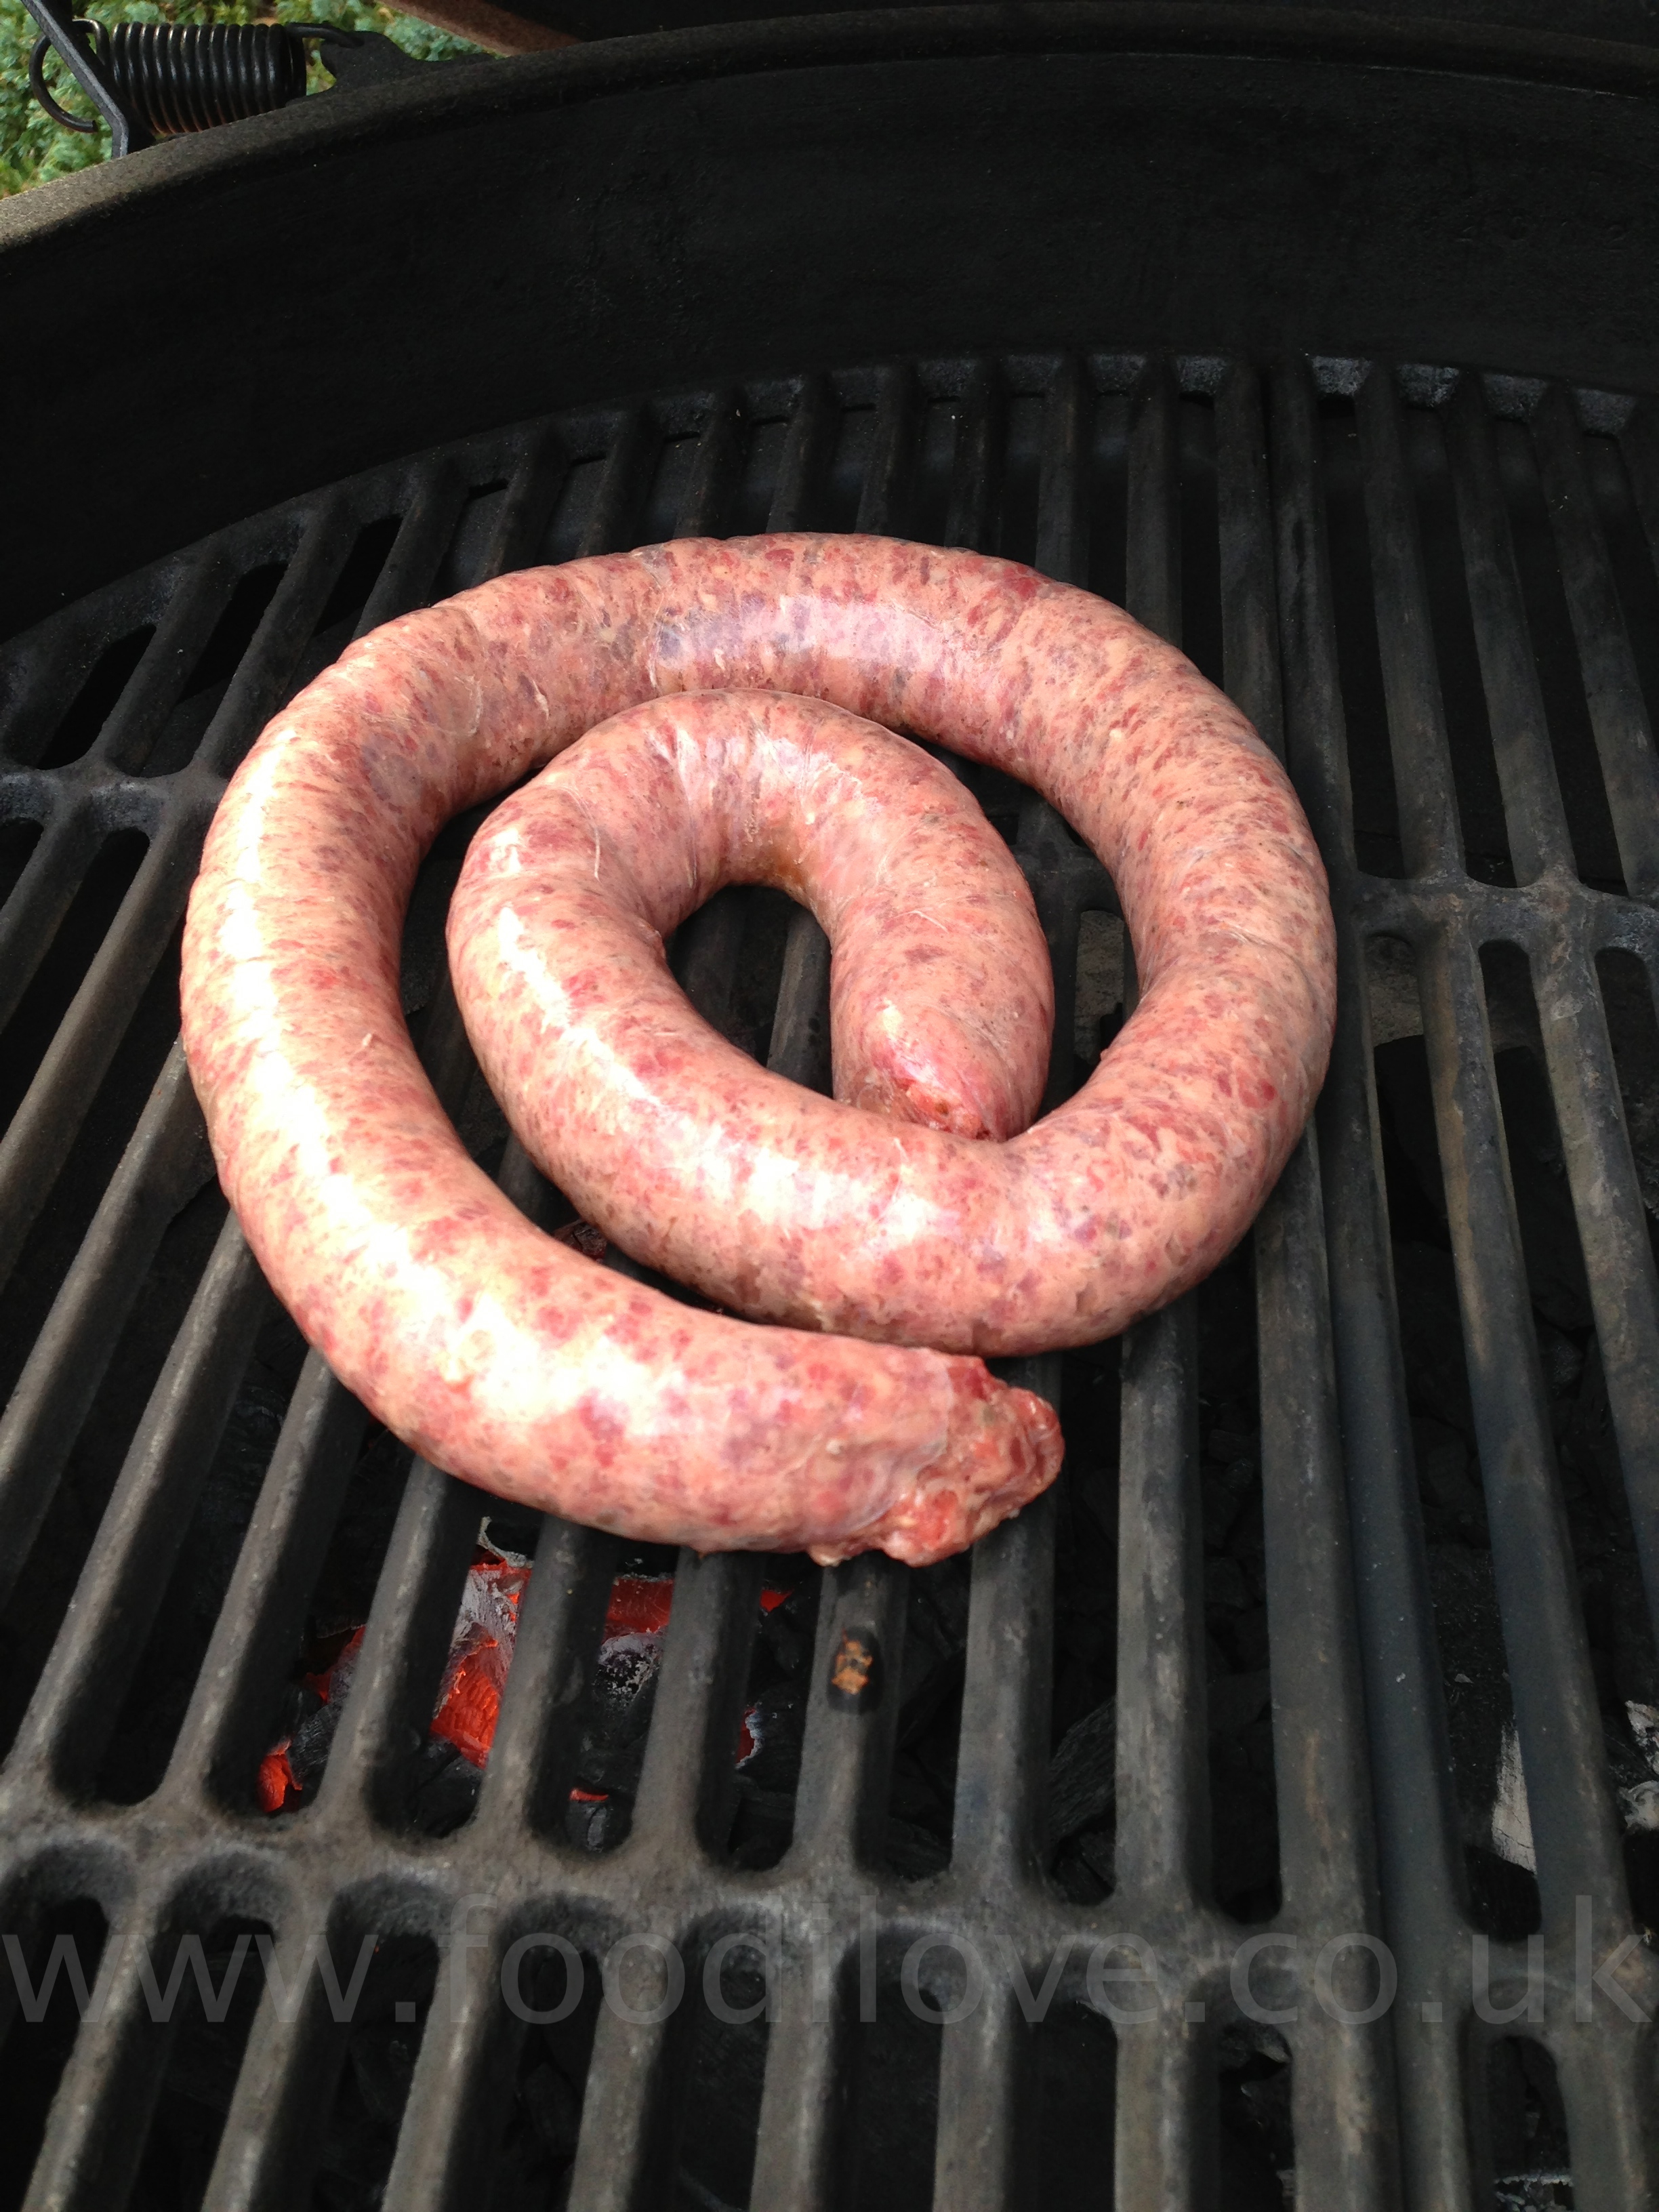
So this week I have decided to give you a true and extremely honest assessment of the Braai I have been using for this year to cook everything on, warts and all. With the last of the committed braai blogs next week but it will continue on a more casual basis, so don’t leave us. I will be braaiing some new great things and revisiting recipes that I have done over the year and posting updates and improvements where I have made some.

Firstly I should explain that I decided to take on this challenge after hearing about the BigGreenEgg on a blog that I listen to in the US and so I searched them out in the UK and went to look at one. From the moment I saw them I knew that I wanted one, man they look so great and when I was given a demonstration on how they cooked, "I was blown away by them!". I did not start out with the intention of selling them on our web site, I just wanted one to use. I thought that these braai's looked better than anything I had ever seen and on the drive back home, I discussed with Jan what we thought about a braai that cost over a £1000.00 for the XL one.

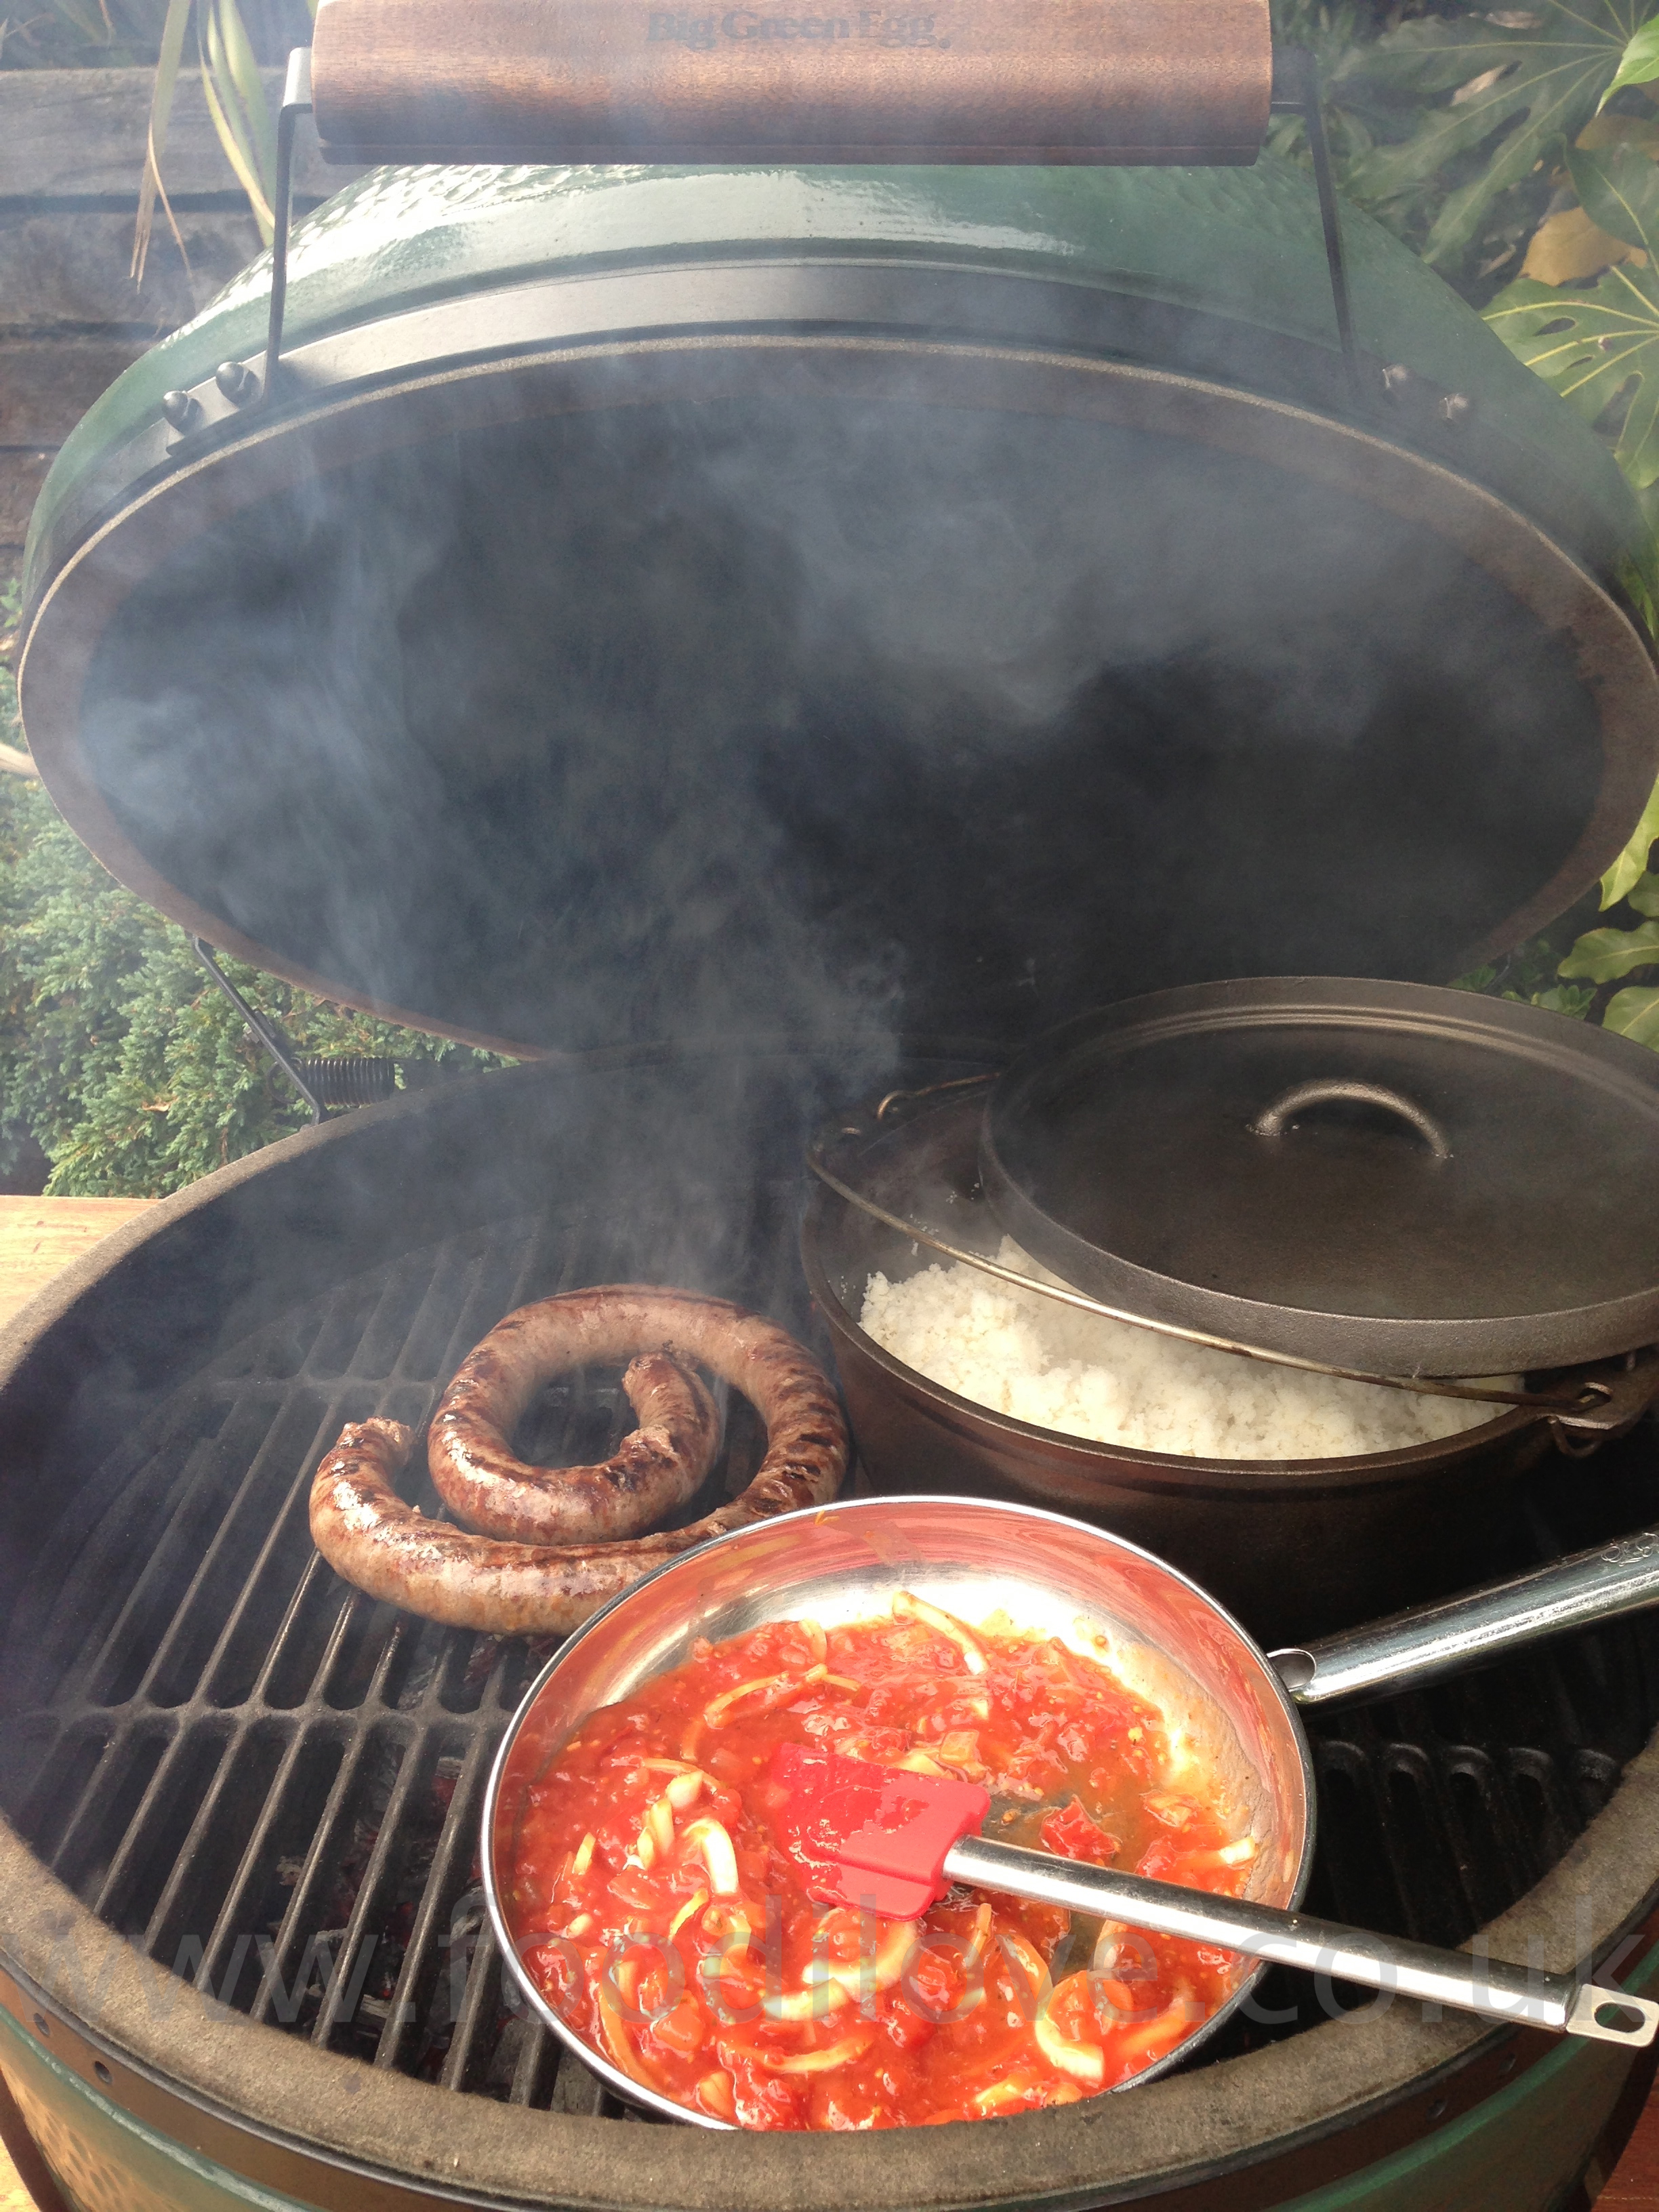
Well if you’re a South African I’m sure you know how I felt, I had to have one and after talking it through with Jan I came up with the idea of trying to cook on this every week for a year. I had been braaiing on a Gas Braai for some time and before you throw your toys out of the pram, it’s a convenience thing in the UK. It’s not that easy to get good dry wood and charcoal all year round here (you can now from our website) but when I saw how easy it was to light the Egg, "watch the video here" I was sold. That was even before they told me that you don’t have to clean it out every time you use the thing. In fact I only have to empty the ashes, on average, after every 8-10 uses and this is so easy to do from the bottom vent and takes about 2 mins using the tool supplied.

After long negotiations with the BigGreenEgg Company, we decided to become a stockist of these great braai's and I would do this blog. Which, you have kindly decided to follow and I thank you all for your support and comments over the year. After using this braai at least 2-3 times a week over the year (the wettest in the UK for over a 100 Years!) I think that I’m qualified enough to give a true assessment of this product. Just one thing, this is my personal opinion and it doesn’t mean you have to agree with it. Also I’m not beholding to the BigGreenEgg Company in anyway or form and they do not pay me to do this blog. I haven’t done this to improve sales in anyway and this is 100% accurate from my experiences using this braai.

So let’s start at the beginning with the cover:

It’s over £200 to start with and that’s more than some braais cost! However it is made from a heavy-duty plastic coated canvas and fits perfectly with side vents to let it breath. You can see from the photo that it has faded over time but it is still in extremely good condition and it has done a very good job of keeping the braai and table in perfect condition. So in my opinion it’s worth the money, I did have to use a cheap cover until this one was delivered, as they are custom made. You get what you pay for with everything in the BigGreenEgg range, as quality is how they have made their name.

The Royal Maho  gany Table:

This cost £850, this is not cheap for a table, which was the main reason I travelled 100 miles to see one. However it is really solid and made from thick Mahogany and comes in over 100kg in weight. So make sure that you decide where you want to place your braai and table before you put it all together as the whole unit is over 200kgs and will take some big boys to move this after construction.

The BigGreenEgg Braai:

I opted for the XL, which is now £1200.00, as I planned to cook for plenty of guinea pigs over the year and I wanted to do some large meat braais on it. And as we all know bigger is always better! Not always true as bigger means you will cook more than you need and use more charcoal and wood than you need to, so take a little time and choose the correct size for your needs.

It took me little over an hour to put this together initially and I’m no handy man, so it’s easy, just take time and be gentle. The XL is over 100kg when constructed so don’t try to pick it up and place it in the table once its built, build it in it to start with. For all other sizes you can have them pre-made for a small free and I would recommend this, as your time is better spent cooking. I have not found anything to complain about on these braai's, they are constructed extremely well and are of such high quality, that they offer a lifetime guarantee on them. The ceramic construction is amazing and is still in perfect condition after a year’s heavy use in all weathers, rain, snow and even a little sun. The cast-iron grills and all the attachments are extremely good quality and justify the cost easily. Don’t waste your time trying to find cheaper equivalents as you will just be wasting you’re time and money in the long run.

There are so many different EGGcessories to choose from that you might have to sell the kids to buy all that you want! Take time to choose the essentials before getting too carried away, in my opinion you definitely need the Cast Iron Grill, Plate Setter and Baking Stone. With these three things you can cook everything I have done so far over the year.

View fullsize IMG_5202.jpg
View fullsize IMG_5198.jpg
View fullsize IMG_5195.jpg
View fullsize IMG_5203.jpg

On the down side, the only thing I’ve had go wrong (not wrong really just worn out after so much use and is not unreasonable) is the gasket needed to be replaced. This cost £20 and took me about an hour to do, simple and easy, just make sure that you clean all signs of the old one off before you stick on the new one. There are great instructions on their web site on how to do this, in fact anything you need to know about their range is on there.

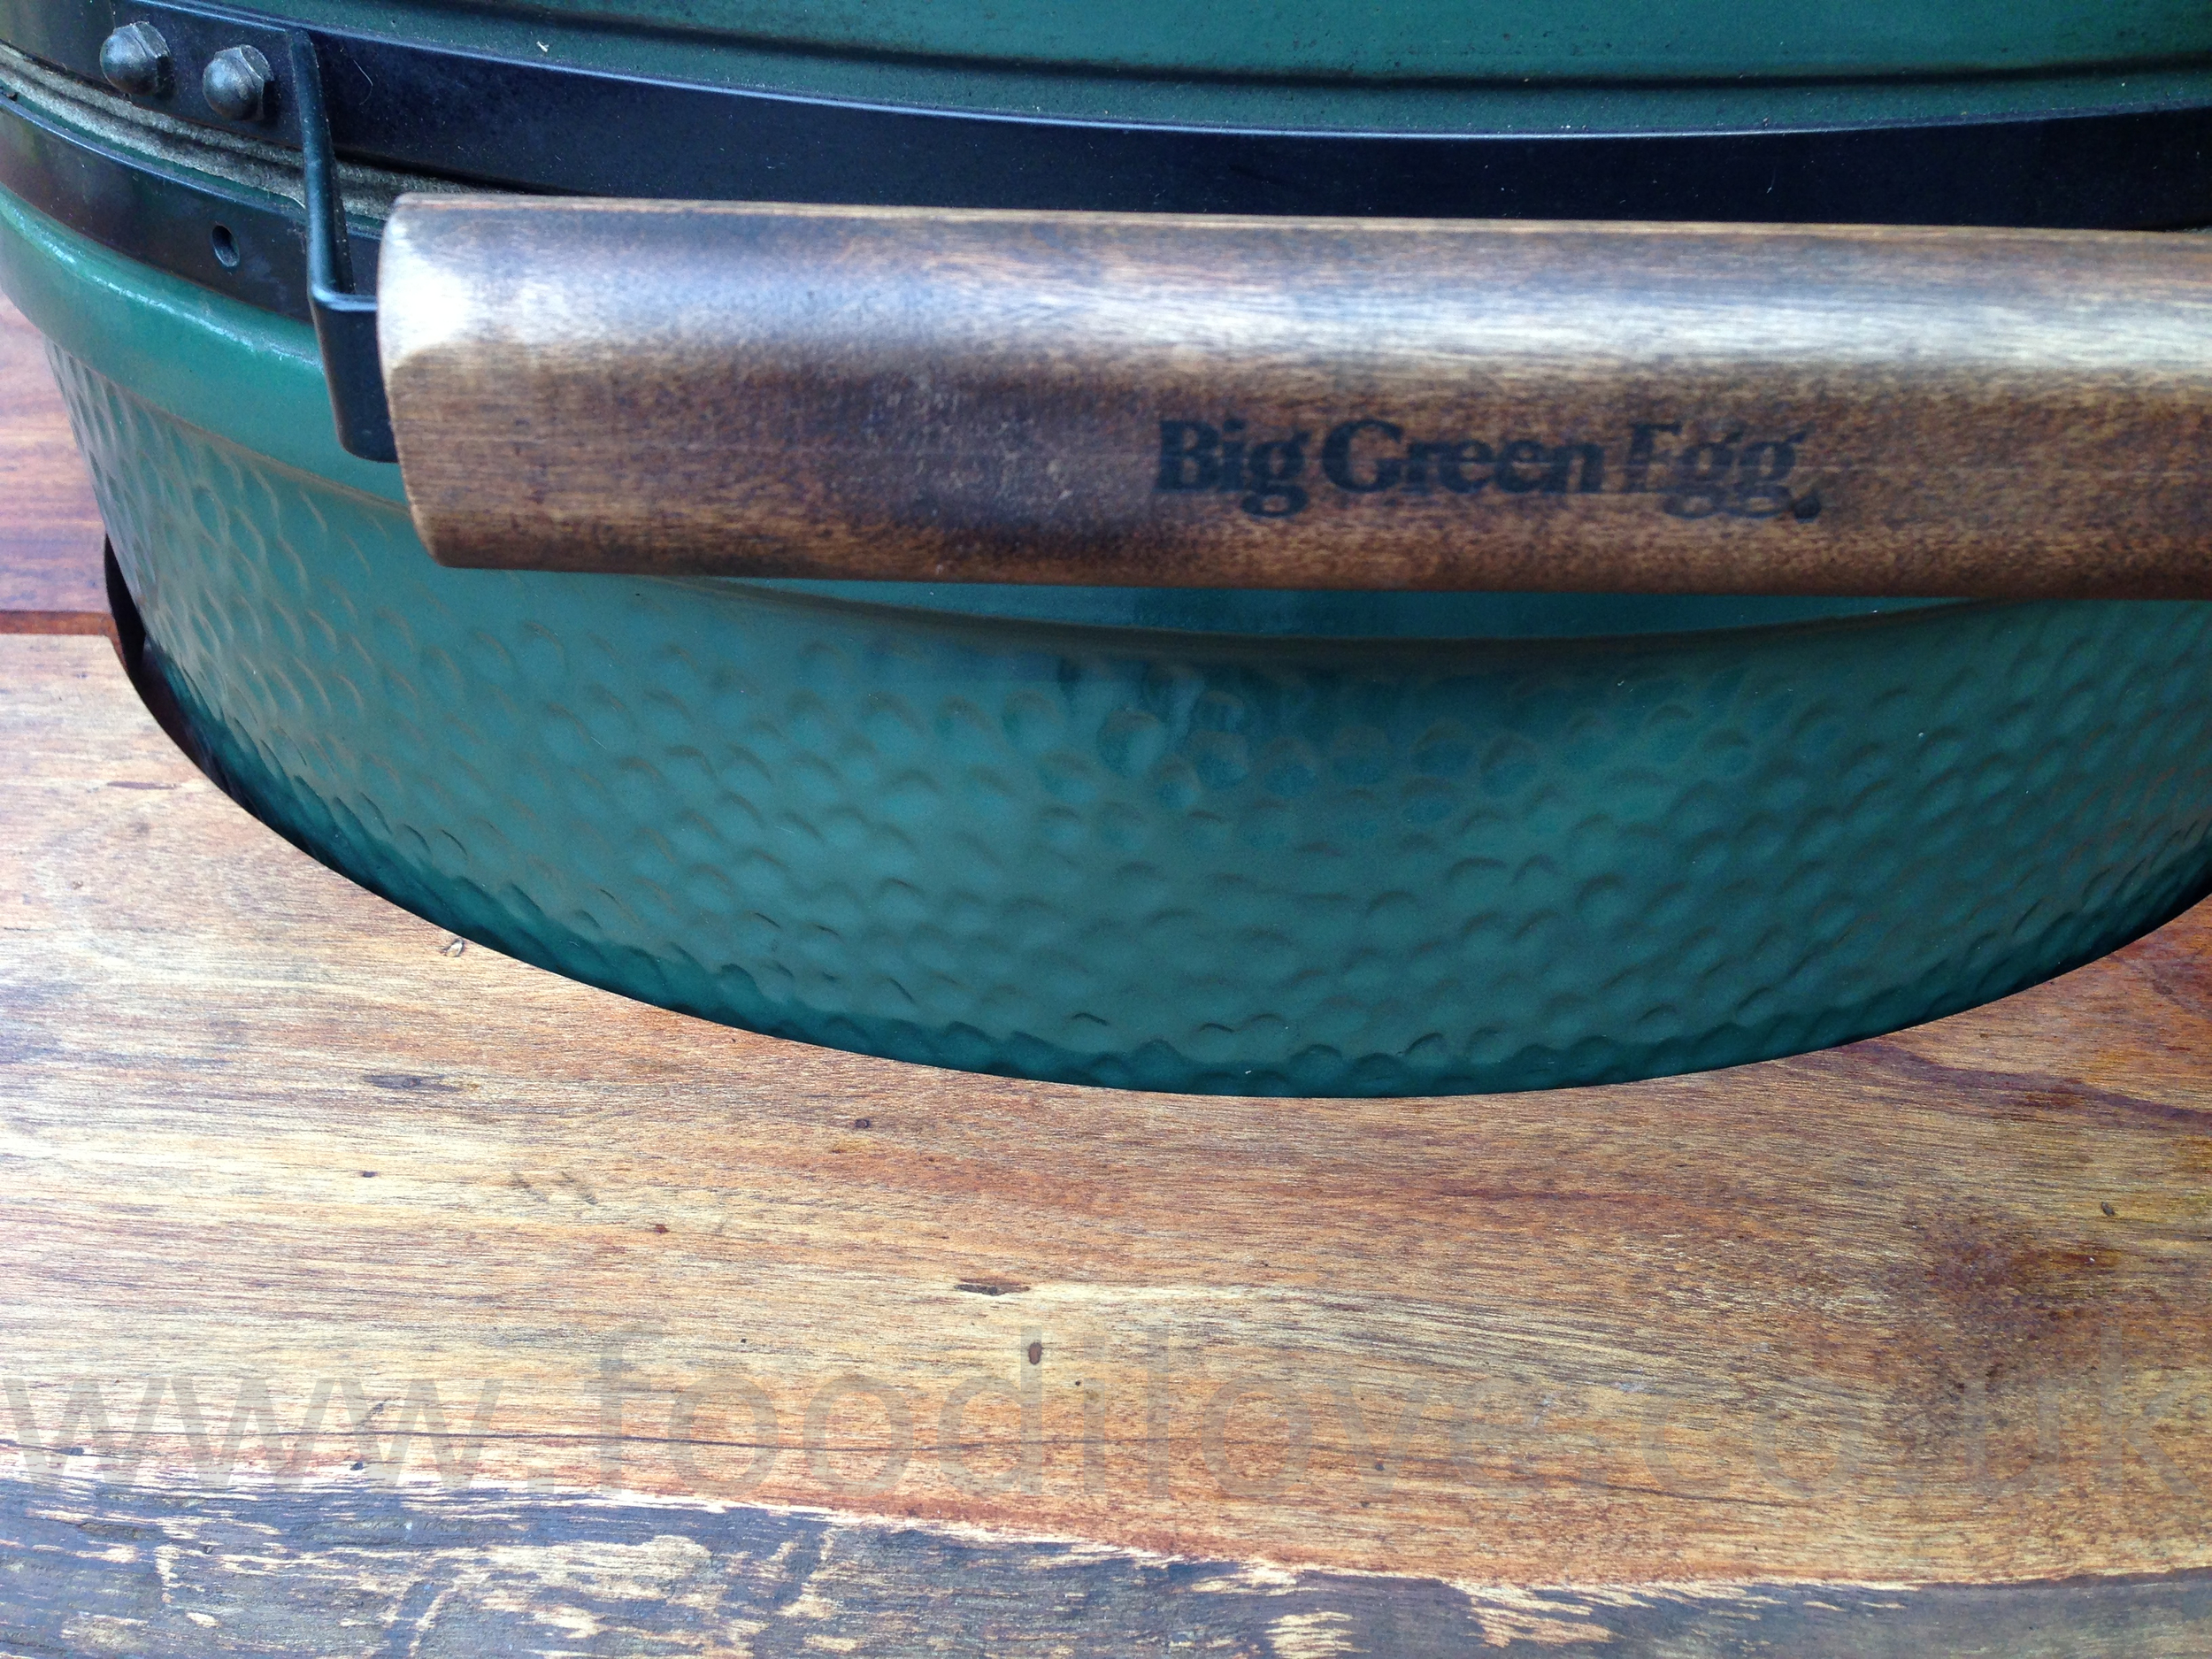
As you can see from the photos there are no signs of rust on any of the metal parts even though I live on the coast in the UK and that’s impressive. These are really well made products, be careful out there, as there are some cheaper copies now appearing on the scene. I have been told that they have been cracking when fired up to over 250°C. Mine has been up over 400°C without any problems on several occasions, man this is hot.

Lighting, cleaning and Charcoal:

As I said above, it’s so easy to light especially if you use the fire starters they sell, no chemical smell or taste as they are natural and this braai is ready to use in under 15mins. Once you have finished cooking for the day just close all the vents and the fire will be smothered and put out. This will leave unburned charcoal in the braai and all you need to do is give it a quick rake over so all the small bits of ash drop down into the bottom to be emptied at a later date. This leaves quite a bit of unburned coal ready to be used next time you braai, just chuck a few handfuls of fresh charcoal over this and light. It’s amazing how much money this will save you over a year’s braaiing. I have only used 12 bags of 20kg charcoal in a year and that not much considering how many times I’ve cooked on it.

View fullsize IMG_5196.jpg
View fullsize IMG_5205.jpg
View fullsize IMG_5210.jpg
View fullsize IMG_5212.jpg

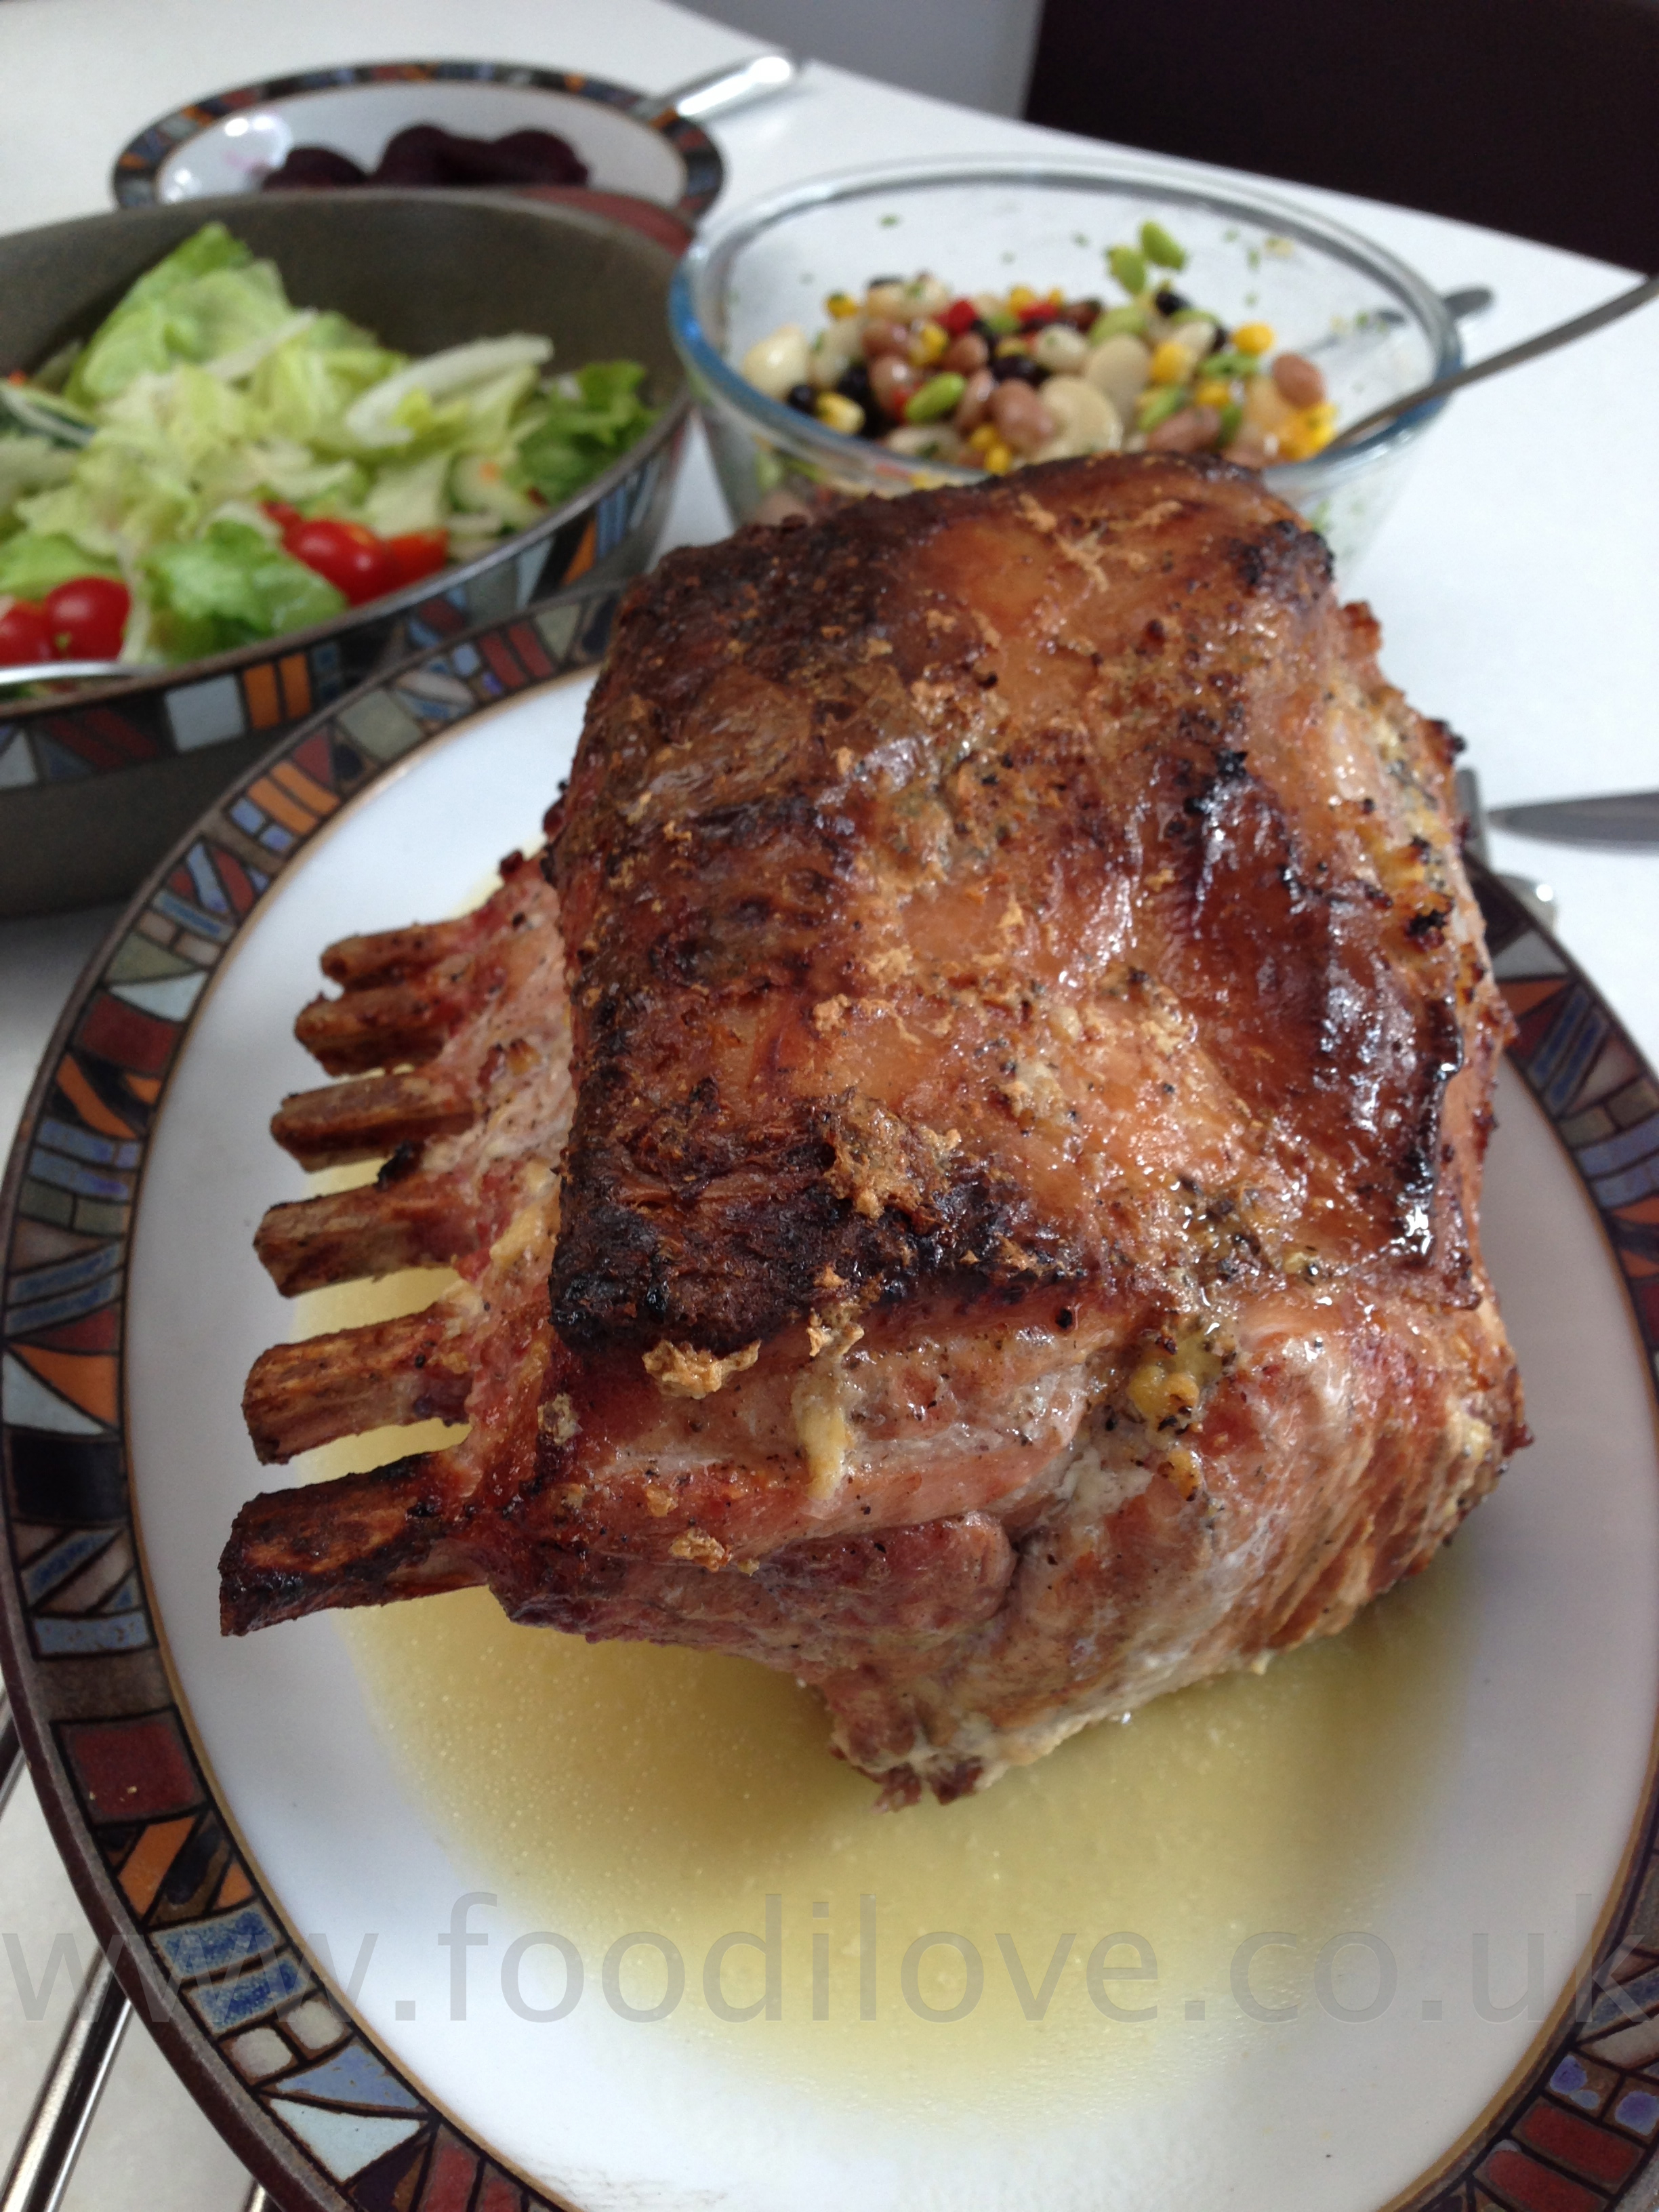
The inside of the Braai itself never needs to be cleaned, it becomes covered in a patina of smoke but its not greasy or fatty as the heat burns everything off. Grills only need to be brushed off as normal but you can wash if you want, just make sure that you dry before storing. The stainless steel grill that they come with, is still in perfect condition and comes up shining after a wash (only just finished smoking some ribs when photo was taken). The temperature gauge is in perfect condition but I think the cover helps keep it this way.

I’ve used the BigGreenEgg own brand charcoal and others over the year and I can say theirs is also the best I’ve come across. Once again it’s more expensive but you do get really large pieces of coal and the flavour is second to none when cooking with it and it seems to burn hotter and longer than other charcoal I’ve tried in the past. We sell charcoal from other suppliers as well and they are very good but they do not have the large piece that you get in the BGE charcoal.

IMG_5192.jpg

Overview:

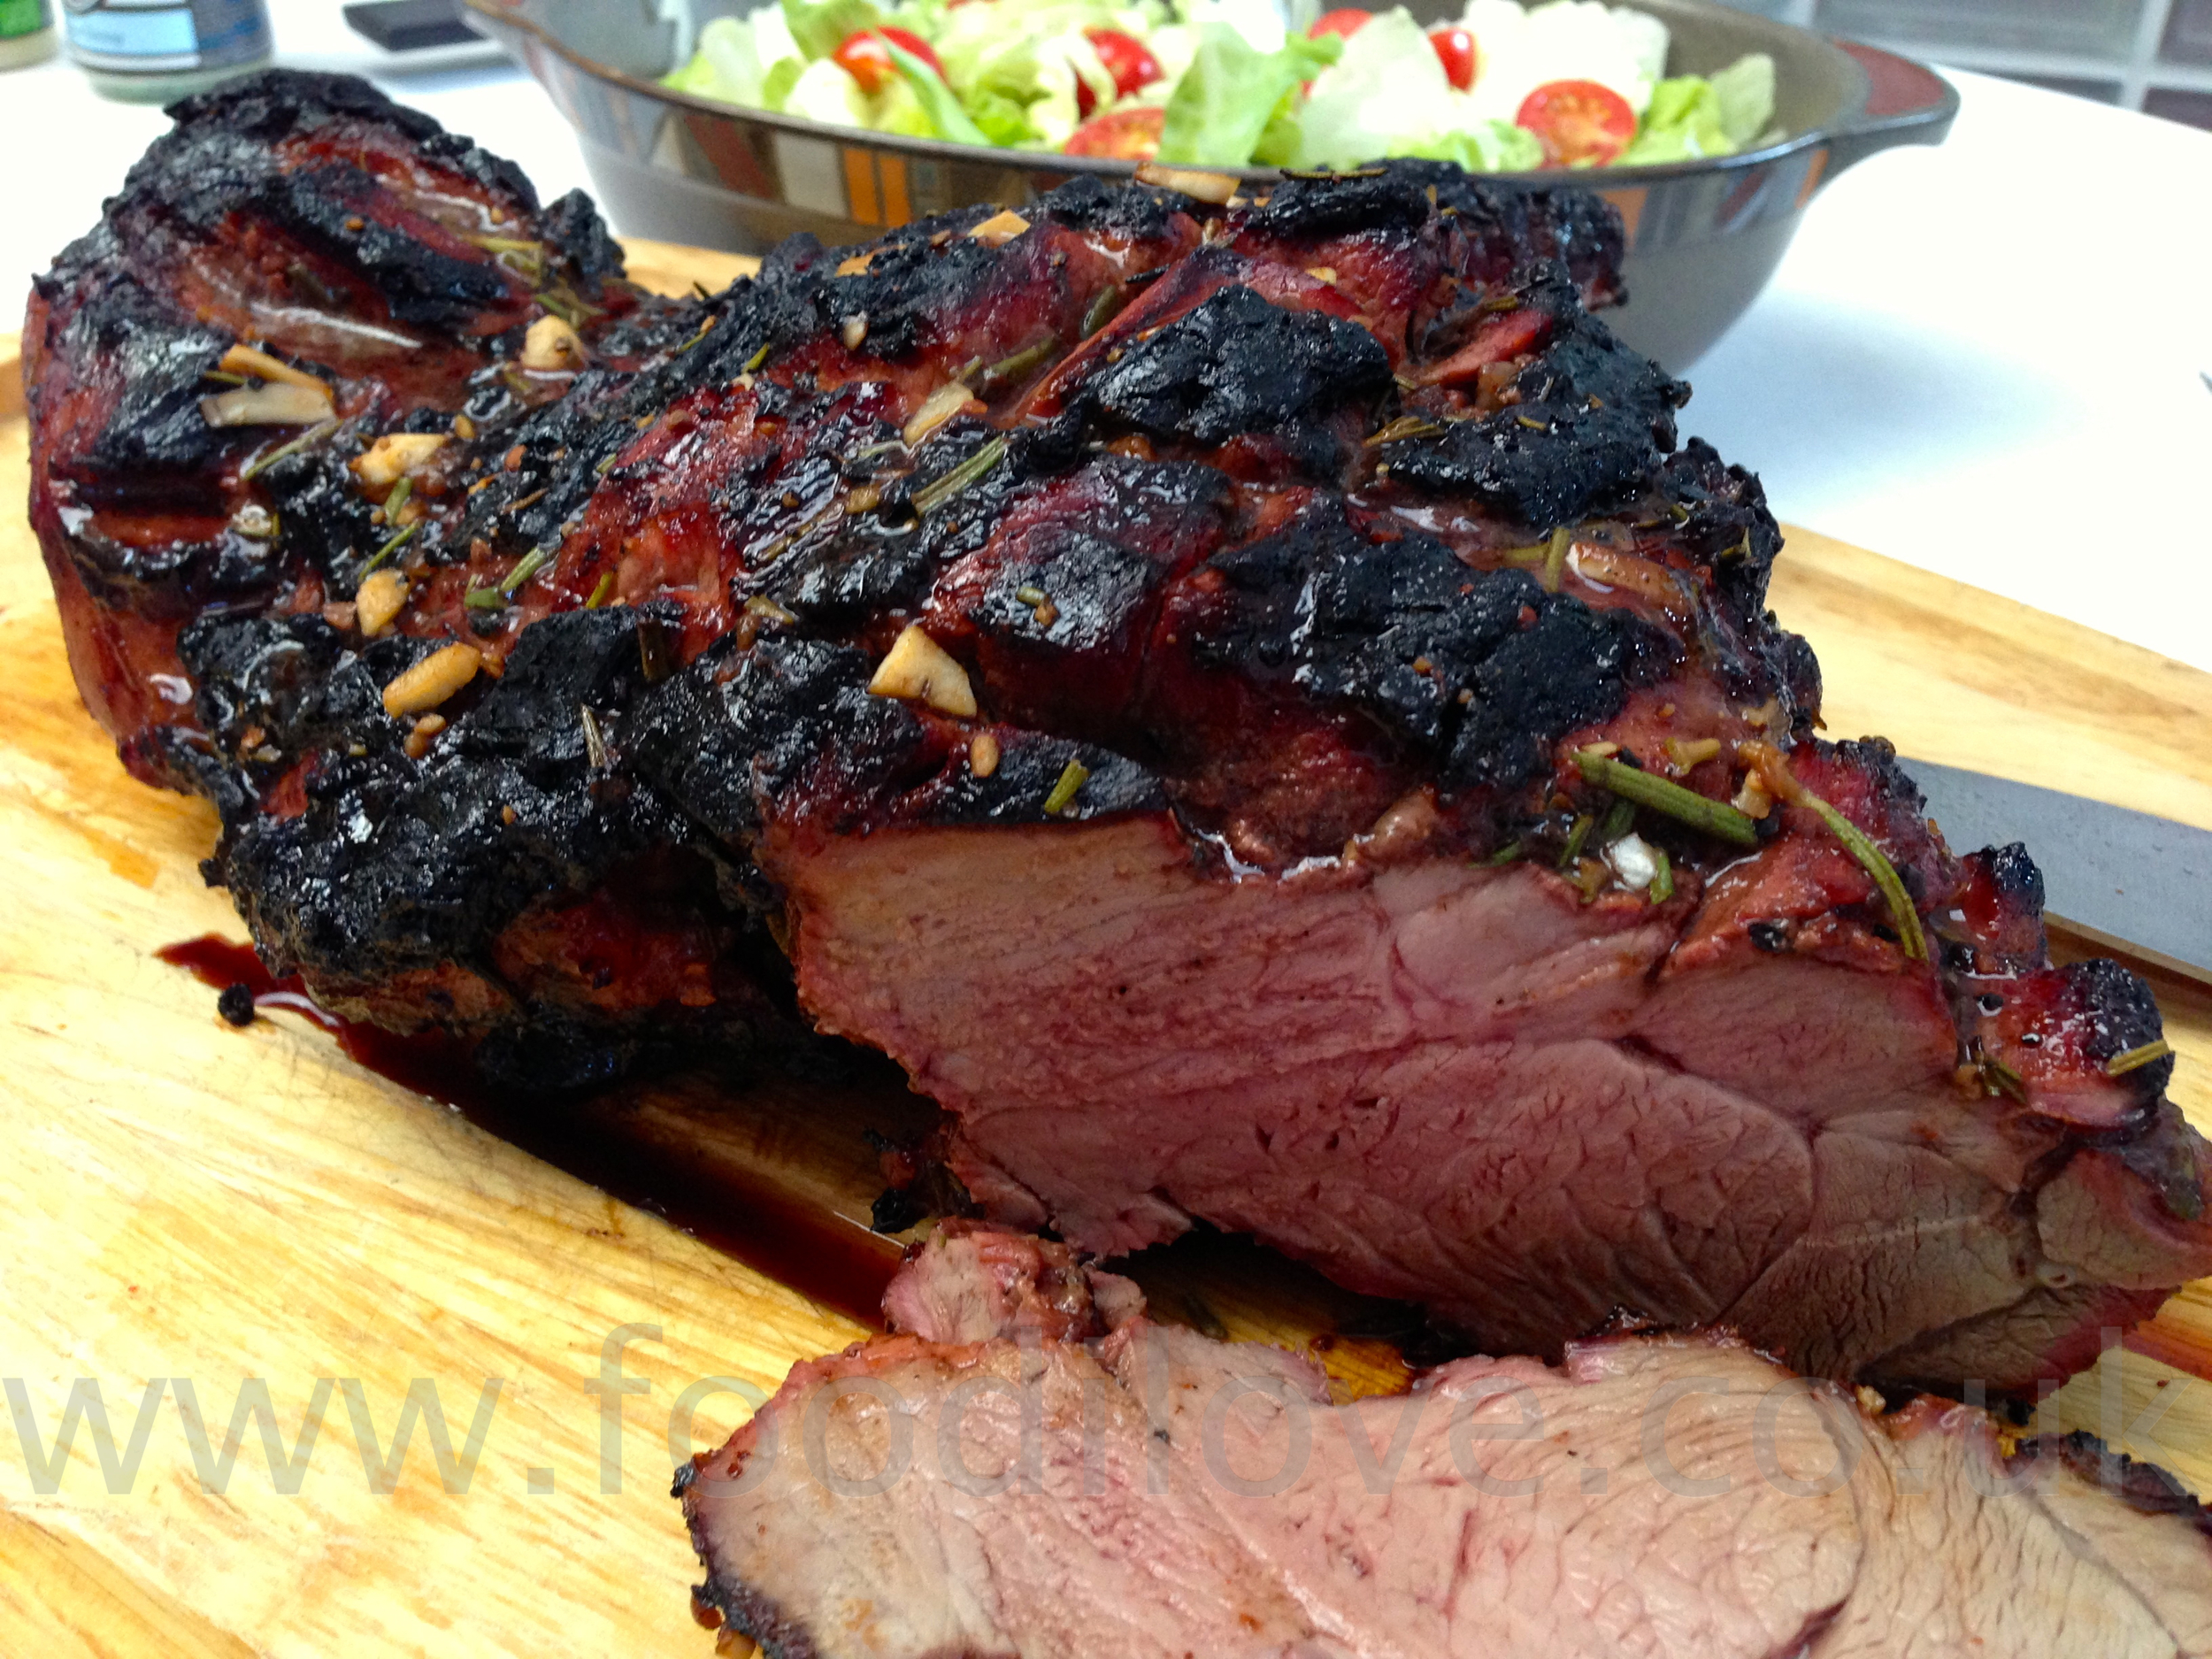
I’ve baked, smoked and cooked on this braai 3 times a week and I can only say that it has made me look a lot better than I really am as a cook. I know this has sounded like a sales pitch for these braais’ but it’s almost impossible to say something bad about them!

The only down side is the price!

And the only person who can decide if they are worth it is you. In my opinion if you like to cook outside a lot and I mean at least once a week, it’s no contest, it’s worth it. If you want something that looks fantastic and cooks even better, they’re worth it. If you want something that will last you a lifetime, they’re worth it. The initial outlay is very high on these braai's but you won’t be buying another one again, so it’s that old adage, you get what you pay for. If you are considering buying one of these, talk to us about it first and we will make sure that you get what you want and save you some money at the same time.

I have given you a fair and honest view on these braai's and it does look a bit biased but that is the way it has been, without this braai I don’t think I would have made it to the end of the challenge I set myself. It’s been harder choosing what to cook than actually cooking it and I haven’t come across anything I cannot cook on it either.

Until next week, stay safe and happy Braaiing.


July 19, 2013 /Larry Susman
2 Comments
Butterfly Lamb, Mrs Balls Chutney & Coke Marinade on the Braai/BigGreenEgg

Braai Butterfly Lamb with Mrs Balls Chutney & Coke Marinade!

July 11, 2013 by Larry Susman in Big Green Egg, Braai, Food Websites, Hot & Spicy, Lamb, Meat, Recipes

Butterfly Lamb, Mrs Balls Chutney & Coke Marinade on the Braai/BigGreenEgg

Well, welcome to another braai blog, it's almost come to the end of the challenge that I set my self a year ago "To braai every week for a year". I can't say that it's been easy but it has been a great deal of fun and "Man" have I learnt a lot over this year. Thanks for all your support and comments, this will not be the end of this blog but I will be branching out a bit and bringing reviews on other peoples cooking, restaurants and blogs and a few from me as well. So don't think this is the end, it will continue just not every week, on the other hand it might be!

I've also decide to extend the entry to the competition for suggestions of what to cook in my last week so entries will now close on our FaceBook Fan page on the 17th July so follow this link, make a recommendation and you could win £50 in gift vouchers to use on our website www.biltong.co.uk .

SERVES 4-6: PREP: 1HR: COOK TIME: 1HR

Ingredients for the Lamb & Pre-Rub:

  1. Large leg of lamb (ask you butcher to butterfly it if you are not confident in doing this)
  2. 7tbs x Sea Salt
  3. 3tbs x Black Pepper
  4. 1.5tbs x Cayenne pepper

Method of preparing lamb:

  • Take you boned butterflied lamb and score the fat side in 2cm diamonds, this helps the spice rub to penetrate the lamb that bit better. 
  • To make the rube all you need to do is put the ingredients into a pestle and mortar to grind into a medium mixture. Then sprinkle it all over the lamb and rub it in on both sides. Set aside while you make the marinade/baste.

Ingredients for the Marinade:

  1. 6 x cloves garlic finely chopped
  2. 30g x Fresh Rosemary chopped
  3. 170g x Mrs Balls Chutney (I used original but its your choice)
  4. 1 X Can Coke
  5. 3tbs x Worcestershire Sauce (I used Lea & Perrins but we have just got Lazenby's in from SA)  
View fullsize IMG_5120.jpg
View fullsize IMG_5125.jpg
View fullsize IMG_5126.jpg
View fullsize IMG_5130.jpg

Place all the ingredients into a bowl and mix together, its that simple, pour over the lamb after you have rubbed in the spice rub and leave it to marinate for 1-2hrs. Don't discard this marinade when you take the lamb out as you will need it to baste the meat, whilst it's cooking 

Method of cooking the lamb:

  • PREHEAT the braai to 200°c/400°F
  • Take the meat out of the marinade and place on the braai directly over the medium coals.
  • Cook for 20 mins without opening the lid of the braai or turning the meat.
  • After 20mins open and baste the lamb with the marinade and turn over, cook for another 20mins and repeat the basting. 
  • This time, turn and cook for only 10mins, repeat once more and this should be the perfect length of time to cook the lamb to medium rare, pinkish.
View fullsize IMG_5135.jpg
View fullsize IMG_5151.jpg
View fullsize IMG_5153.jpg

All that's left to do is take it off the braai and leave to rest for 10mins minimum, I think this helps it to relax and it seems to be a lot more tender when eating for this process. As you can see I only just managed to not over cook the lamb, this is the trick. It's so easy to leave it in the braai for an extra couple mins as you try to decide if its cooked enough. Remember while it's resting it's still cooking, so don’t be tempted to leave it in the braai for that bit  longer.

Serve with fresh salads and even some rice or baked potatoes, it's just a great summer meal thats doesn't take long to prepare or cook. 

IMG_5161.jpg

Please feel free to like and share this blog with other like minded nuts who enjoy Braaiing all year long. Don’t forget to enter the competition to win those gift vouchers, just go to our FaceBook Fan Page and leave a suggestion of what you would like to see me cook on the last Challenge Blog of the year. Entries will now close on our facebook page on the 17th July 2013, good luck!


July 11, 2013 /Larry Susman
Big Green Egg, Braai, Food Websites, Hot & Spicy, Lamb, Meat, Recipes
Comment
Mackerel
with Tomatoes, Pesto and Onions on the Braai/BigGreenEgg

Pesto Mackerel with Tomatoes & Onions on the Braai

July 04, 2013 by Larry Susman in Baking, Big Green Egg, Braai, Fish, Food Websites, Recipes, Vegetables

Mackerel with Tomatoes, Pesto and Onions on the Braai/BigGreenEgg

Well, it's very nearly the end of my year cooking on the BigGreenEgg and we are going to run a competition for somebody to win £50 in gift vouchers to use on our web site www.biltong.co.uk . All you have to do is go to our FaceBook Fan Page and leave a suggestion of what you would like to see me cook on the last Blog of the year. If I decide to use your suggestion you will be the lucky winner, entries will close on the 10th July 2013.

In the meantime I'm going to be cooking a very under rated fish that is in season this week, Mackerel! Many people consider this to be the lowest of the low in the fish world but if cooked from fresh and served with a good sauce or smoked they are absolutely fantastic. This is a very quick simple Italian recipe that I'm going to make this week and I'm sure that you will love it.

Rich oily fish like mackerel needs a sharp, fresh tasting sauce to go with it and this aromatic pesto is just the ticket when drizzled over the top of it with a squeeze of fresh lemon.

SERVES 4: PREP: 10MINS: COOK TIME:10-20MINS

Ingredients for the Mackerel and Sauce:

  1. 4-6 x mackerel, cleaned and gutted (get your fish monger to do this for you)
  2. 30ml x Olive oil
  3. 2 x large onions roughly chopped
  4. 450g x tomatoes roughly chopped
  5. 1 x Slice of fresh lemon per person
  6. Salt and freshly ground black pepper to taste

Ingredients for the Pesto:

  1. 50g pine nuts
  2. 30g fresh basil leaves
  3. 2 garlic cloves, crushed
  4. 30ml freshly grated Parmesan cheese
  5. 150ml extra virgin olive oil
View fullsize IMG_5071.jpg
View fullsize IMG_5059.jpg
View fullsize IMG_5070.jpg

How to prepare the whole dish:

  • To make the pesto, place the pine nuts, fresh basil leaves and garlic in a food processor and blend to a rough paste.
  • Add the Parmesan and with the blades running, gradually add the oil.
  • It's as simple as that, set aside until needed.
  • Season the mackerel with loads of sea salt and freshly ground black pepper and cook on the braai on a med-hot heat for 5 minutes on each side, turn them only once if you haven’t got a fish basket. Fish baskets really help when it comes to turning the fish without them falling apart!
  • Meanwhile, heat the olive oil in a large, heavy-based saucepan and sauté the chopped onions until soft and golden brown.
  • Stir the chopped tomatoes into the contents of the saucepan and cook for 5 minutes.
  • Season with sea salt and freshly ground black pepper to taste.
  • Serve the fish on top of the tomato mixture and top with a generous spoonful of pesto.
  • Squeeze the fresh lemon all over. 

All you need to do is plate up 1-3 mackerel, depending on size and appetite. Serve with a slice of fresh lemon and some new potatoes or some freshly baked bread. There you have it, a great summer dish with fish that is cheap and in season, enjoy.

View fullsize IMG_5085.jpg
View fullsize IMG_5090.jpg
View fullsize IMG_5093.jpg

Don’t for get to enter the competition to win those gift vouchers, just go to our FaceBook Fan Page and leave a suggestion of what you would like to see me cook on the last Blog of the year.


July 04, 2013 /Larry Susman
Baking, Big Green Egg, Braai, Fish, Food Websites, Recipes, Vegetables
Comment
Wors, pap en sous on the Braai/BigGreenEgg

Wors, Pap en Sous on the Braai!

June 27, 2013 by Larry Susman in Beef, Big Green Egg, Braai, Food Websites, Hot & Spicy, Meat, Potjiekos, Recipes

Wors, pap en sous on the Braai/BigGreenEgg

Mielie meal is a staple food in much of Africa. Unlike European polenta, mielie meal is normally white in colour and quite coarse textured. It makes a delicious side dish or it can be the centre point of a meal. Pap (pronounced pup) means "porridge" in Afrikaans and the consistency can vary considerably from a smooth and quite loose porridge which needs to be eaten with a spoon (slap pap). Through to a stiff paste which can be broken off with the fingers to act as a scoop or spoon for stews and sauces (stywe – pronounced STAY-ver - pap), to a crumbly and dry texture a bit like couscous (krummel – pronounced CROO-mel - pap).

I’m going to be cooking the latter, as I once served up Slap Pap to my wife Jan, many years ago and she said that if I ever made her eat that again she would divorce me lol!!! The method and ingredients are the same but the ratio of pap and water differ depending on which type of pap you wish to end up with.

You can make the Boerewors and Sous(sauce) yourself from scratch. But why bother doing this when we sell what we think is some of the finest Boerewors in the country and a tin of All Gold Tomato & Onion which you can just add a few ingredients to, to lift the sous to something that you would be proud to make.

We are going to give away the main ingredients to make this meal to one lucky person this week, see details at the end. 

SERVES 4-6: PREP: 10MINS: COOK TIME: 1HR

Ingredients for Krummel (braai) (stywe pap) Pap:

  1. 1/2 litre water
  2. 500g Braai Pap (Iwisa or Premier Braai or Maize pap)
  3. 1tsp salt

Method how to make Krummel (braai) (stywe pap) Pap:

  • Preheat the Braai to 300°C (570°F).
  • Bring the water to boiling point in a large, heavy-based saucepan or potjie pot.
  • Add salt.
  • Then slowly add the maize meal and stir briefly.
  • Turn the heat down or move off to the side whichever you can do on your braai.
  • Cover and simmer for 15 minutes.
  • Using a large fork (such as a carving fork), stir it up until its crumbly and cover again with the lid.
  • Simmer for a further 20 – 30 minute on a low heat until cooked.
  • Set aside until you are ready to serve. 

Ingredients for Sous(sauce):

  1. 1 x Tin All Gold Tomato & Onion (which we sell)
  2. 2 x Onions, halved and sliced
  3. 20g x Fresh chopped coriander
  4. Salt and Pepper to taste

How to make Sous:

  • Preheat the Braai to 300°C (570°F).
  • Place a knob of butter in a frying pan and sauté the onions for a few moments until soft.
  • Empty the tin of Tomato & Onion sauce into the pan and stir.
  • Bring to the boil and then simmer for 5mins.
  • Remove from the heat until you’re ready to use, sprinkle the coriander into the sous just before serving.

All that’s left to do is now braai your Boerewors which you have already brought from us, we hope! You will need roughly 250g per person or one pack per South African, heehee.

View fullsize IMG_4996.jpg
View fullsize IMG_5002.jpg
View fullsize IMG_5004.jpg
View fullsize IMG_5007.jpg

Tips on what to do or not to do, when braaiing our boerewors:

  1. Never prick the skins of the wors as this just allows all the juice to drain from the sausage and you will end up with dry, tasteless wors.
  2. Always cook in a coil and cut after you have cooked it.
  3. Cook at a high temperature so that it crisps the skin and leaves the middle succulent.
  4. Cook on one side and then turn over and cook the other, hopefully you will not split the skins when turning as I did. If you do, blast it with some heat and eat before all that lekker juice spills out.
  5. Don’t over cook as we only make our boerewors from whole muscle fresh meat with no other additives other than spices. So our wors will not shrink or swell and split the skins whilst cooking.
  6. It’s best to eat your wors straight off the braai piping hot, absolutely lekker, even if I say so myself.
IMG_5029.jpg
IMG_5009.jpg
IMG_5017.jpg
IMG_5026.jpg

That’s just like I remember it back home in the old days, when I would return from school and it would be sitting on the table waiting from me, Lekker!

IMG_5034.jpg

If you would like to try to cook this for yourselves then why not leave some feedback in the comments area below and one lucky reader will win 2 packs of Boerewors, pack of Braai Pap and a tin of All Gold tomato & Onion Sauce for themselves. Entries will close on the 12th July 2013, please check back to see if you were the lucky winner.


June 27, 2013 /Larry Susman
Beef, Big Green Egg, Braai, Food Websites, Hot & Spicy, Meat, Potjiekos, Recipes
1 Comment
Loin Pork on Braised in Milk on the Braai/BigGreenEgg

Loin Pork on Braised in Milk on the Braai

June 20, 2013 by Larry Susman in Big Green Egg, Braai, Meat, Recipes, Roasts, Pork

Loin Pork Braised in Milk on the Braai/BigGreenEgg

I haven’t cooked a lot of pork on the braai (except for ribs every week) so I thought I would give this very Italian recipe a go! The key to this being great is to find a butcher that will supply you with great pork to start with, ask him where it comes from and if he doesn’t or cant tell you, go elsewhere. If he can then get him to do the following for you: Ask him to chine and skin the pork loin (chining means removing the backbone from the rack of ribs so that you can carve between the ribs for serving).

This dish is lightly flavoured so that the pork is the star and not the seasoning, so don’t over do it. This can be served with roasted vegetables and potatoes but at this time of year I like to dish it up with a fresh salad and rice.

SERVES 4-6: PREP: 25MINS: COOK TIME: 1-2HR

Ingredients:

  1. 1 x 2.25 kg (5 lb) pork loin, chined and skinned
  2. 6 x garlic cloves, cut in half lengthways or chrushed
  3. 30g x sage leaves
  4. 1lt x (4 cups) milk
  5. 2 x grated zest of lemons
  6. 1 x juice of lemon
  7. Sea Salt & freshly ground Black Pepper to taste

Method how to prepare Loin:

  • Preheat the Braai to 200°C (400°F)
  • Prepare the pork by trimming the fat to leave just a thin layer. 
  • Take the backbone off but leave the rib bones on. These bones and fat keep the pork moist while it cooks.
View fullsize IMG_4813.jpg
View fullsize IMG_4815.jpg
View fullsize IMG_4816.jpg
View fullsize IMG_4818.jpg
  • Take the pork and brown the meat on all sides on the braai.
  • Add the garlic & sage to a baking tin and place the pork on top of them. Doing this makes a rack for the meat and prevents it boiling in its own juices instead of roasting. 
  • Season with salt and pepper and pour the milk over the pork and bring just to the boil. 
  • Add the lemon zest and drizzle the lemon juice over the loin and roast for about 20 minutes. 
  • Reduce the temperature to 150°C/300°F and cook for a further 1-11/4 hours. 
  • If necessary, add a little more milk every so often, to keep the meat roasting in liquid. 
  • Baste the meat with the juices every 30 minutes.
  • Do not cover this will make sure that the juices reduce and the fat on the pork becomes crisp.
View fullsize IMG_4840.jpg
View fullsize IMG_4854.jpg
View fullsize IMG_4857.jpg
View fullsize IMG_4867.jpg
View fullsize IMG_4873.jpg
View fullsize IMG_4881.jpg
View fullsize IMG_4883.jpg
View fullsize IMG_4886.jpg

To see if the pork is cooked take a skewer and stick it into the middle of the meat, count to ten and pull it out. Touch it on the inside of your wrist and if it feels hot, the meat is cooked through. Or you can use a food thermometer if you have one.

View fullsize IMG_4906.jpg
View fullsize IMG_4921.jpg

Always leave the meat to rest for 10 minutes before carving. Strain the sauce as it will look curdled and serve with the meat. All that’s left to do now is serve with a fresh salad and rice and enjoy with a great chardonnay. This took a little time to prepare and cook but it was definitely worth it. The sage and garlic weren't to strong and did not over power the pork. Just remember that if you want to end up with a great dish you need to start with great meat, until next week happy Braaiing. 

June 20, 2013 /Larry Susman
Big Green Egg, Braai, Meat, Recipes, Roasts, Pork
Comment
  • Newer
  • Older

© 2017 Susmans Best Beef Biltong Co Ltd