Food I Love

& my Big Green Egg

Join me as I share my kitchen adventures and mishaps while trying to create simple food inspired by childhood memories back in South Africa. 

  • Home
  • Blog
  • About
  • Gallery
    • Braai Images
    • Big Green Egg Images
  • Contact Me
Mackerel
with Tomatoes, Pesto and Onions on the Braai/BigGreenEgg

Pesto Mackerel with Tomatoes & Onions on the Braai

July 04, 2013 by Larry Susman in Baking, Big Green Egg, Braai, Fish, Food Websites, Recipes, Vegetables

Mackerel with Tomatoes, Pesto and Onions on the Braai/BigGreenEgg

Well, it's very nearly the end of my year cooking on the BigGreenEgg and we are going to run a competition for somebody to win £50 in gift vouchers to use on our web site www.biltong.co.uk . All you have to do is go to our FaceBook Fan Page and leave a suggestion of what you would like to see me cook on the last Blog of the year. If I decide to use your suggestion you will be the lucky winner, entries will close on the 10th July 2013.

In the meantime I'm going to be cooking a very under rated fish that is in season this week, Mackerel! Many people consider this to be the lowest of the low in the fish world but if cooked from fresh and served with a good sauce or smoked they are absolutely fantastic. This is a very quick simple Italian recipe that I'm going to make this week and I'm sure that you will love it.

Rich oily fish like mackerel needs a sharp, fresh tasting sauce to go with it and this aromatic pesto is just the ticket when drizzled over the top of it with a squeeze of fresh lemon.

SERVES 4: PREP: 10MINS: COOK TIME:10-20MINS

Ingredients for the Mackerel and Sauce:

  1. 4-6 x mackerel, cleaned and gutted (get your fish monger to do this for you)
  2. 30ml x Olive oil
  3. 2 x large onions roughly chopped
  4. 450g x tomatoes roughly chopped
  5. 1 x Slice of fresh lemon per person
  6. Salt and freshly ground black pepper to taste

Ingredients for the Pesto:

  1. 50g pine nuts
  2. 30g fresh basil leaves
  3. 2 garlic cloves, crushed
  4. 30ml freshly grated Parmesan cheese
  5. 150ml extra virgin olive oil
View fullsize IMG_5071.jpg
View fullsize IMG_5059.jpg
View fullsize IMG_5070.jpg

How to prepare the whole dish:

  • To make the pesto, place the pine nuts, fresh basil leaves and garlic in a food processor and blend to a rough paste.
  • Add the Parmesan and with the blades running, gradually add the oil.
  • It's as simple as that, set aside until needed.
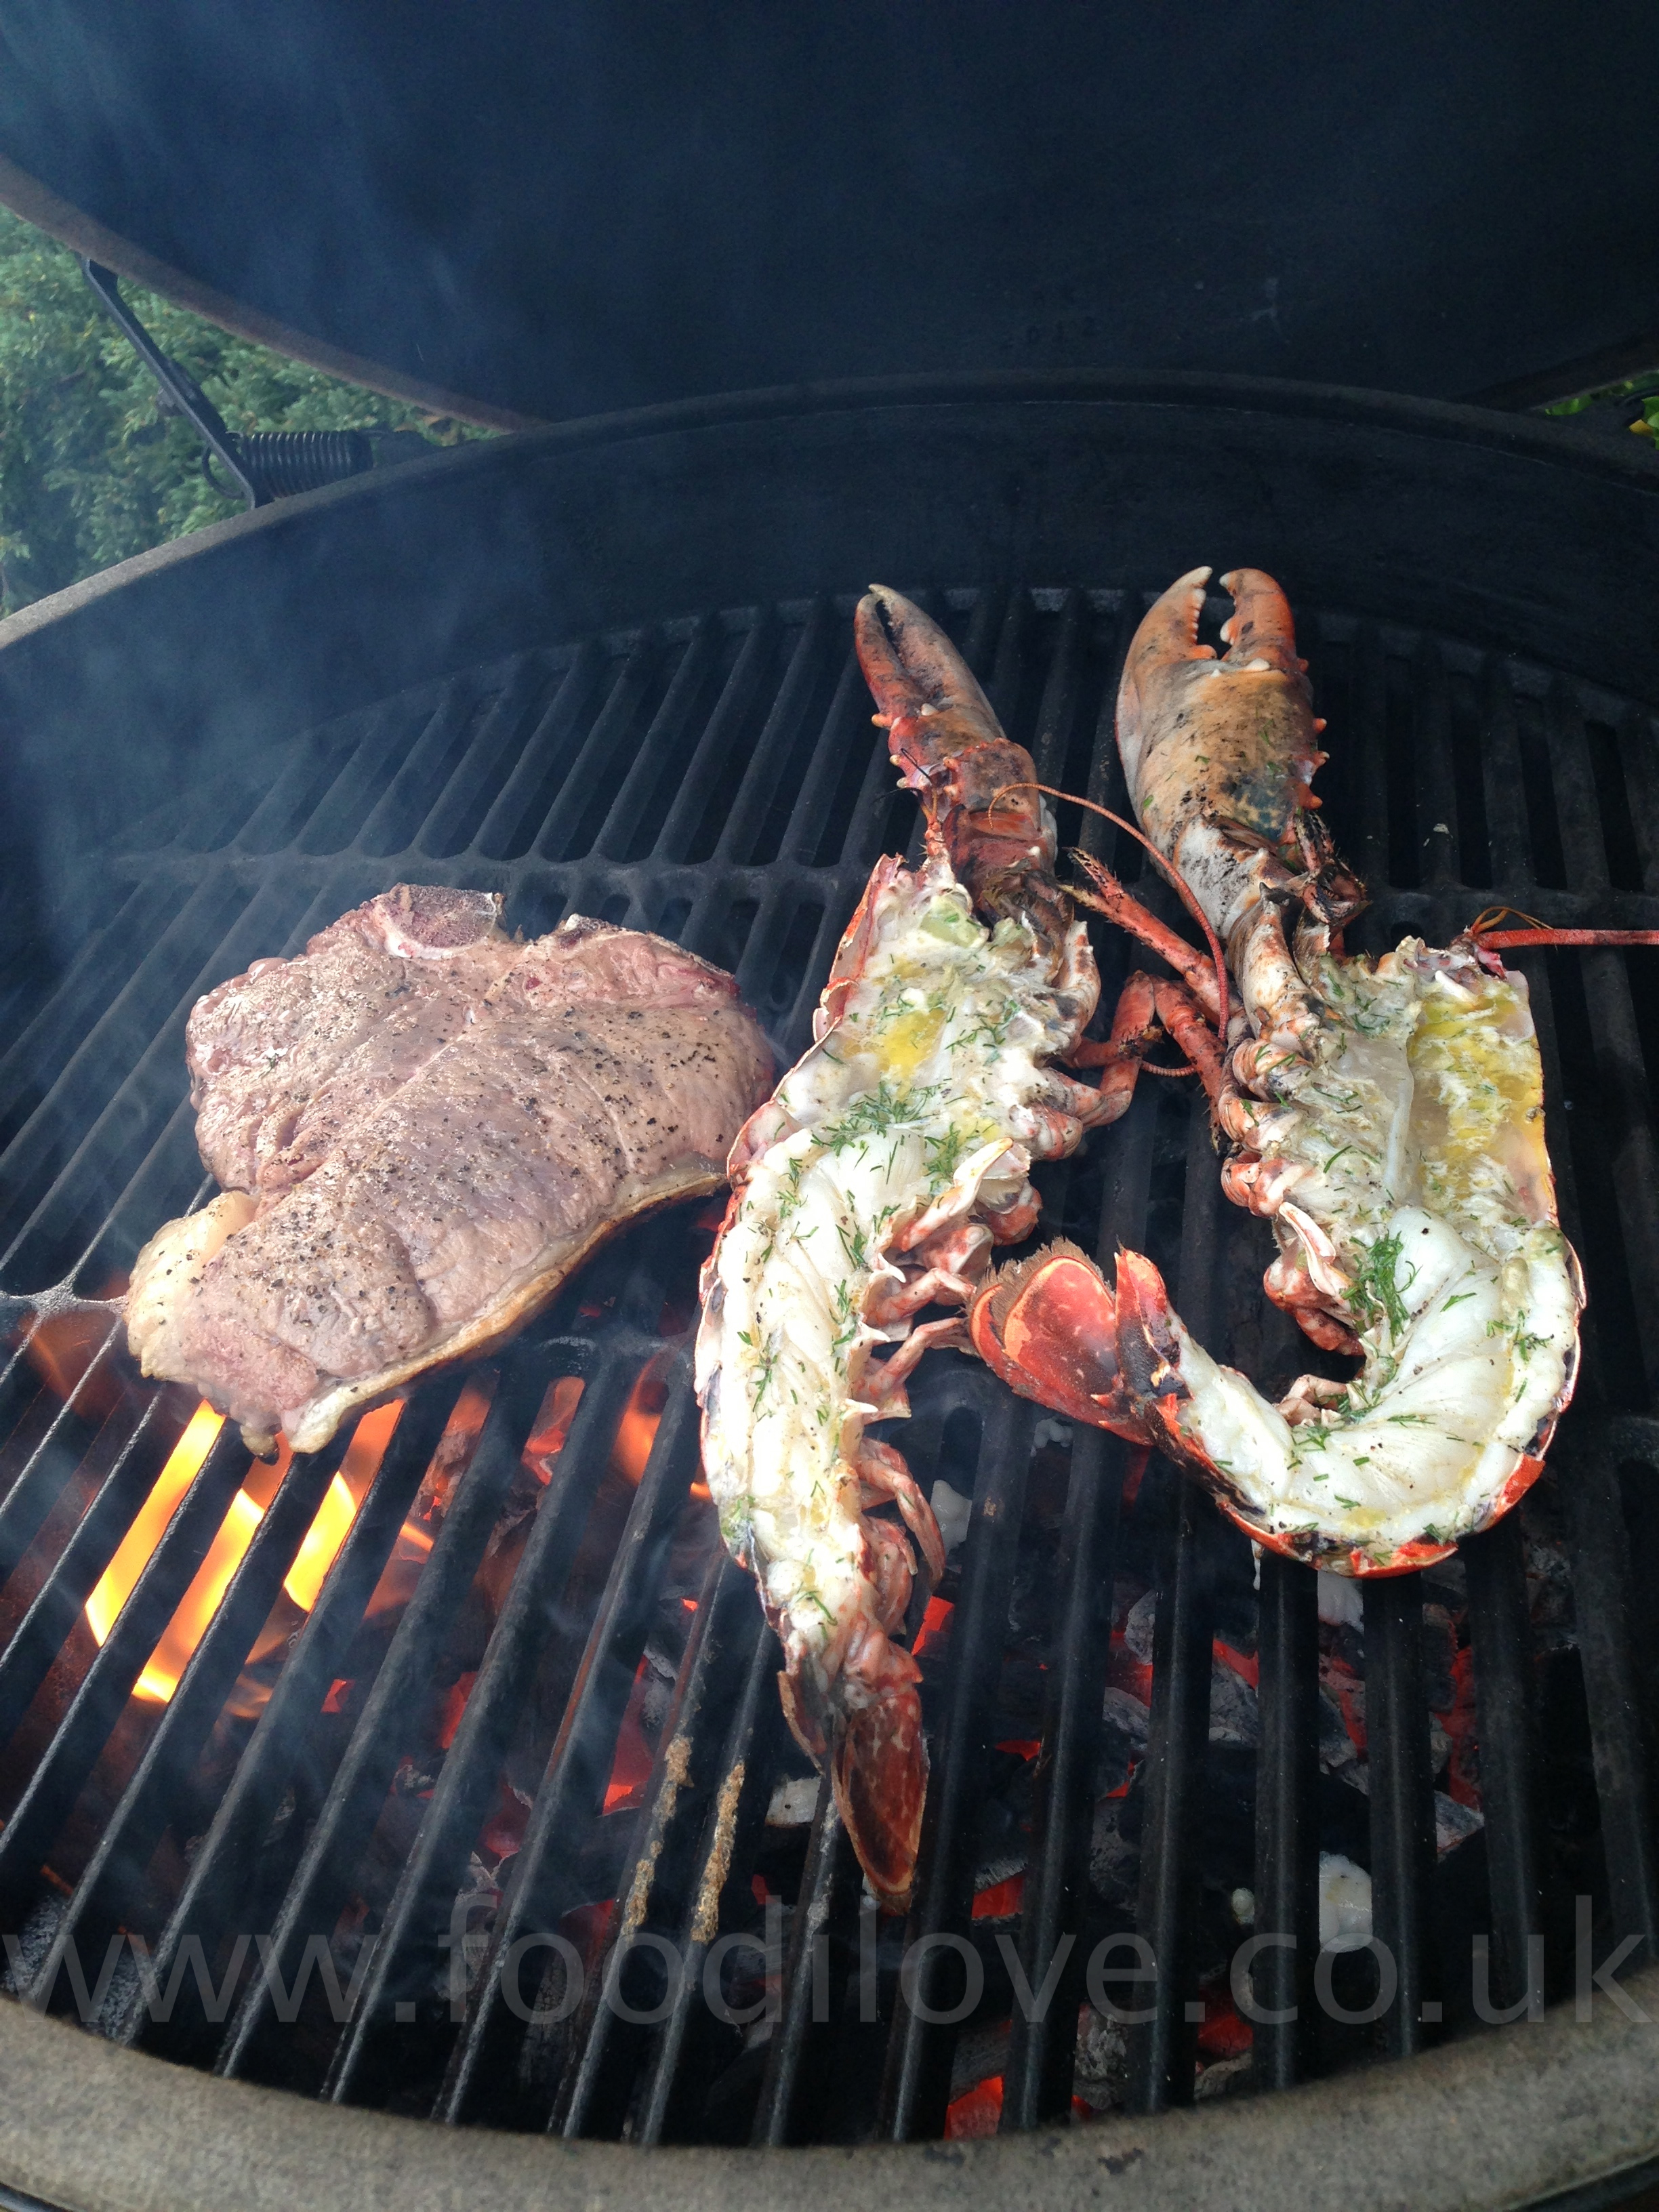
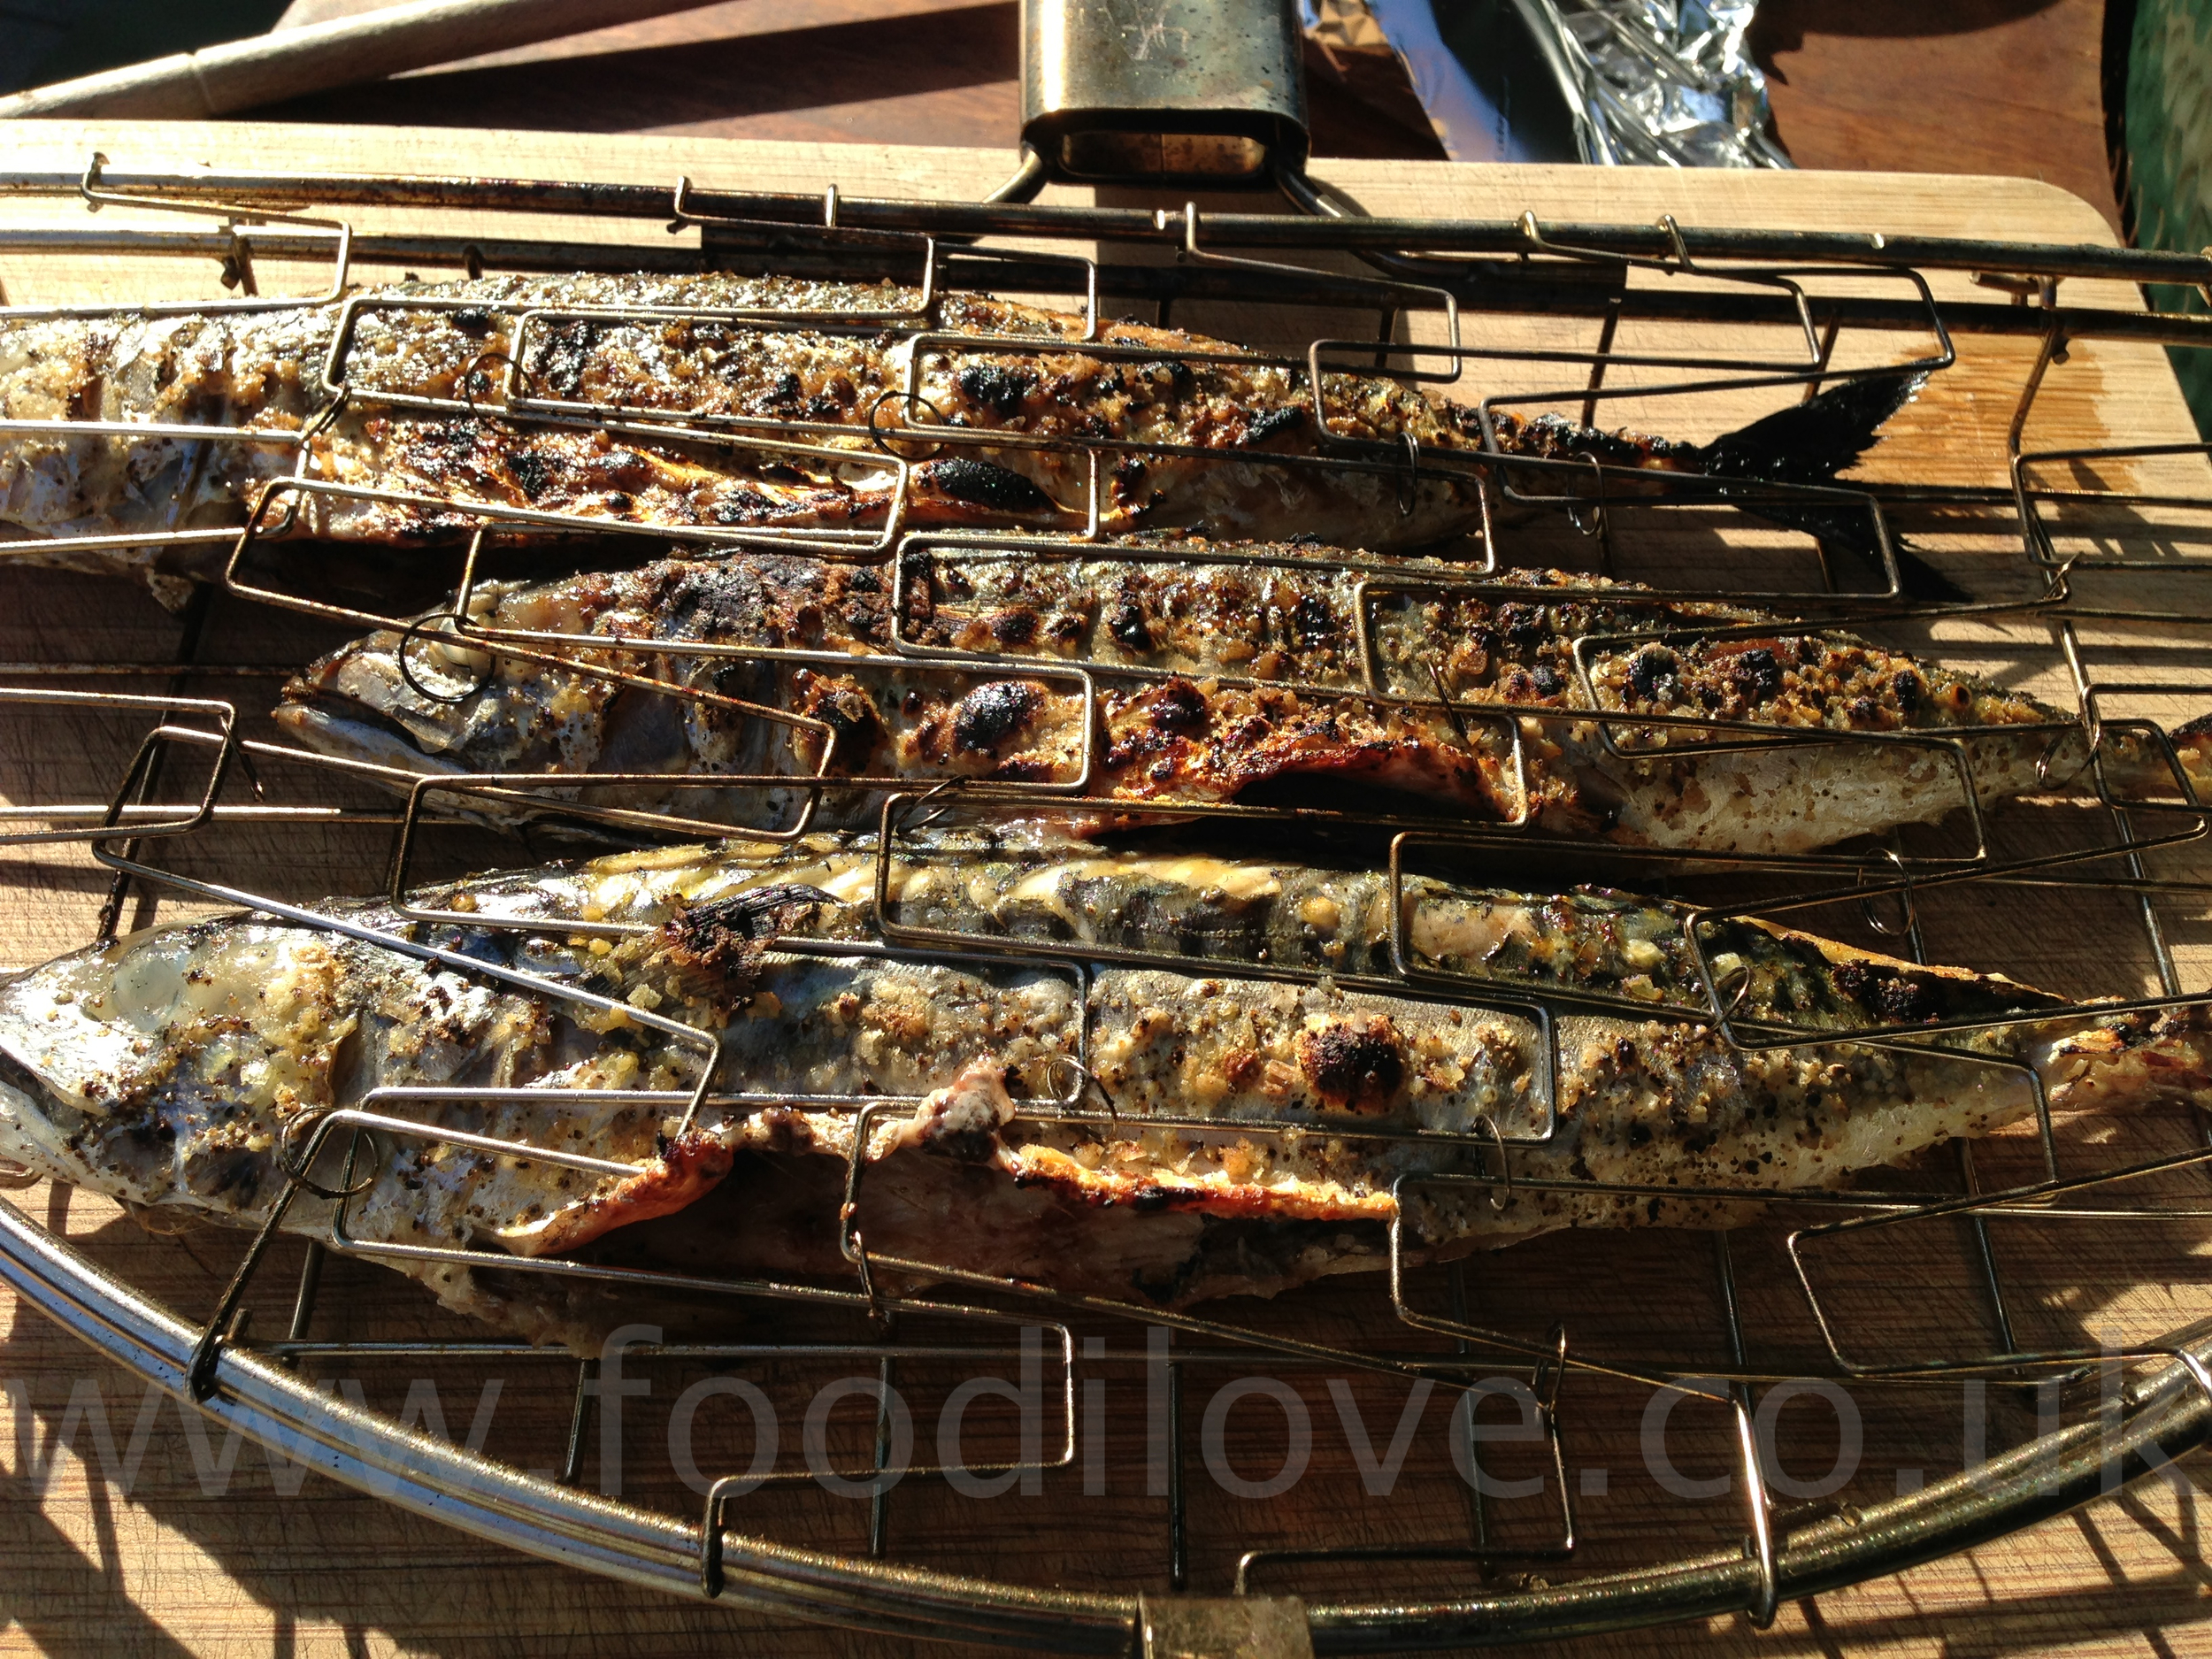
  • Season the mackerel with loads of sea salt and freshly ground black pepper and cook on the braai on a med-hot heat for 5 minutes on each side, turn them only once if you haven’t got a fish basket. Fish baskets really help when it comes to turning the fish without them falling apart!
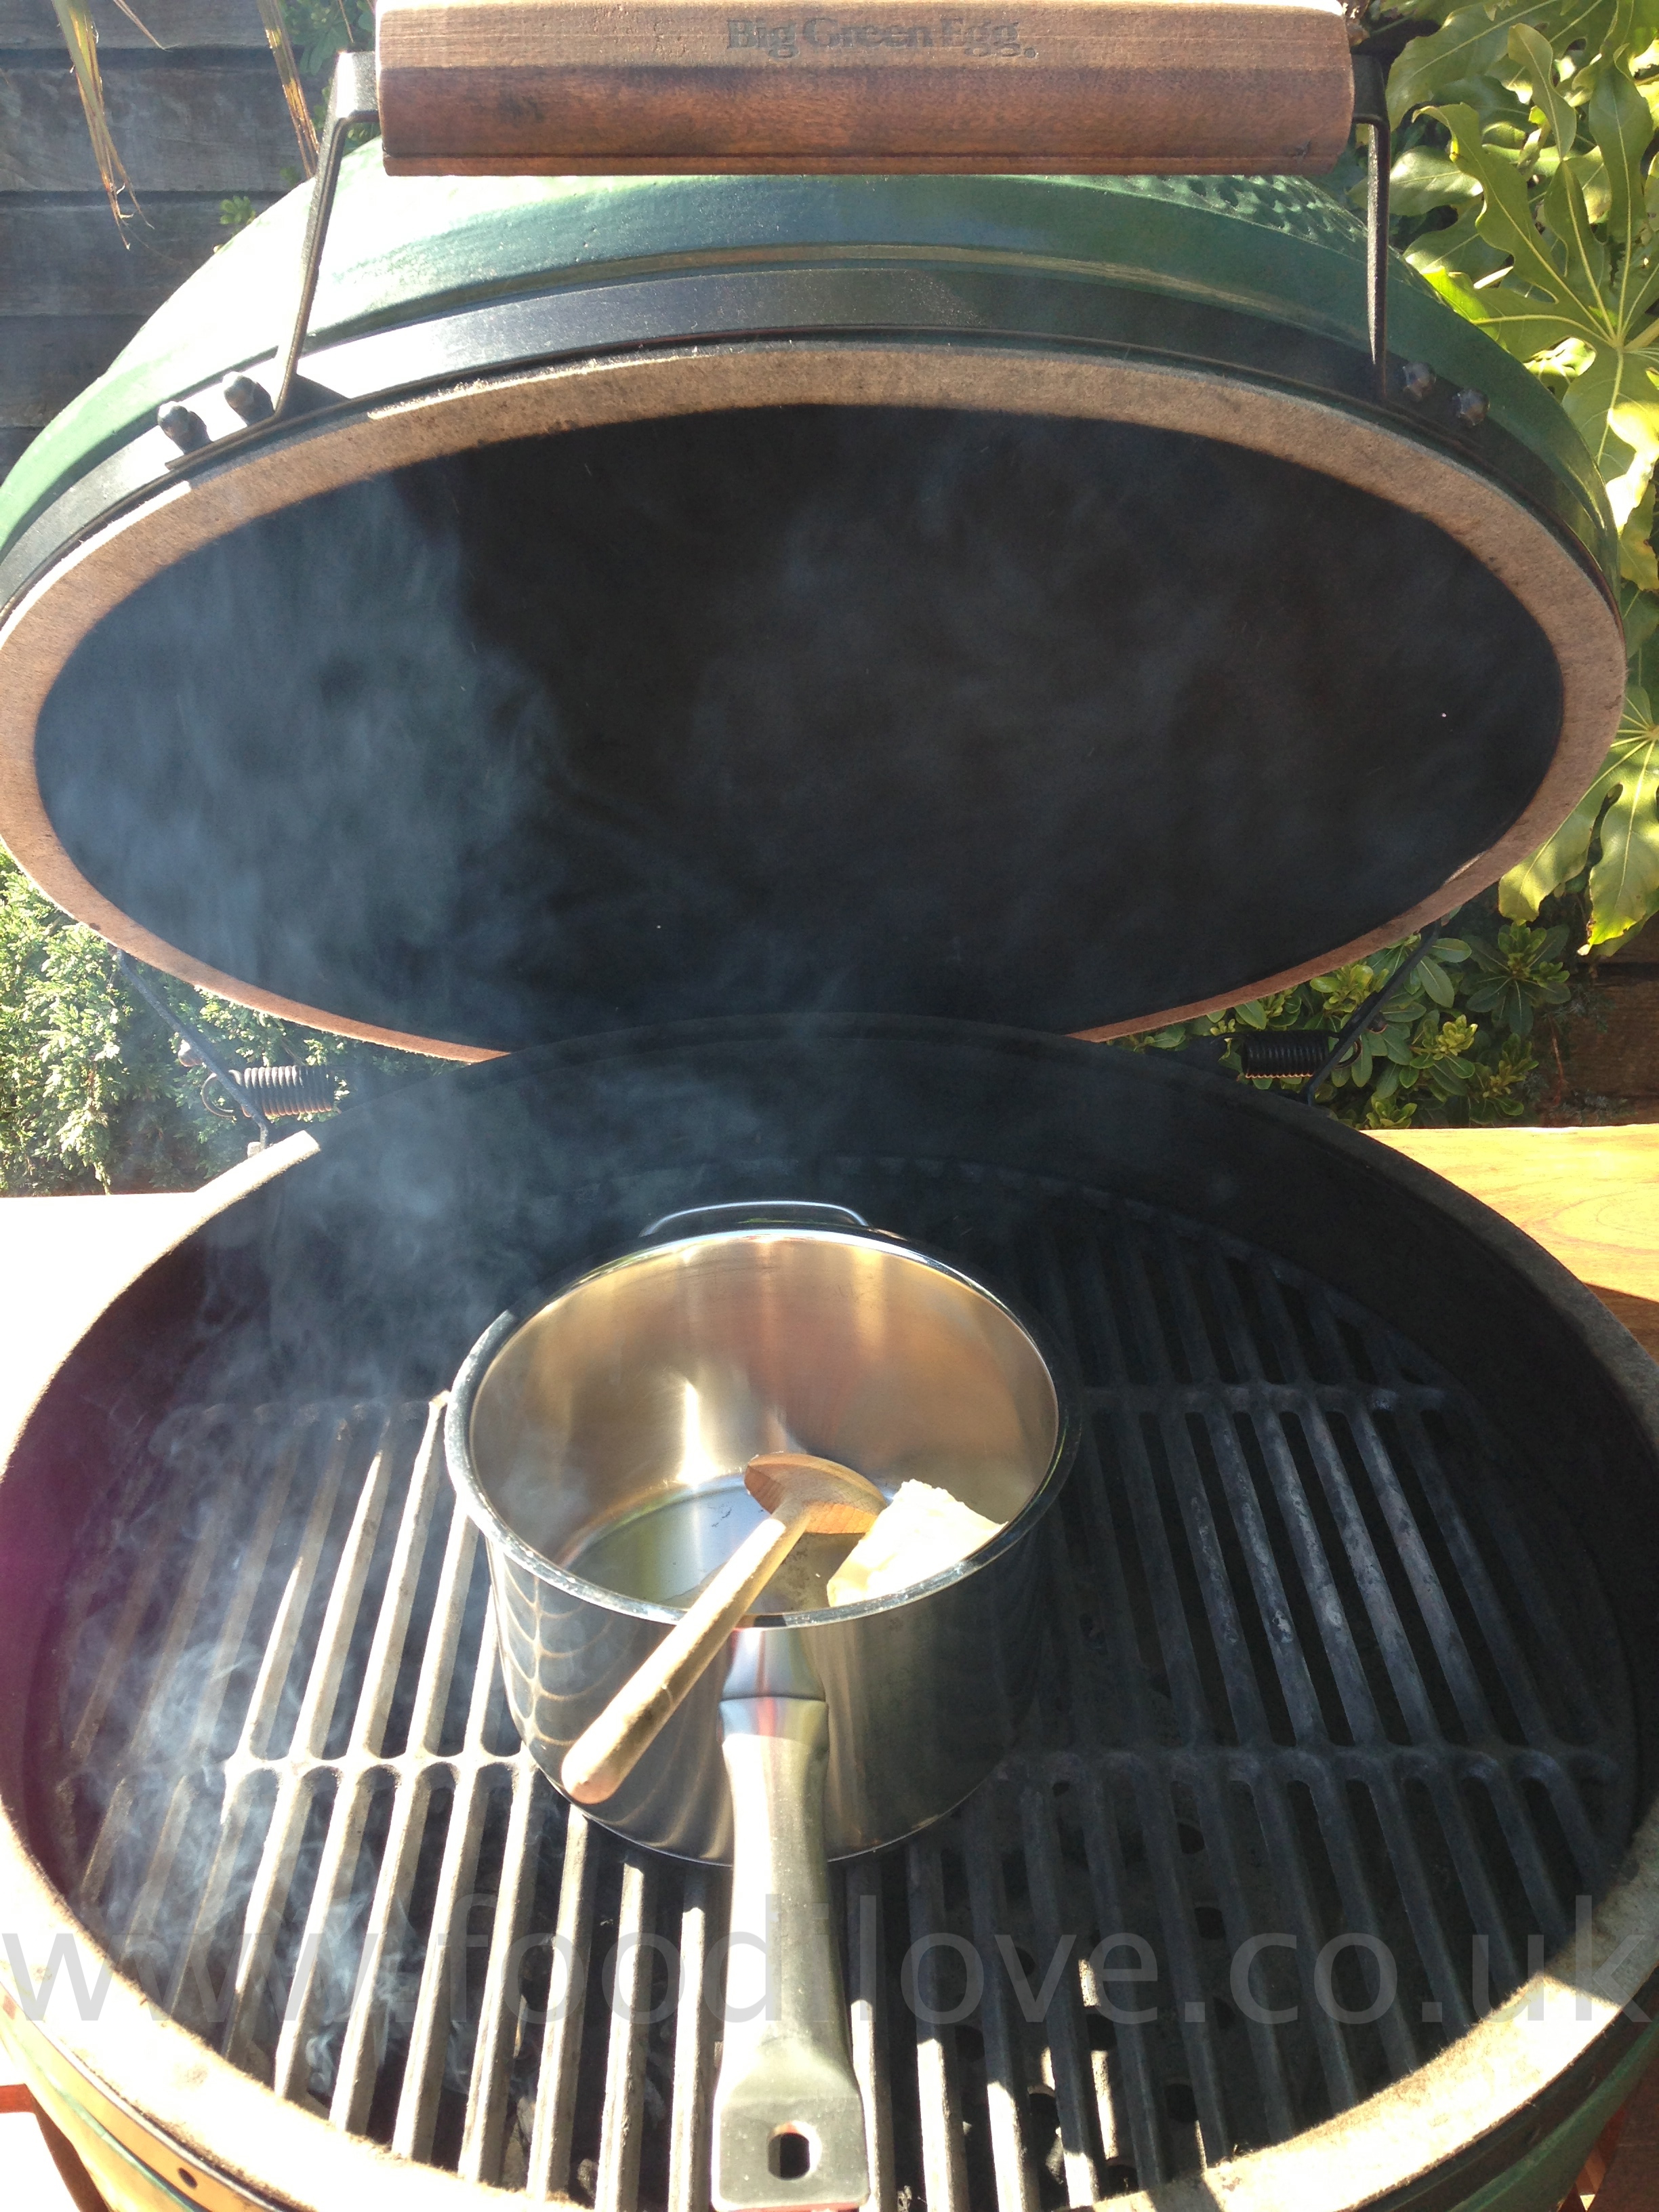
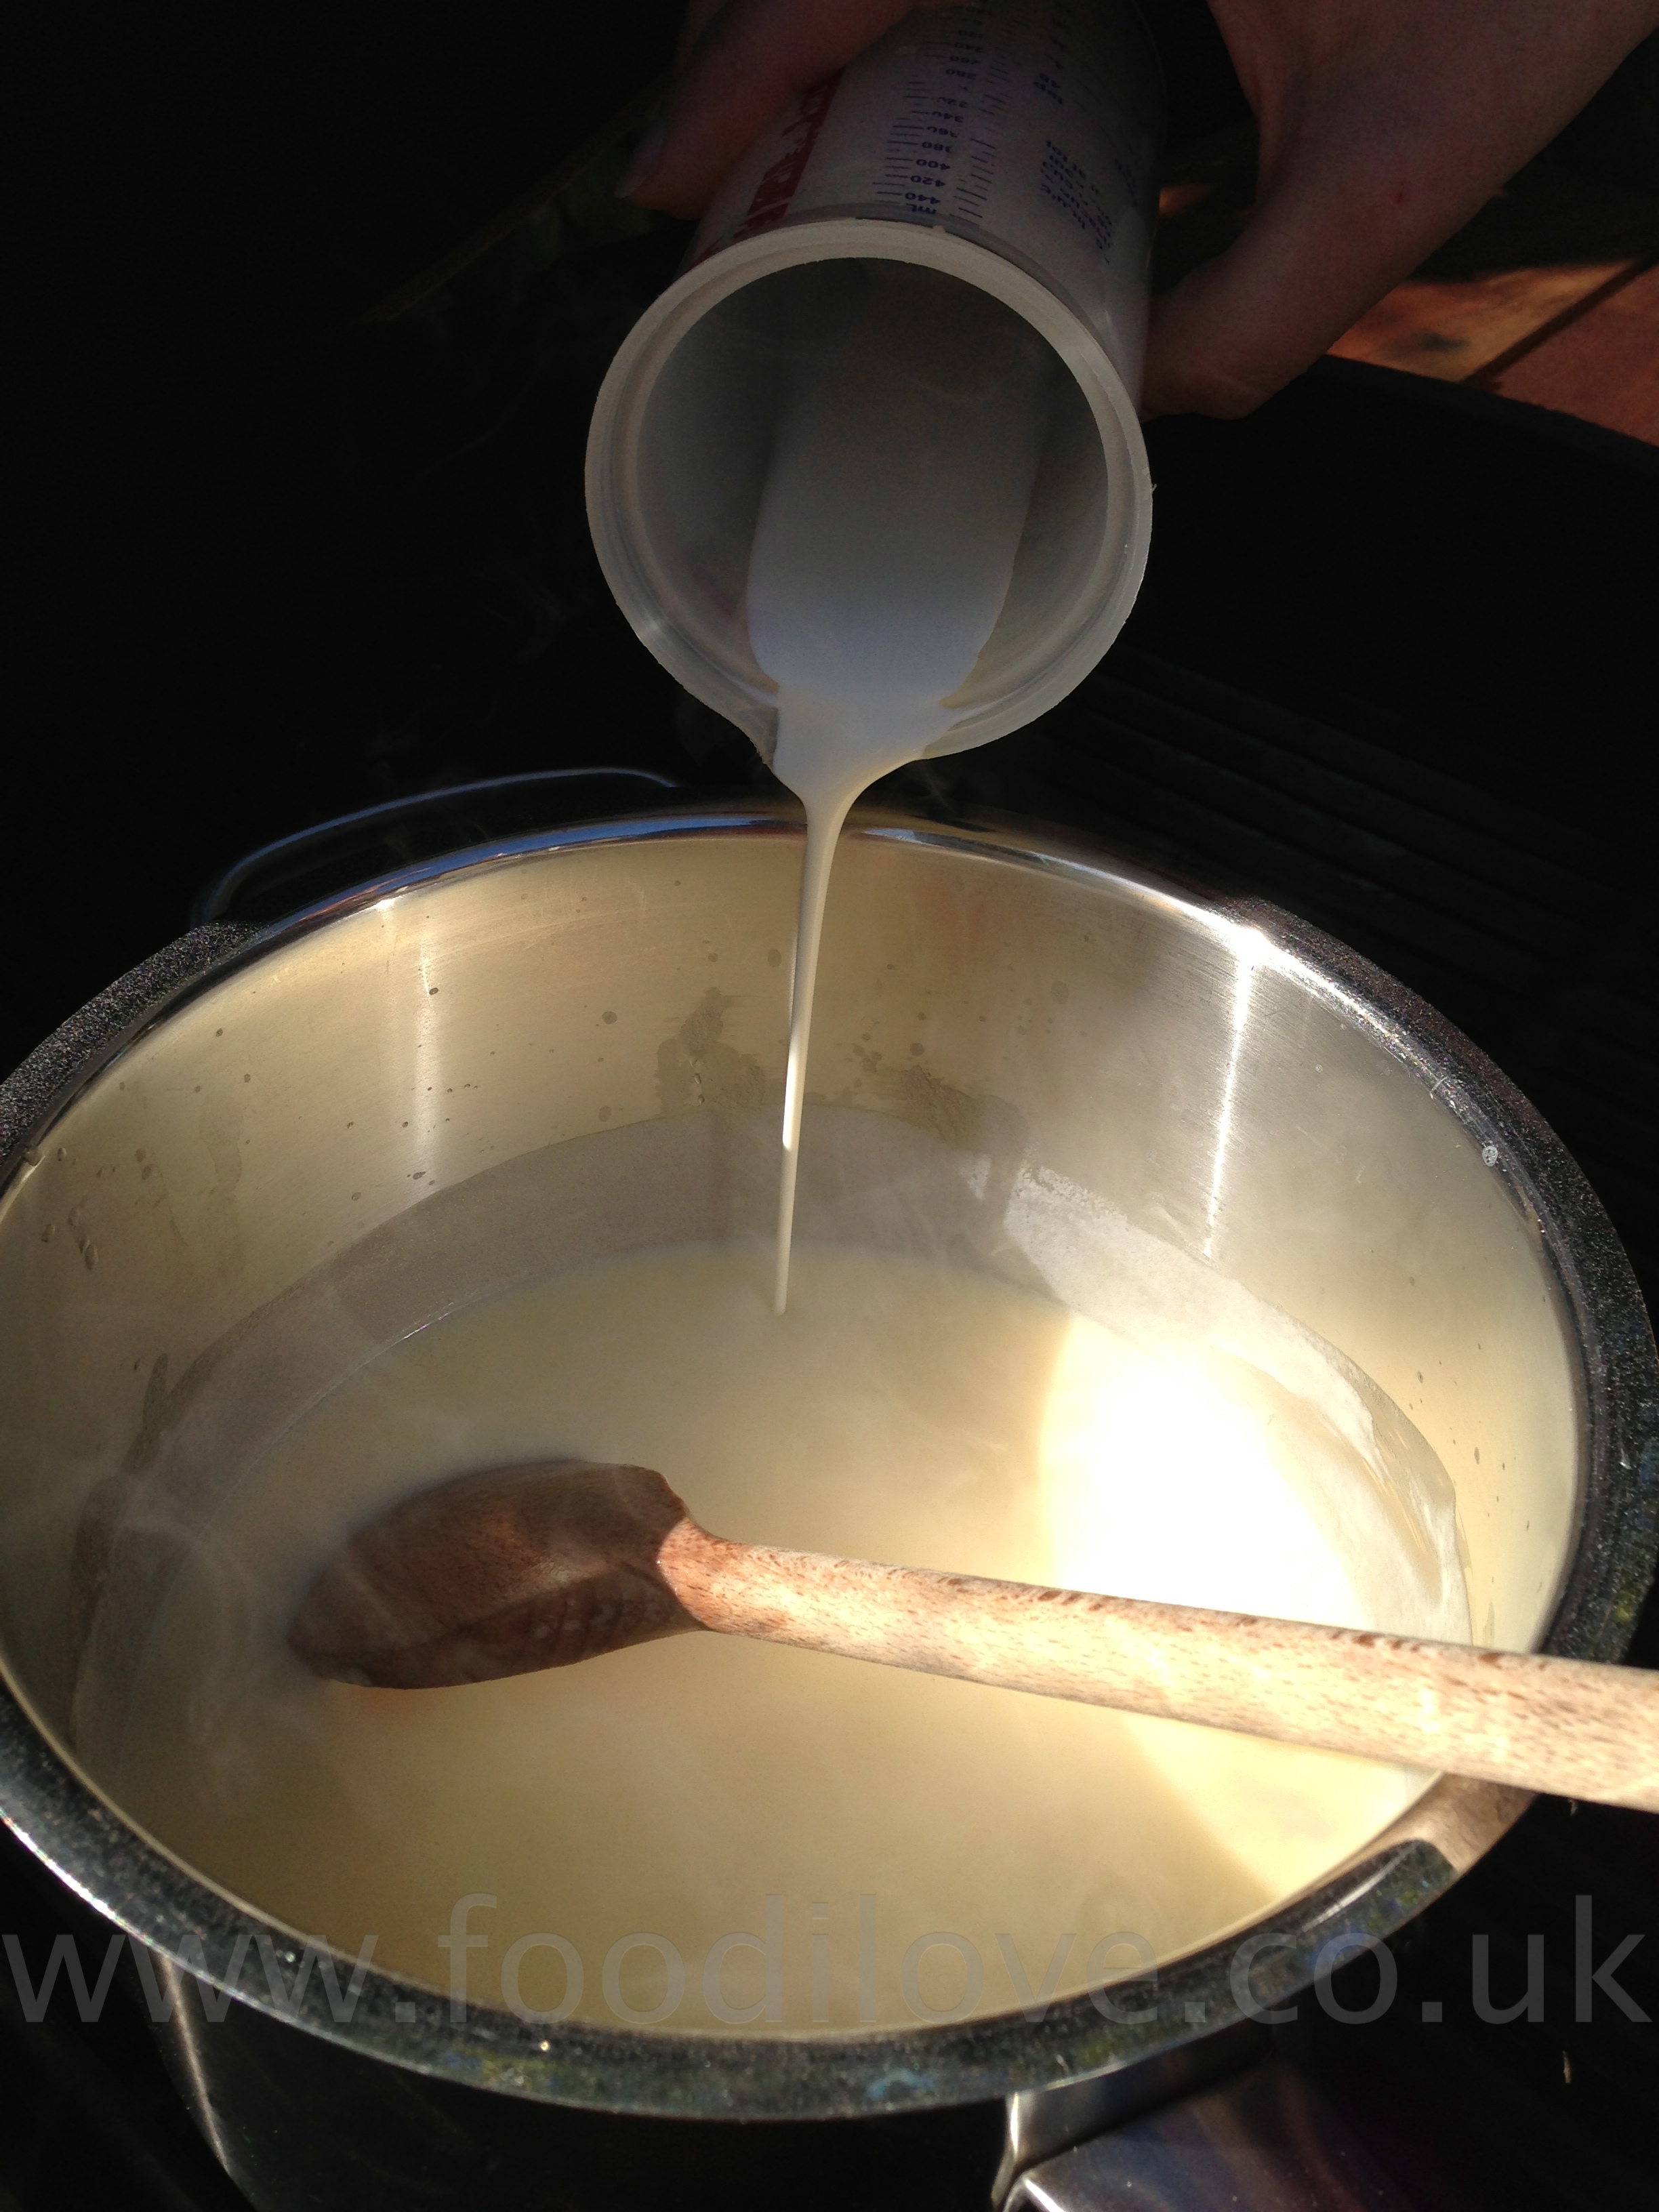
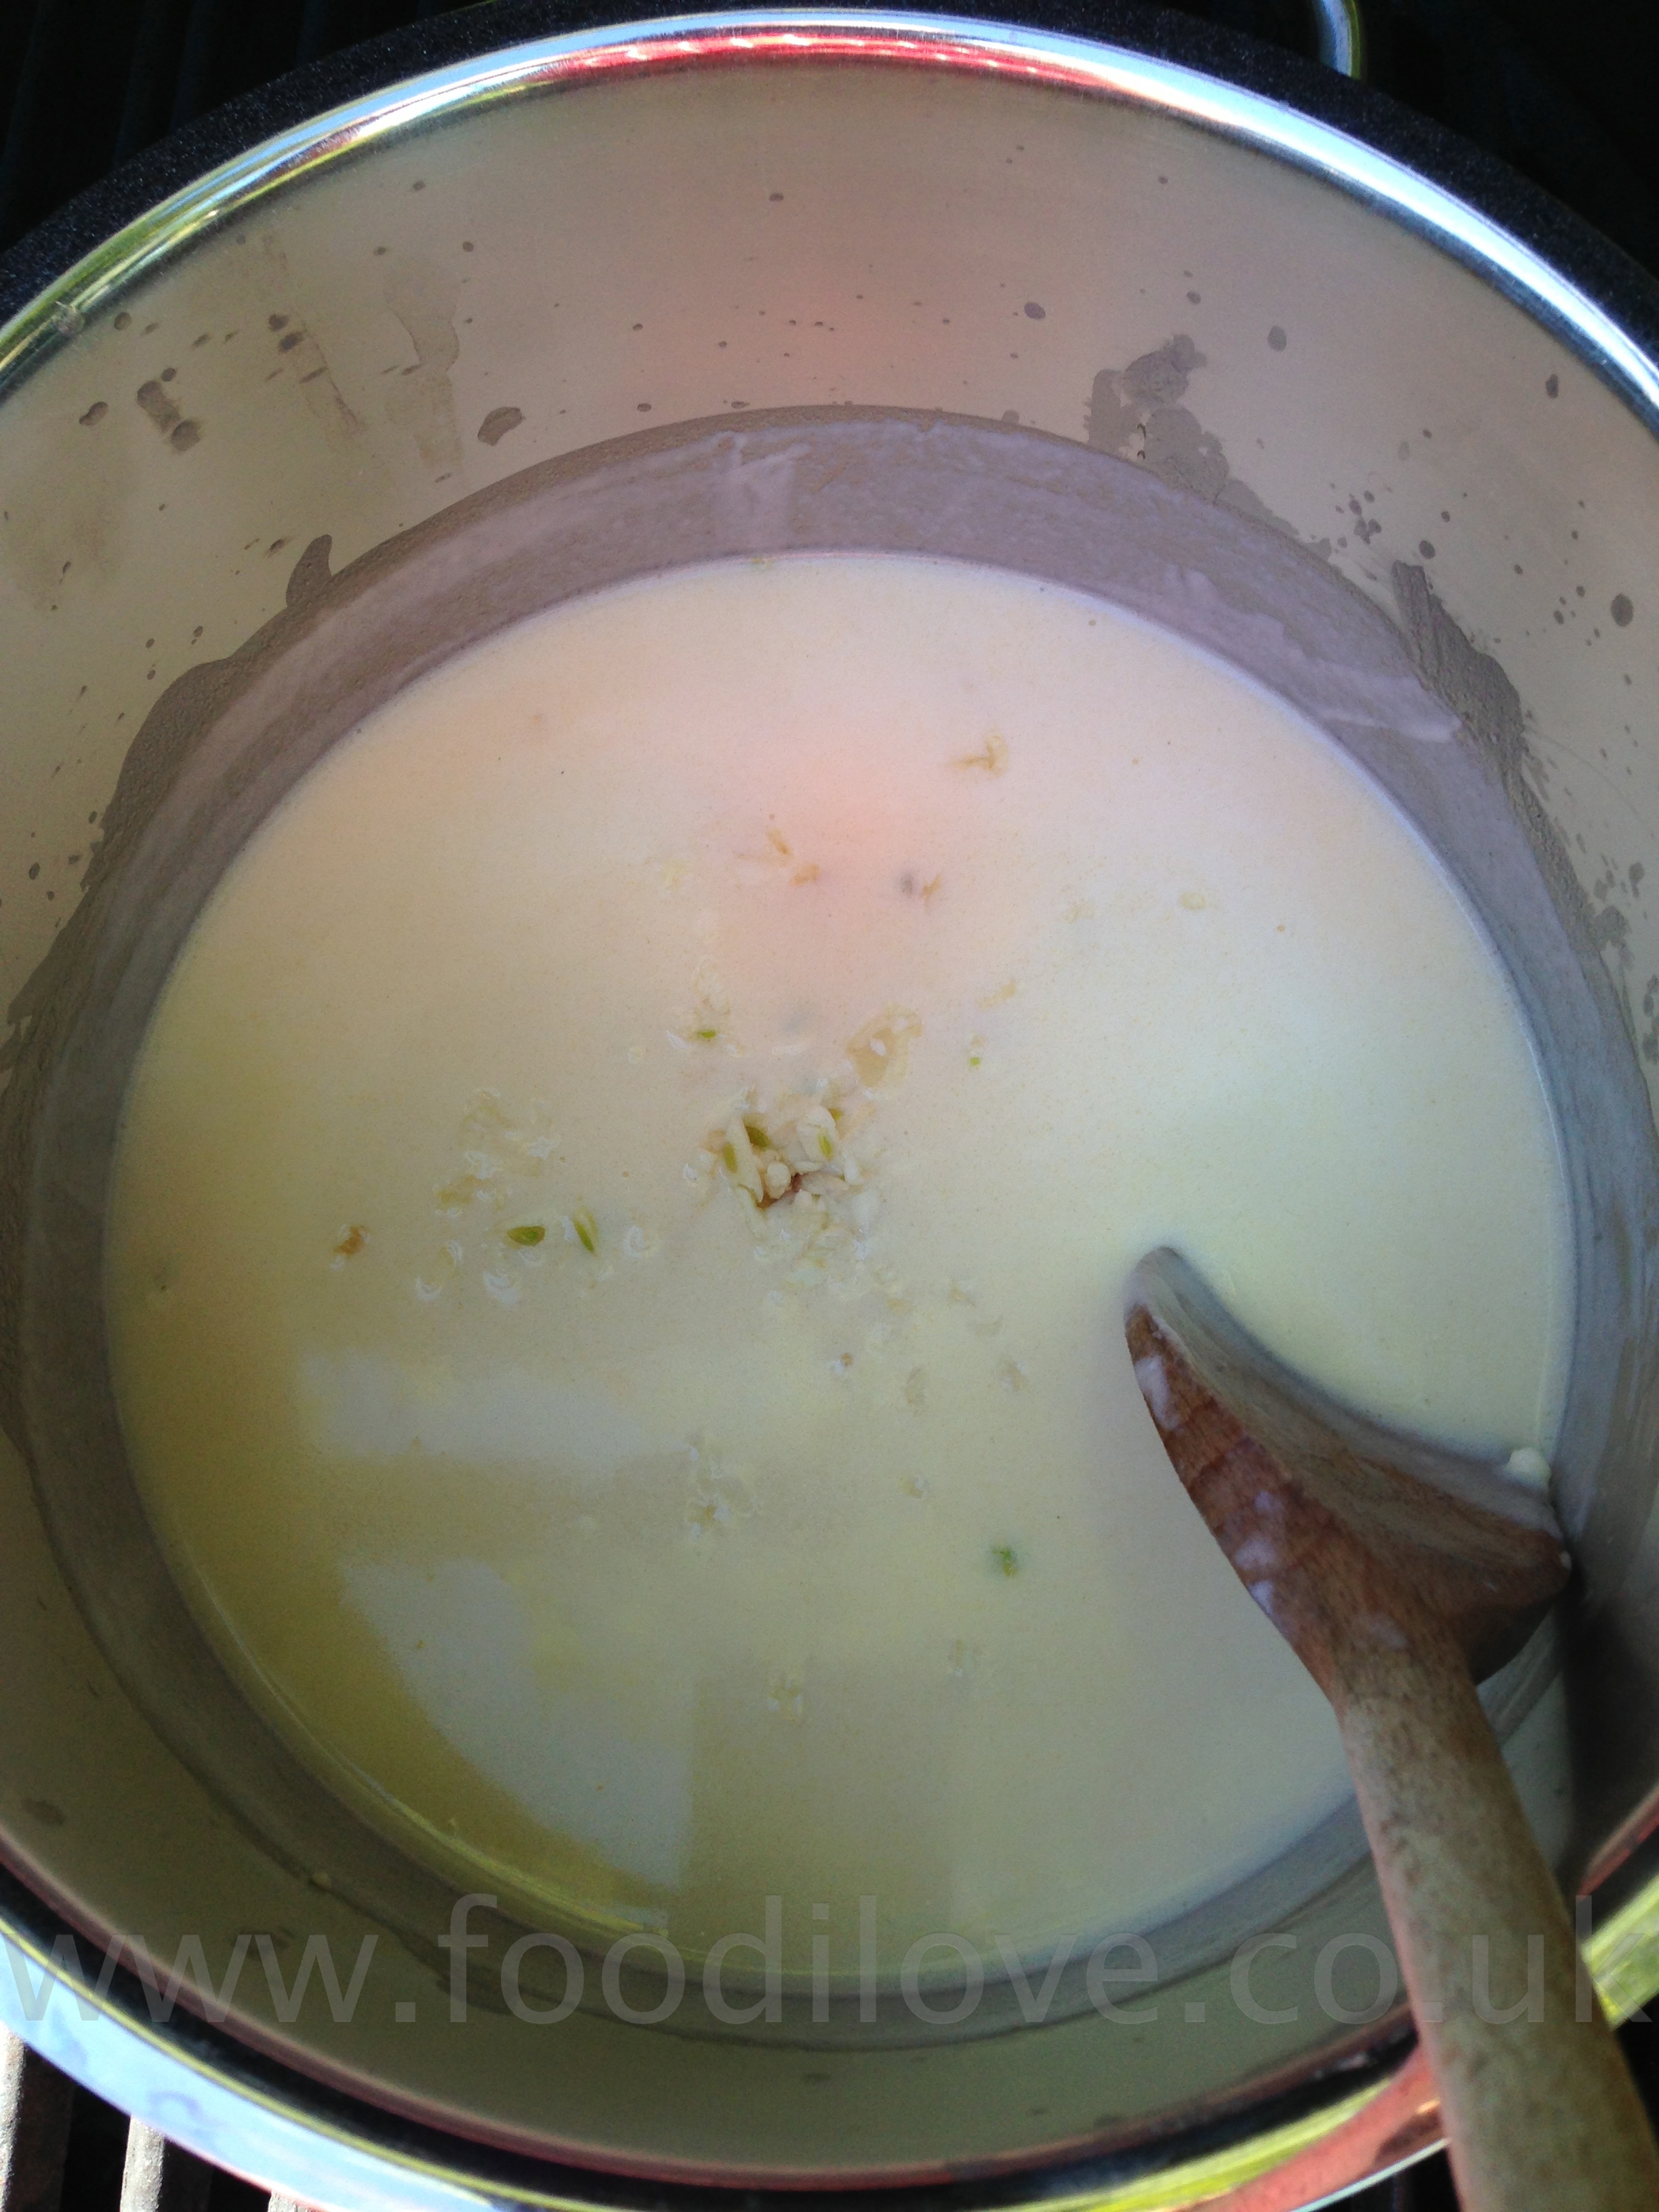
  • Meanwhile, heat the olive oil in a large, heavy-based saucepan and sauté the chopped onions until soft and golden brown.
  • Stir the chopped tomatoes into the contents of the saucepan and cook for 5 minutes.
  • Season with sea salt and freshly ground black pepper to taste.
  • Serve the fish on top of the tomato mixture and top with a generous spoonful of pesto.
  • Squeeze the fresh lemon all over. 

All you need to do is plate up 1-3 mackerel, depending on size and appetite. Serve with a slice of fresh lemon and some new potatoes or some freshly baked bread. There you have it, a great summer dish with fish that is cheap and in season, enjoy.

View fullsize IMG_5085.jpg
View fullsize IMG_5090.jpg
View fullsize IMG_5093.jpg

Don’t for get to enter the competition to win those gift vouchers, just go to our FaceBook Fan Page and leave a suggestion of what you would like to see me cook on the last Blog of the year.


July 04, 2013 /Larry Susman
Baking, Big Green Egg, Braai, Fish, Food Websites, Recipes, Vegetables
Comment
Lobster & T-Bone steak on the Braai/BigGreenEgg

Surf & Turf on the Braai

June 13, 2013 by Larry Susman in Beef, Big Green Egg, Braai, Fish, Meat, Recipes, Video

Lobster & T-Bone steak on the Braai/BigGreenEgg

Well the sun is shining and I’m going to cook a classic South African Braai (when your flush!) of T-bone steak and lobster. Now this is not a everyday dish unless you catch your own lobster and live on a farm but man it makes you smile. I’ve managed to get a fresh local lobster and the steak is not a problem for me fortunately. The only problem is I’m going to have to kill this lobster myself and it keeps on looking at me with wide eyes, lol!

For those of you that have never cooked lobster this will be the worst thing you will have to do, you can hear all those politically correct people having a go at you about this. Just remember that somebody has to do the dreaded act, just do it quickly and as humanely as possible. I think the best way to do this is to take a large sharp knife and place the tip just behind it head, push quickly downwards and bring it forward at the same time. This will instantly kill it and it will not suffer at all. Unfortunately, due to the nerves system the lobster will continue to twitch for awhile but be rest assured it is dead.

SERVES 2: PREP: 5 MINS: COOK TIME: 8 MINS

Ingredients for Surf & Turf:

  1. 1 x Large Lobster
  2. 1 x T-Bone steak
  3. 1 x Juice of fresh lemon
  4. 30g x Fresh Dill
  5. 20g x Salted Butter
  6. Sea Salt & freshly ground Black Pepper to taste

Method how to prepare & cook Surf & Turf:

  • Preheat the Braai to 300°C (570°F) or hotter if you can
  • Cut the lobster in half as described above and remove the air sack in the head and the stomach waste (just like you do with prawns).
  • Season the steak and the lobster with salt and pepper.
  • Melt the butter and finely chop the Dill and add with the juice of the lemon to the melted butter.
View fullsize IMG_4705.jpg
View fullsize IMG_4706.jpg
View fullsize IMG_4714.jpg
View fullsize IMG_4716.jpg
  • Brush the lobster meat with the dill butter.
  • Place the steak on the braai as well as the lobster with its’ shell facing downwards.
  • Cook for 4 minutes.
  • Turn them over brush the lobster with the dill butter again and cook for a further 4 minutes.
  • This will give you medium rare steak and the lobster meat should have a lovely white flesh, with the shells a deep red. Just cook for a little longer on the steak if you want medium or well done. 
  • Finally give the lobster one final brush with the dill butter before serving.
View fullsize IMG_4722.jpg
View fullsize IMG_4731.jpg
View fullsize IMG_4735.jpg
View fullsize IMG_4732.jpg
View fullsize IMG_4737.jpg
View fullsize IMG_4750.jpg
View fullsize IMG_4743.jpg
View fullsize IMG_4739.jpg

You can watch the video below on how to cook the perfect steak or go to the blog and read how its done.

This meal was a real treat and one I hope to repeat a little more often over the summer. We’re lucky down this part of the world that we still have lobsters along the rocky shore line, hopefully I will come across one or two!! I served this with a fresh salad just to finish the dish off but really you don’t need anything else when you’ve got this combination. It’s amazingly quick to prepare and cook, all you need is a large overdraft! 

Just serve with a salad!
June 13, 2013 /Larry Susman
Beef, Big Green Egg, Braai, Fish, Meat, Recipes, Video
Comment
Moules Marinières on the Braai/BigGreenEgg

Moules Marinières on the Braai

May 17, 2013 by Larry Susman in Big Green Egg, Braai, Bread, Fish, Recipes

Moules Marinières on the Braai/BigGreenEgg

Well thanks very much for all your comments and support after my little rant last week, it's great to know that you are so supportive and enjoying this blog. This week I’ve decided to do something a little different and gone Mediterranean and will be braaiing Moules marinières. This is not something I’ve ever tried but Jan has been asking for this dish for a while and I thought why not. OK, it might just be a starter for most South African guys but you can always have a great steak or ribs as a main course!

Living on the south coast of the UK, I have access to really fresh mussels and this is important, the fresher the better. If you are lucky enough to live on a breach where you can go and pick your own, send us a pic so we can all be jealous.

“Tip”

Do not scrub the shells as the colour will transfer during cooking giving an unappetising grey colour to the dish. Discard any mussels that float or remain open when tapped against the side of the sink and never eat any that don’t open after cooking.

SERVES 4: PREP: 10MINS: COOK TIME: 15MINS

Ingredients for the Moules Marinières:

  1. 2kg Fresh Mussels
  2. 250 ml fish stock 

Ingredients for the (Roux) Creamy garlic sauce:

  1. 250g butter
  2. 100g flour
  3. 750ml milk
  4. 500ml fish stock 
  5. 100ml fresh cream
  6. Salt and freshly ground black pepper to taste
  7. 4 x Cloves garlic, finely chopped

Method of cooking the (Roux) Creamy garlic sauce:

  • Preheat the braai to 180°C 350°F.
  • Melt the butter and add flour. Stir until a roux is formed. 
  • Heat together the milk and 500ml of the fish stock, then gradually add them to the roux, stirring, making sure no lumps form. 
  • Add the cream and simmer for about 10 minutes. 
  • Add seasoning, garlic and set aside to be added back to the mussels later.
View fullsize IMG_4509.jpg
View fullsize IMG_4511.jpg
View fullsize IMG_4515.jpg
View fullsize IMG_4518.jpg
View fullsize IMG_4524.jpg
View fullsize IMG_4527.jpg

Method of cooking the Mussels:

  • Preheat the braai to 300°C 572°F.
  • Wash the mussels under cold running water in a sink, removing any beards and barnacles. “There's no substitute for the sea-fresh taste of fresh mussels. But don't try to cut corners. It's vital that you clean the mussels and remove the beards. The end result is well worth the labour.”
  • Place an empty saucepan (just large enough to hold the mussels) over a high heat on the braai and allow to get very hot. 
  • Pour in the mussels and a loud hissing noises will be heard, then pour in the 250ml fish stock (this will boil rapidly) and cover immediately with a lid. 
  • After about 5 minutes the mussels will open and most of the moisture should have evaporated. 
  • Reduce the heat, then add the creamy garlic sauce to the saucepan and cook for a further 5 minutes.
View fullsize IMG_4533.jpg
View fullsize IMG_4537.jpg
View fullsize IMG_4536.jpg
View fullsize IMG_4540.jpg

Remove the mussels from the saucepan with a slotted spoon, discarding any that have not opened properly. Place in a serving bowl and pour over the creamy garlic sauce. Garnish with the leeks, carrots and chives. All that is left to do is serve with some freshly made bread (see my recipe here) or some shop bought French bread if you are short of time and serve immediately.

View fullsize IMG_4550.jpg
View fullsize IMG_4551.jpg

It smelt absolutely fantastic, unfortunately as I’m allergic to shell fish I could not try them but the look on Jans’ face said everything :-) . Enjoy, this dish just looks fantastic and it only takes a few minutes to make. As usual please leave any thoughts or suggestions in the comments area below.

Until next week, 

Au revoir

​

May 17, 2013 /Larry Susman
Big Green Egg, Braai, Bread, Fish, Recipes
Comment
Orange & Lemon Peppered Monkfish on
the Braai/BigGreenEgg

Orange & Lemon Peppered Monkfish on the Braai

April 12, 2013 by Larry Susman in Big Green Egg, Braai, Fish, Recipes

Orange & Lemon Peppered Monkfish on the Braai/BigGreenEgg

Howzit folks,

Well with still no signs of summer we keep the faith and Braai! This week I'm back in training for a big ride in Wales in June so I have to loose a few pounds so I'm cooking some fish this week as an effort to eat a little lighter if not healthier. I hesitate when I say this as because all South African men (I assume as I'm one) think that a meal without red meat is only a snack! However I'm cooking Monkfish which is in my opinion one of the fishes that can destroy that myth that fish is not filling.

It's a very ugly fish but man it's tasty, with a unique, firm-textured and meaty white flesh. Monkfish has an extraordinary appearance, with a flattened head, tapering body and mottled-brown, glossy skin. But once the fish has been filleted and the central bone removed, there are no others, you are ready to go without the frea of choking on any bones.

“Tip” Monkfish is usually sold with the head removed, the remaining body is called the ‘tail’. The tail is sold in steaks the meat is also harvested from the head also monkfish cheeks are considered a delicacy but I've never tried them (on the list of things to do when I get desperate). The loose dark skin of this fish is easy to strip away this revealing a pink, glassy membrane that needs to be pulled away and discarded. If left on it will shrink around the meat during cooking, making it tough.

Throughout the world the texture of the tail meat of fish of the monkfish has sometimes been compared to lobster tail and has been alluded to as the "poor man's lobster. Although today it commands prices equivalent to and in some cases exceeding that of lobster.

SERVES 4-6 : PREP: 15 MINS : MARINATE 1hr : COOK TIME : 16-20 MINS

Fish Ingredients:

  1. 2 x Monkfish tails, about 500g each, skinned and cut into 4 fillets
  2. 1 x Orange Sliced
  3. 1 x Lemon Sliced
  4. 6 x Fresh Thyme or Lemon Thyme sprigs
  5. Salt & Pepper to taste

Marinade Ingredients:

  1. 1 x Orange
  2. 1 x Lemon
  3. 6 x Fresh Thyme or Lemon Thyme sprigs
  4. 2 tbsp Olive Oil
  5. 2 tbsp Green Peppercorns, crushed
  6. Salt to taste

Method how to prepare Monkfish:

  • Rinse the Monkfish under cold running water and then pat dry with kitchen paper and place in a shallow dish.
  • Cut the oranges and lemons into slices.
  • Place one fillet of monkfish cut side up onto the work surface and place the citrus slices alternatively over it.
  • Top this with some thyme and then place another fillet on top.
  • Next, tie them securely together with some string and repeat with the others.
  • Sprinkle with the remaining thyme.
  • Lay them in a shallow no metallic dish.

Method how to prepare Marinade:

  • Squeeze the juice from the remaining fruits into a jug.
  • Add the olive oil, mix and season to taste.
  • Spoon the mixture over the fish and cover with cling film.
  • Leave to marinade for up to 1hr, spooning the mixture over the fish tails a few times.
  • Finally take out of the fridge and sprinkle the crushed peppercorns over the fish and massage gently into the flesh.
  • Preheat the Braai to 180°C (360°F).
  • To cook could not be simpler, place them on the braai to cook for 18 mins turning regularly.
  • Use the remaining marinade to baste the fish as it cooks.
  • If you do this the sweetness of the oranges will caramelise on the Braai and this just adds to the whole dish.

It's as simple as that, boil a few new potatoes and serve with fresh salad or even some grilled asparagus. All you meat eating guys out there believe me when I say this fish is worth a try you will end up with a fantastic dish that is full of flavour and will fill you up.

View fullsize IMG_4232.jpg
View fullsize IMG_4252.jpg
View fullsize IMG_4255.jpg
View fullsize IMG_4263.jpg

I'm not a great fish lover but boy was this great. I hope that you are all enjoying my ventures? If so or not as the case maybe, please feel free to let me know below. Keep well until next week. Larry

April 12, 2013 /Larry Susman
Big Green Egg, Braai, Fish, Recipes
Comment
Paella on the Braai/BigGreenEgg

Paella on the Braai

April 05, 2013 by Larry Susman in Baking, Big Green Egg, Braai, Chicken, Fish, Meat, Potjiekos, Recipes

Paella on the Braai/BigGreenEgg

Well, I'm 2/3rds of the way through my promise to cook every week on the Braai, through rain, snow, -10c and the occasional sunny day! Very occasional, I think it's shone for about 10 days in 8 months but never mind, we BRAAI not matter what's happening outside.

This week I'm having a go at the quintessential Spanish dish “Paella” this is my version of it, it might not be what you think its should be and I'm not claiming to be an expert but this is a great Paella to start with and a good base for experimenting. So have a read and then give it a go and let me know what you think. Basically this is the Spanish version of a Potjie.

SERVES 4-6: PREP: 20MINS: COOK TIME: 20-30MINS

Rub
 Ingredients for your Paella:

  1. 700g x Chicken Meat (Leg, Thigh or Breast meat diced into bite-size pieces - keep the skin & bone on for extra flavour)
  2. 6 x Large Tiger Prawns
  3. 12 x Large Mussels
  4. 1 x fresh Squid cut into rings
  5. 700g x Spanish paella rice
  6. 200g x diced cooking choritzo
  7. 1 x Red pepper (sliced & roasted if possible)
  8. 1tsp of Sweet Paprika
  9. 3-4 x medium, ripe tomatoes or a large tin of chopped tomatoes
  10. 2lt x Hot chicken or vegetable Stock
  11. 1 x Medium onion, finely chopped
  12. Pinch of Saffron (I like quite a bit)
  13. Extra virgin olive oil
  14. Salt to taste
  15. 1 x lemon (cut into wedges for decoration)

Don't forget to use  a 40cm to 50cm Paella Pan, it makes all the difference.

Method how to prepare and cook Paella:

  • Preheat the Braai/BigGreenEgg to 200ºF/94ºC.
  • Add a few tablespoons of the olive oil in the Paella Pan and part cook the chicken pieces a little (longer if they contain bones) until its browned off.
  • Make up the stock and add a good pinch of the saffron stamens. Let them infuse for about 20 mins.
  • Next make the "Sofrito", one of the most important parts of the Paella, this is the tomato and onion mix which is the base of the paella.
  • First sweat the onion in the Paella Pan until soft then add the chopped/tinned tomatoes and fry over a high heat, keep stirring.
  • It will start to thicken up in to a thick dark paste. When it is a dark red paste you have the perfect sofrito!
  • Next add the chorizo, paprika and about half of the peppers. Mix around thoroughly and continue fry for few more minutes.

​

View fullsize IMG_4093.jpg
View fullsize IMG_4099.jpg
View fullsize IMG_4100.jpg
View fullsize IMG_4103.jpg
  • Now add the hot stock to the paella pan. Taste for salt and seasoning. It needs to be quite well salted, bring to the boil and leave for several minutes for all the flavours to mix in with the stock.
  • Now add the rice, mix around briefly and even out in the pan ensure all the rice grains are under the surface of the liquid. DO NOT STIR the rice after this point.
  • After about 10 minutes the rice should start to appear though the liquid.
  • This is the point that you can add all the seafood that you have prepared earlier.
  • Now turn down the heat and continue to simmer for about another 10 minutes until the rice starts to dry out. (If some rice starts to appear whilst other areas still have liquid you can carefully distribute the rice around with a spoon)

​

View fullsize IMG_4109.jpg
View fullsize IMG_4116.jpg
View fullsize IMG_4111.jpg
View fullsize IMG_4120.jpg
  • Once most of the liquid has been absorbed, try the rice from under the top surface. It should be cooked "al dente" still with a slight nutty taste.
  • Now cover the Paella pan with foil and turn up the heat for a minute or so. (You will hear the rice go "pop" as it is caramelising on the bottom of the pan). This is called the "Socarrat" the most highly prized part of Paella. Covering the pan at this stage also helps finish off the cooking of the top layer of rice.
  • Turn off the heat. Decorate with lemon wedges and leave for a good 10 minutes to rest.

Serve directly from the pan at the table and remembering to scrape to the bottom to get the "socarrat", that's the greatest bit.

Add a crisp fresh salad and you will have the perfect meal for a sunny day, when it decides to come out again lol!

View fullsize IMG_4122.jpg
View fullsize IMG_4132.jpg
View fullsize IMG_4137.jpg

I wasn’t sure how this would work or even if it could be cooked on the braai but I must say it came out fantastically and everybody just loved it. Give it a try and let me know how yours comes out. I would love to hear if you have what you think is the best recipe, just leave it in the comment section below for everybody to see.

Chao Larry

April 05, 2013 /Larry Susman
Baking, Big Green Egg, Braai, Chicken, Fish, Meat, Potjiekos, Recipes
Comment
  • Newer
  • Older

© 2017 Susmans Best Beef Biltong Co Ltd