Food I Love

& my Big Green Egg

Join me as I share my kitchen adventures and mishaps while trying to create simple food inspired by childhood memories back in South Africa. 

  • Home
  • Blog
  • About
  • Gallery
    • Braai Images
    • Big Green Egg Images
  • Contact Me
Moules Marinières on the Braai/BigGreenEgg

Moules Marinières on the Braai

May 17, 2013 by Larry Susman in Big Green Egg, Braai, Bread, Fish, Recipes

Moules Marinières on the Braai/BigGreenEgg

Well thanks very much for all your comments and support after my little rant last week, it's great to know that you are so supportive and enjoying this blog. This week I’ve decided to do something a little different and gone Mediterranean and will be braaiing Moules marinières. This is not something I’ve ever tried but Jan has been asking for this dish for a while and I thought why not. OK, it might just be a starter for most South African guys but you can always have a great steak or ribs as a main course!

Living on the south coast of the UK, I have access to really fresh mussels and this is important, the fresher the better. If you are lucky enough to live on a breach where you can go and pick your own, send us a pic so we can all be jealous.

“Tip”

Do not scrub the shells as the colour will transfer during cooking giving an unappetising grey colour to the dish. Discard any mussels that float or remain open when tapped against the side of the sink and never eat any that don’t open after cooking.

SERVES 4: PREP: 10MINS: COOK TIME: 15MINS

Ingredients for the Moules Marinières:

  1. 2kg Fresh Mussels
  2. 250 ml fish stock 

Ingredients for the (Roux) Creamy garlic sauce:

  1. 250g butter
  2. 100g flour
  3. 750ml milk
  4. 500ml fish stock 
  5. 100ml fresh cream
  6. Salt and freshly ground black pepper to taste
  7. 4 x Cloves garlic, finely chopped

Method of cooking the (Roux) Creamy garlic sauce:

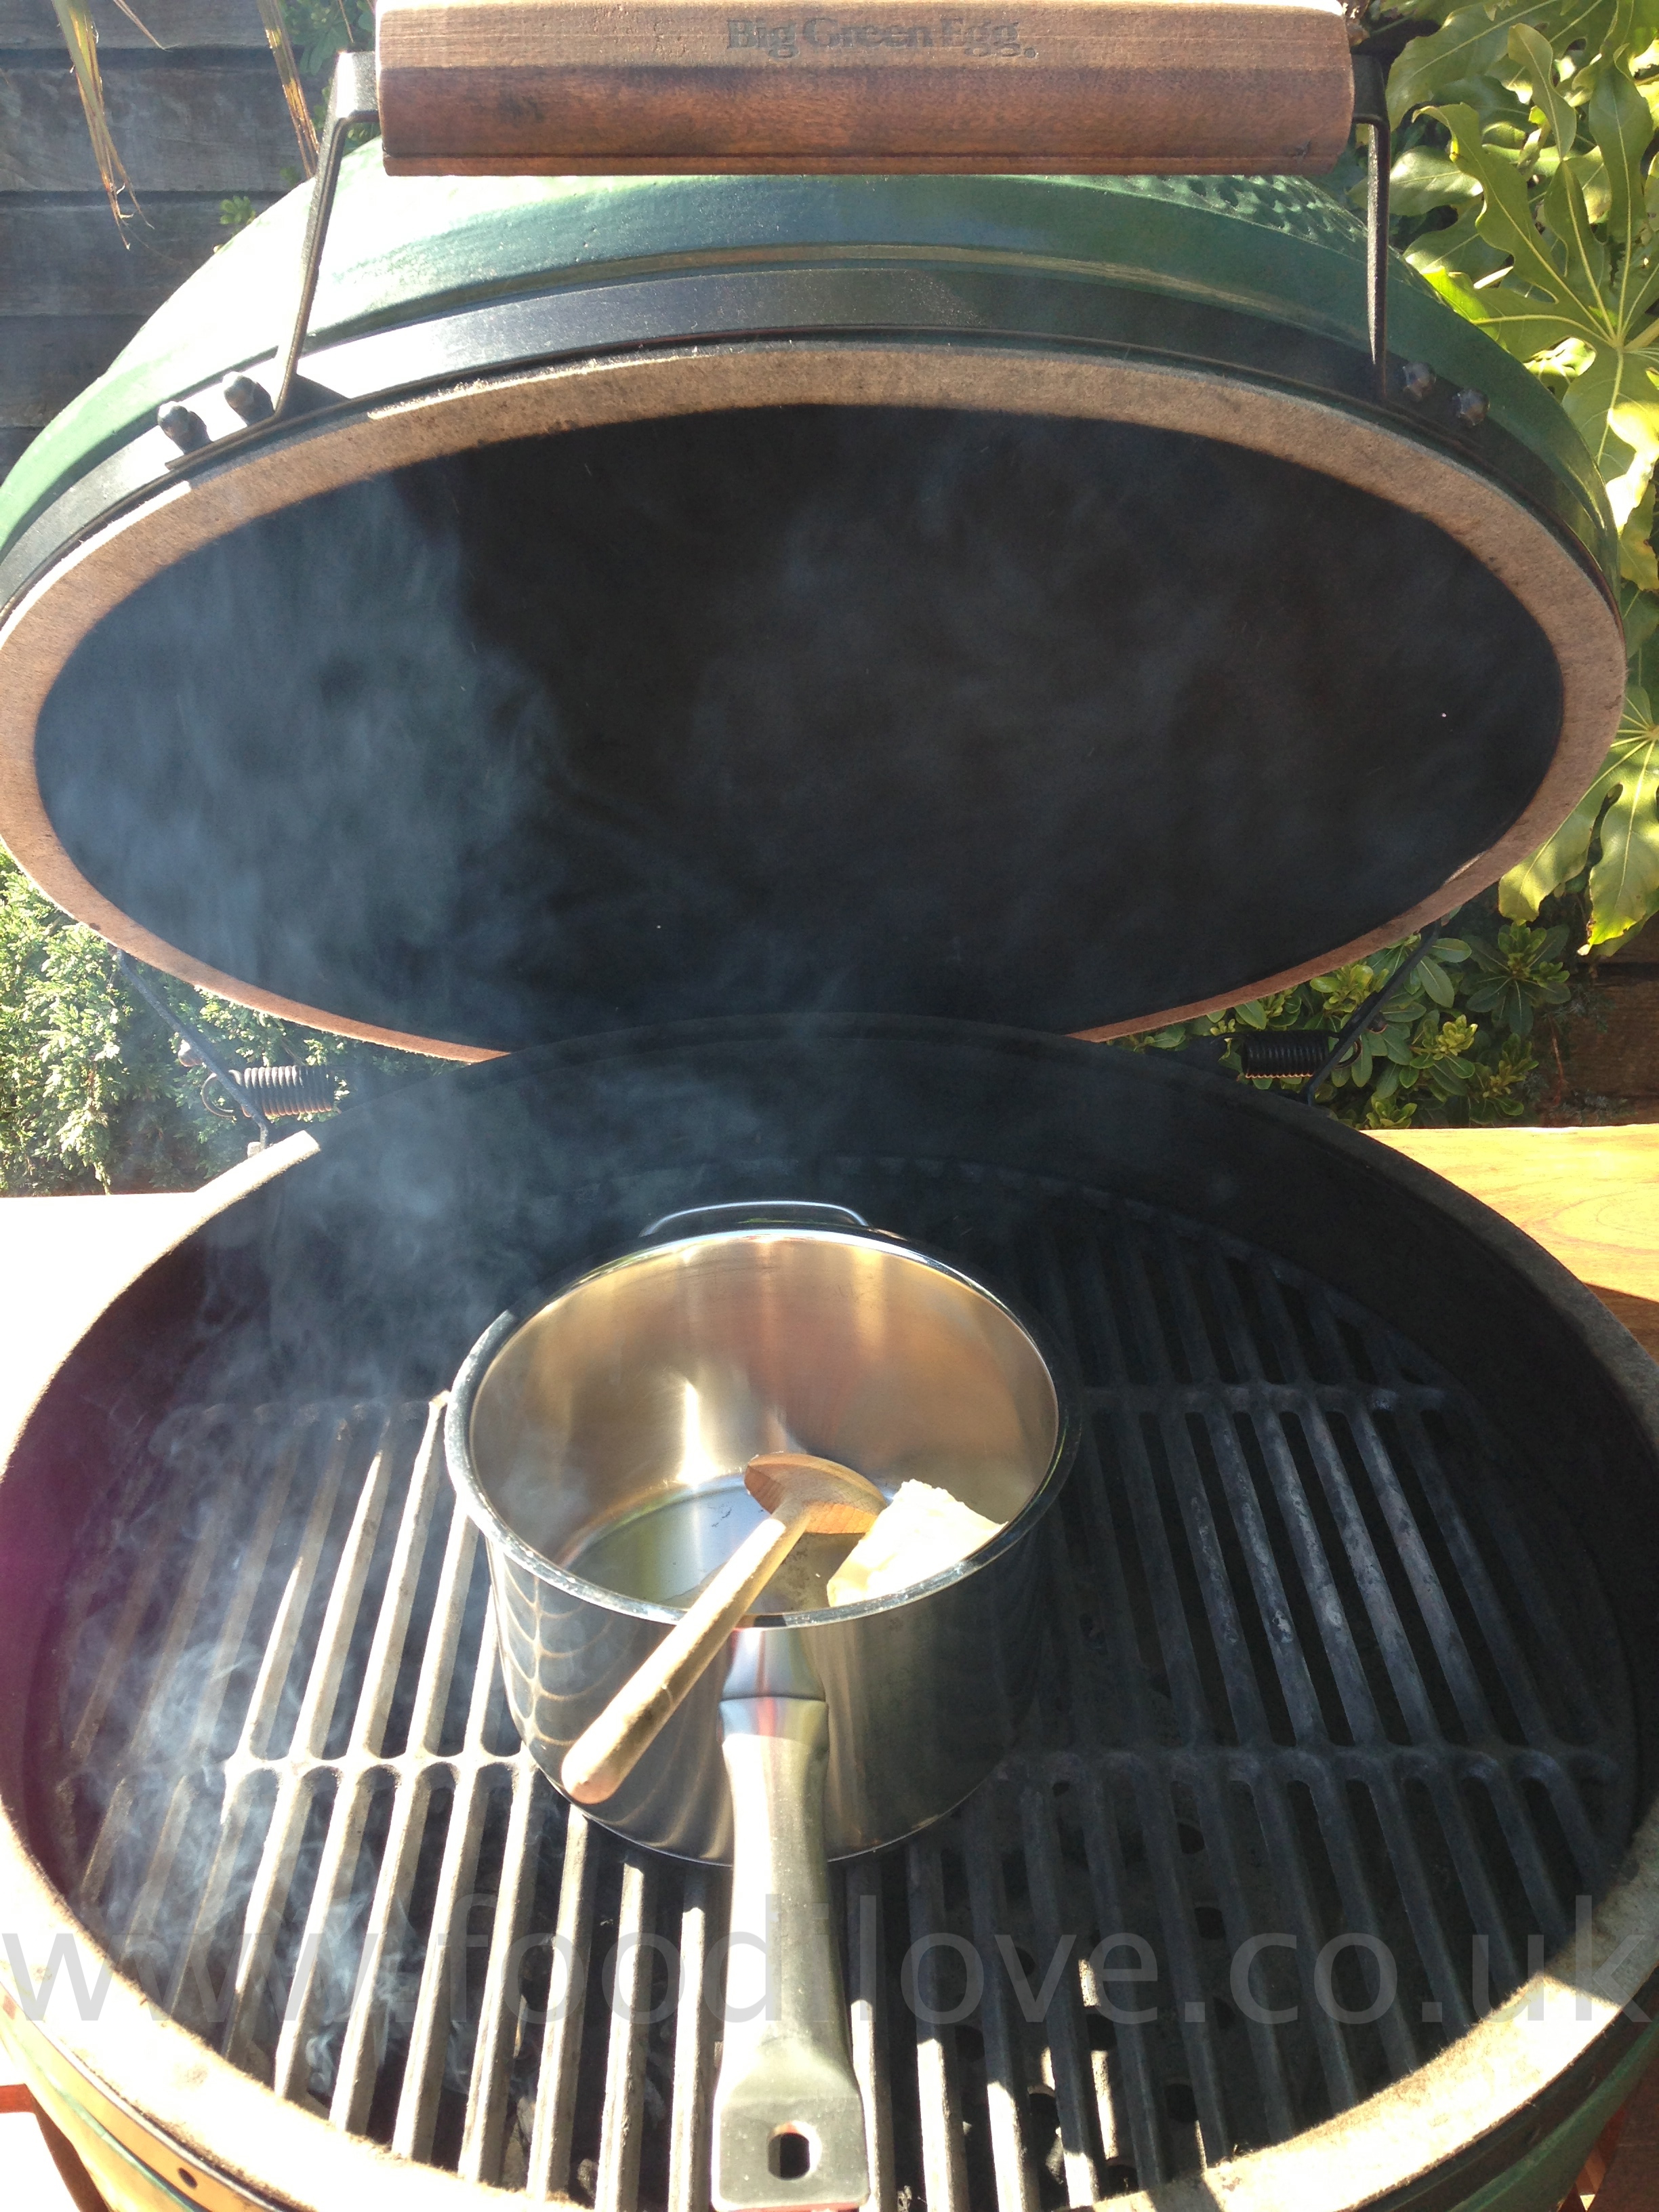
  • Preheat the braai to 180°C 350°F.
  • Melt the butter and add flour. Stir until a roux is formed. 
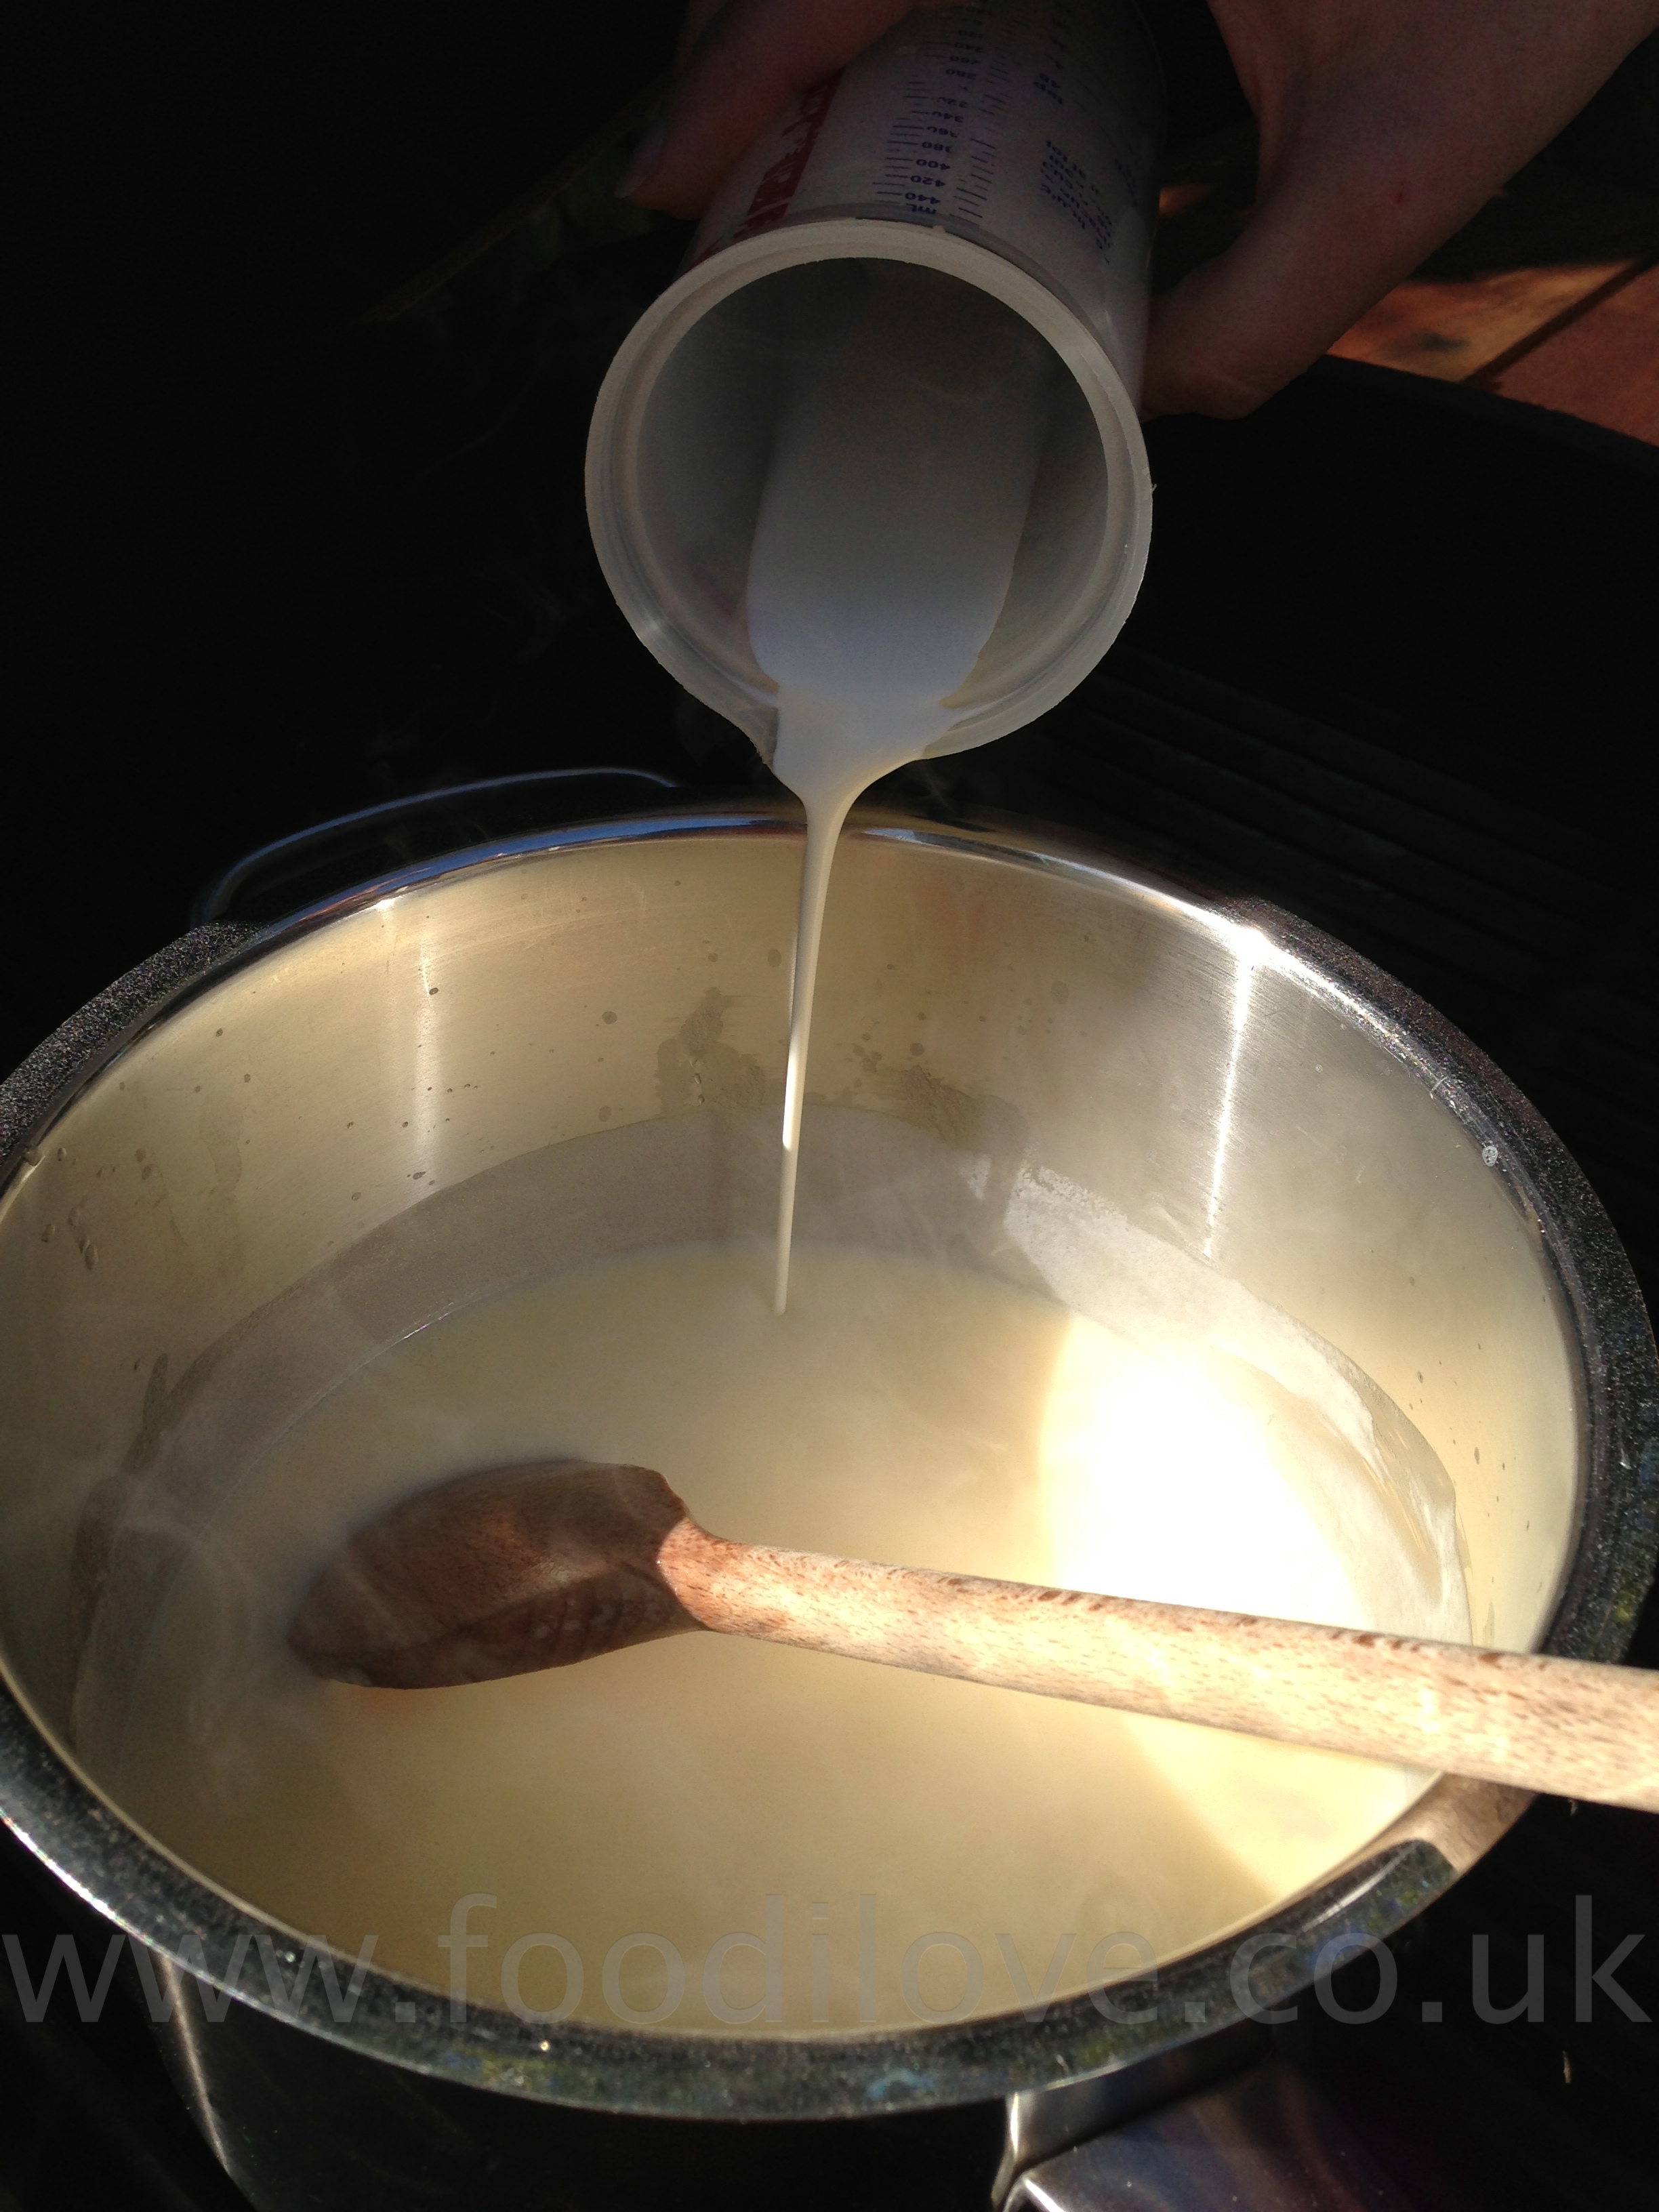
  • Heat together the milk and 500ml of the fish stock, then gradually add them to the roux, stirring, making sure no lumps form. 
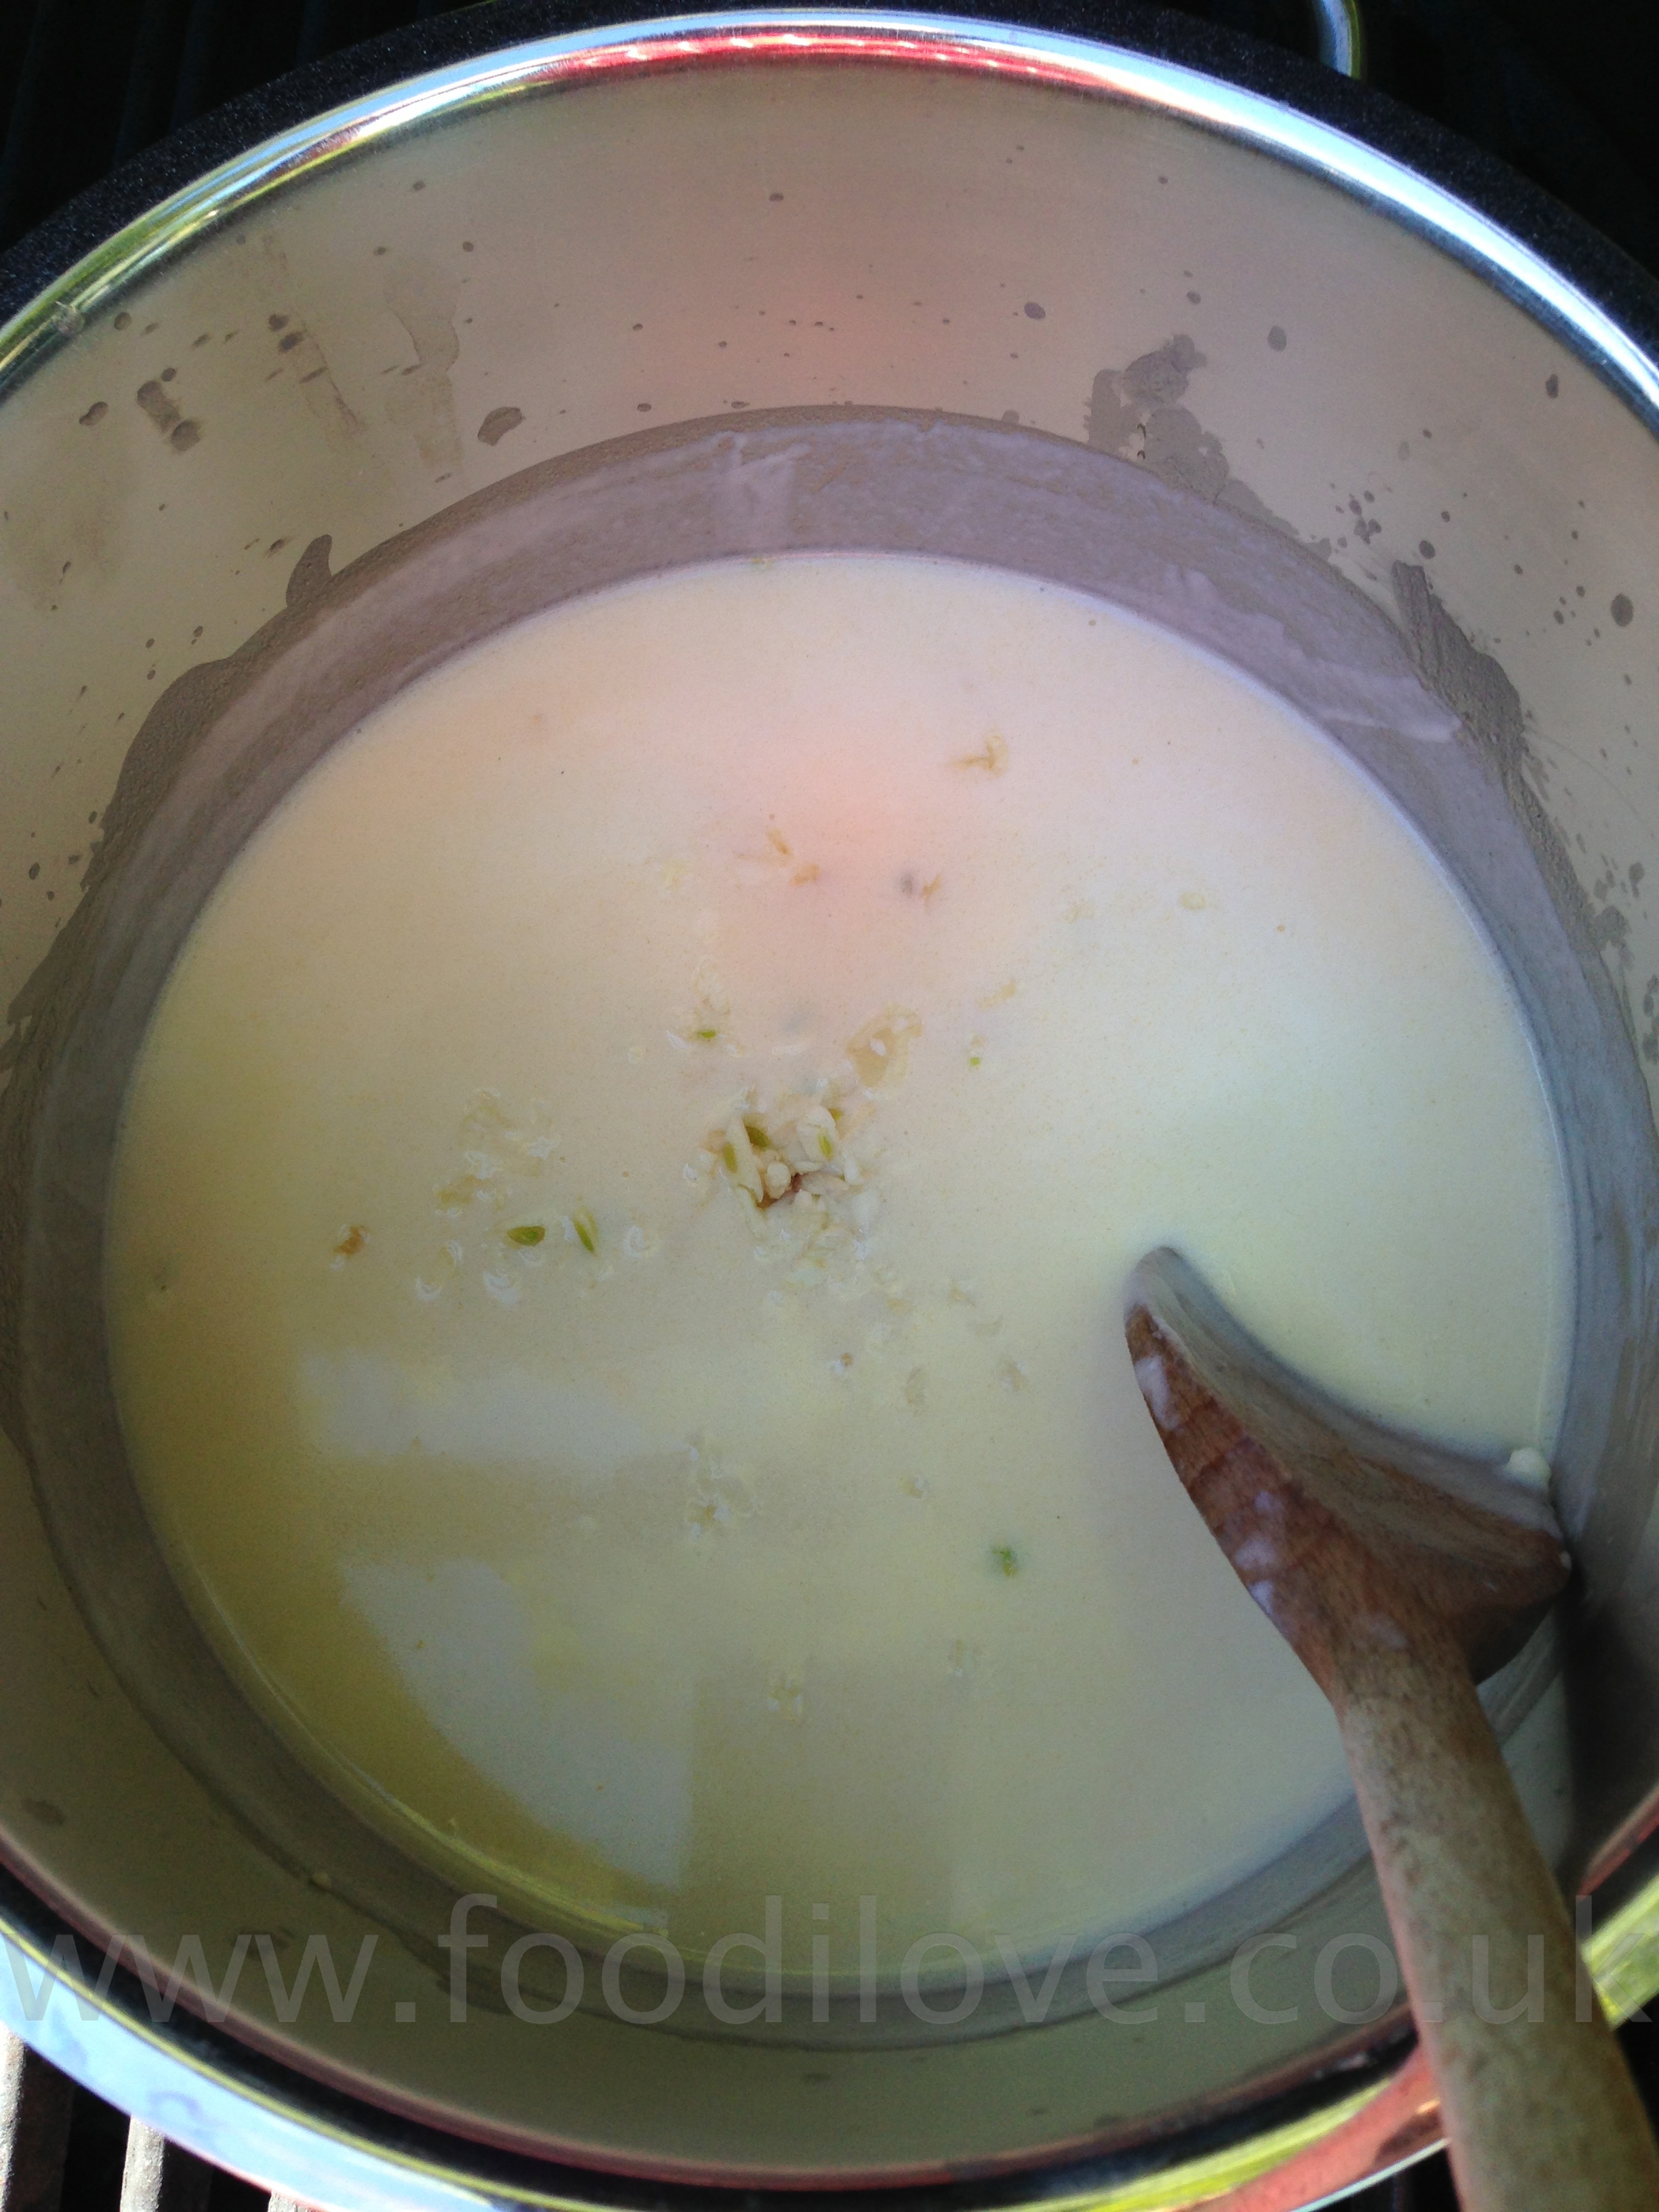
  • Add the cream and simmer for about 10 minutes. 
  • Add seasoning, garlic and set aside to be added back to the mussels later.
View fullsize IMG_4509.jpg
View fullsize IMG_4511.jpg
View fullsize IMG_4515.jpg
View fullsize IMG_4518.jpg
View fullsize IMG_4524.jpg
View fullsize IMG_4527.jpg

Method of cooking the Mussels:

  • Preheat the braai to 300°C 572°F.
  • Wash the mussels under cold running water in a sink, removing any beards and barnacles. “There's no substitute for the sea-fresh taste of fresh mussels. But don't try to cut corners. It's vital that you clean the mussels and remove the beards. The end result is well worth the labour.”
  • Place an empty saucepan (just large enough to hold the mussels) over a high heat on the braai and allow to get very hot. 
  • Pour in the mussels and a loud hissing noises will be heard, then pour in the 250ml fish stock (this will boil rapidly) and cover immediately with a lid. 
  • After about 5 minutes the mussels will open and most of the moisture should have evaporated. 
  • Reduce the heat, then add the creamy garlic sauce to the saucepan and cook for a further 5 minutes.
View fullsize IMG_4533.jpg
View fullsize IMG_4537.jpg
View fullsize IMG_4536.jpg
View fullsize IMG_4540.jpg

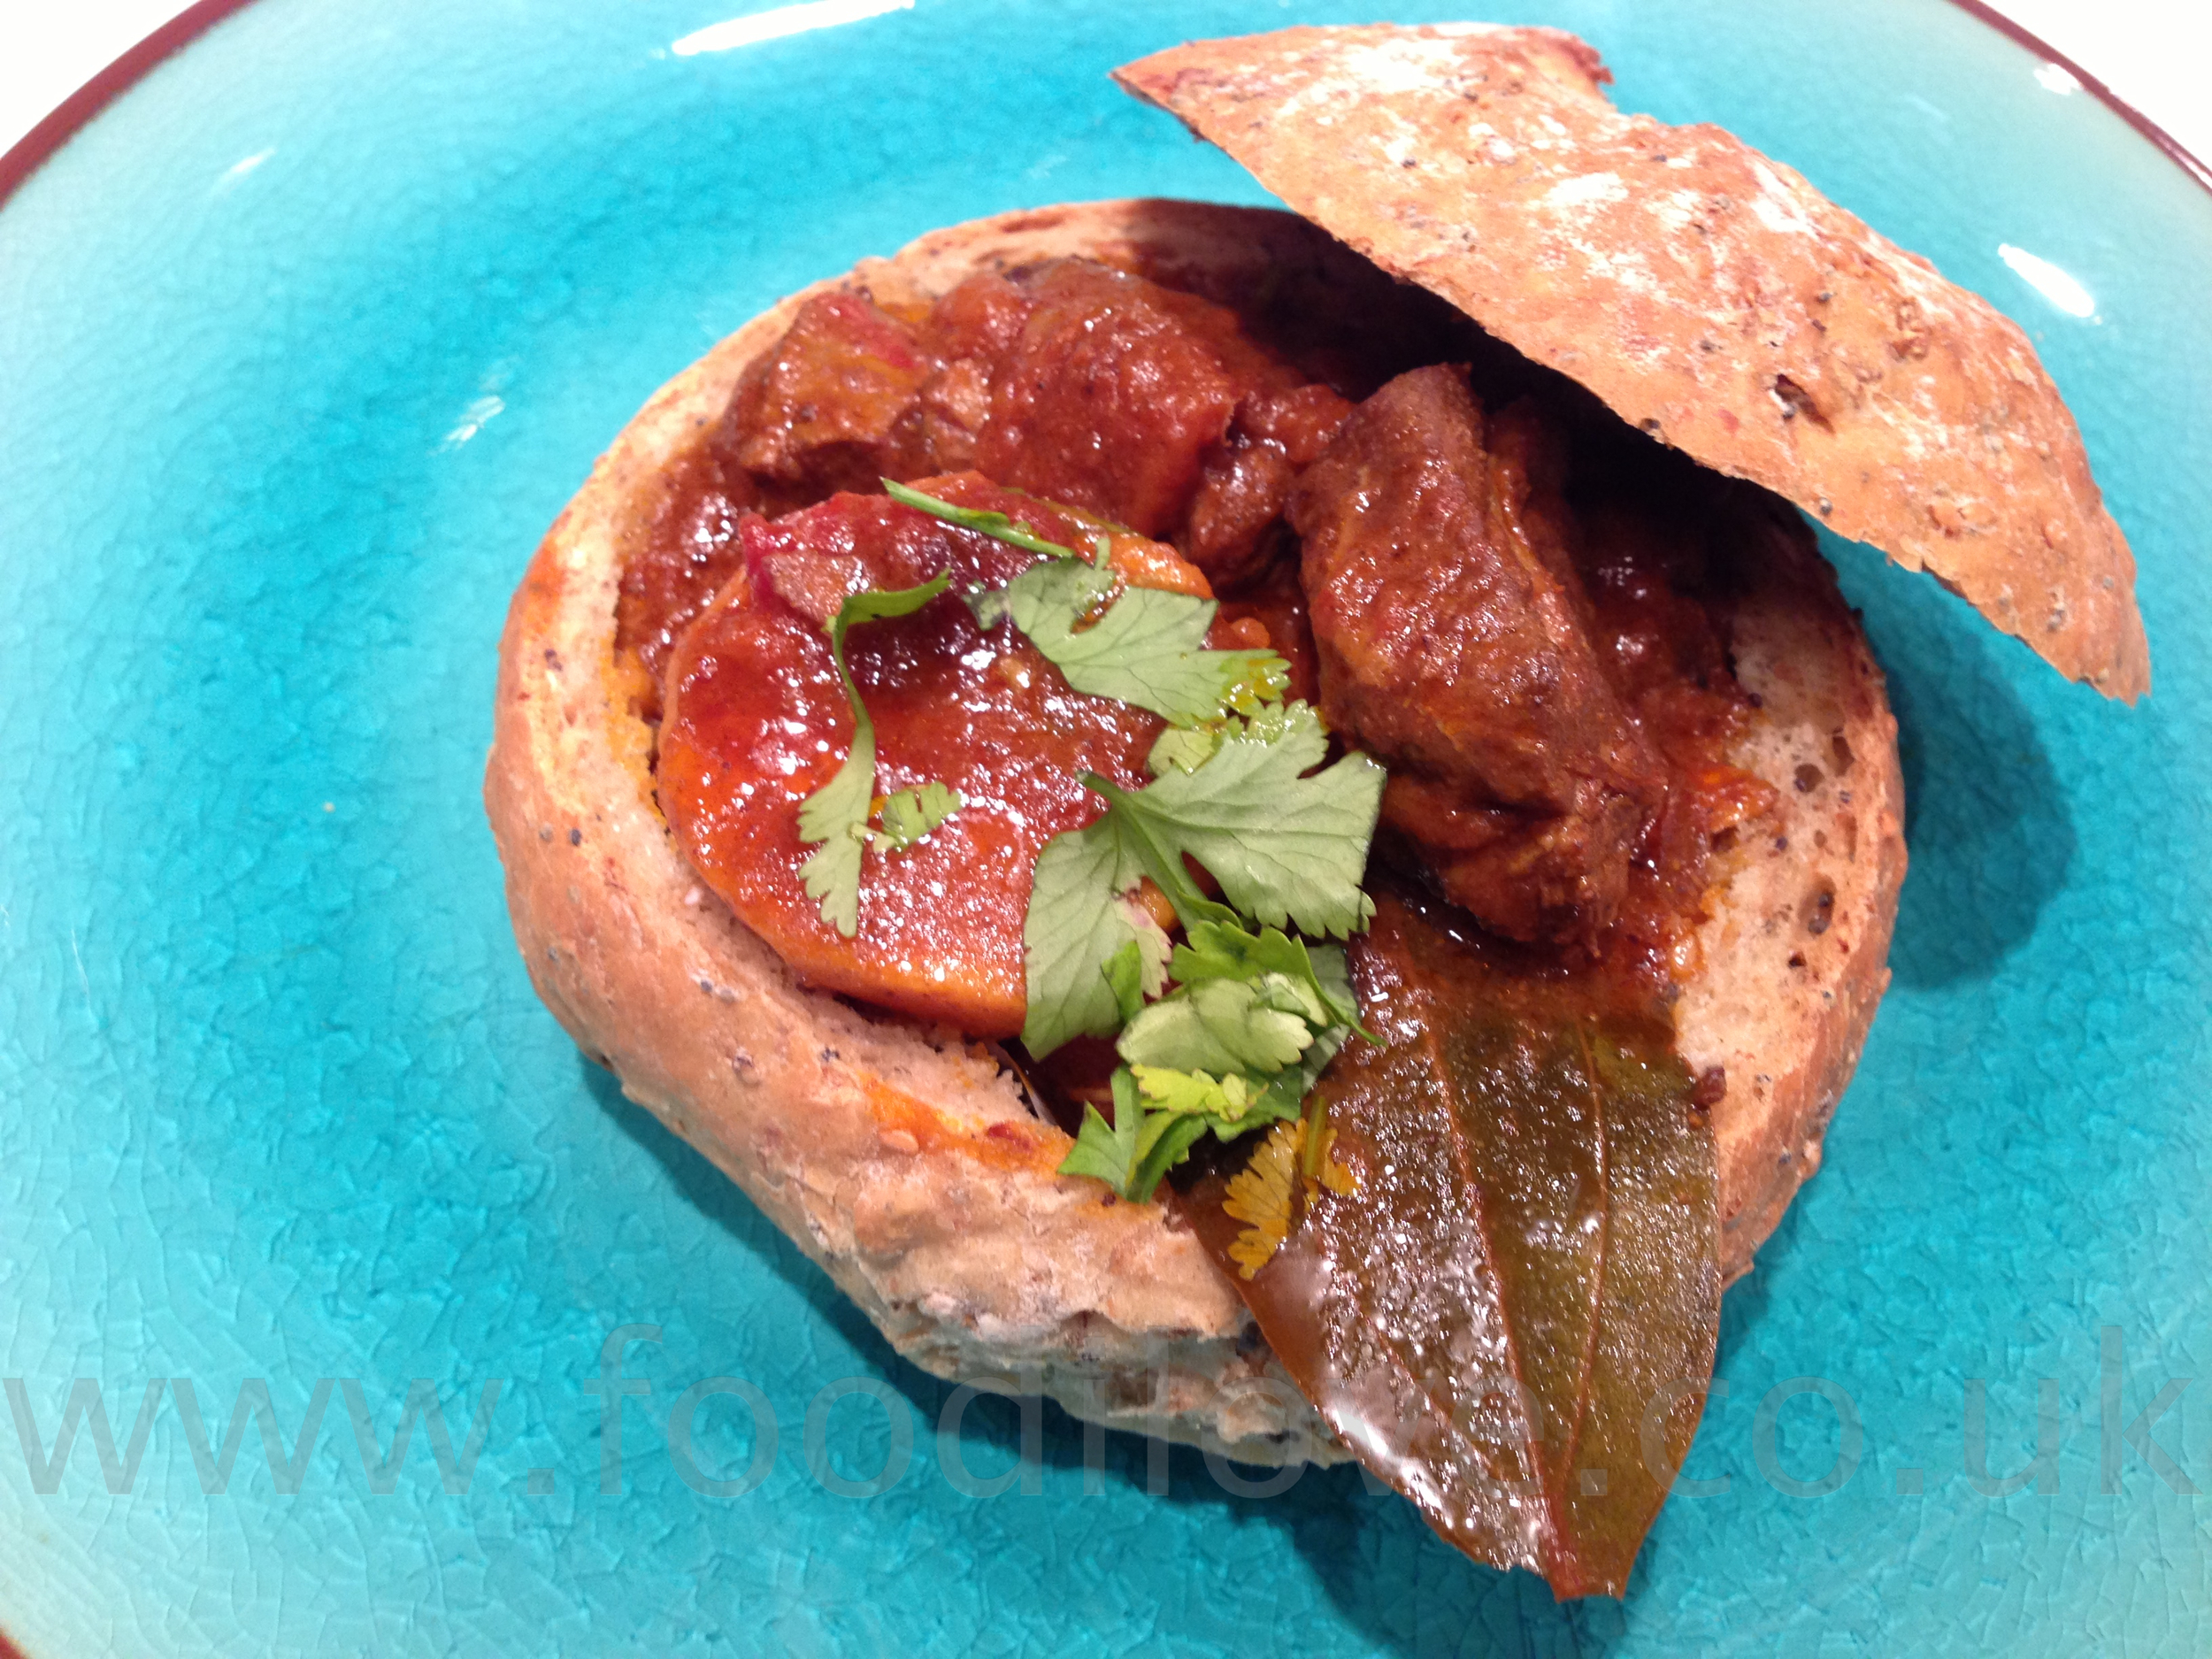
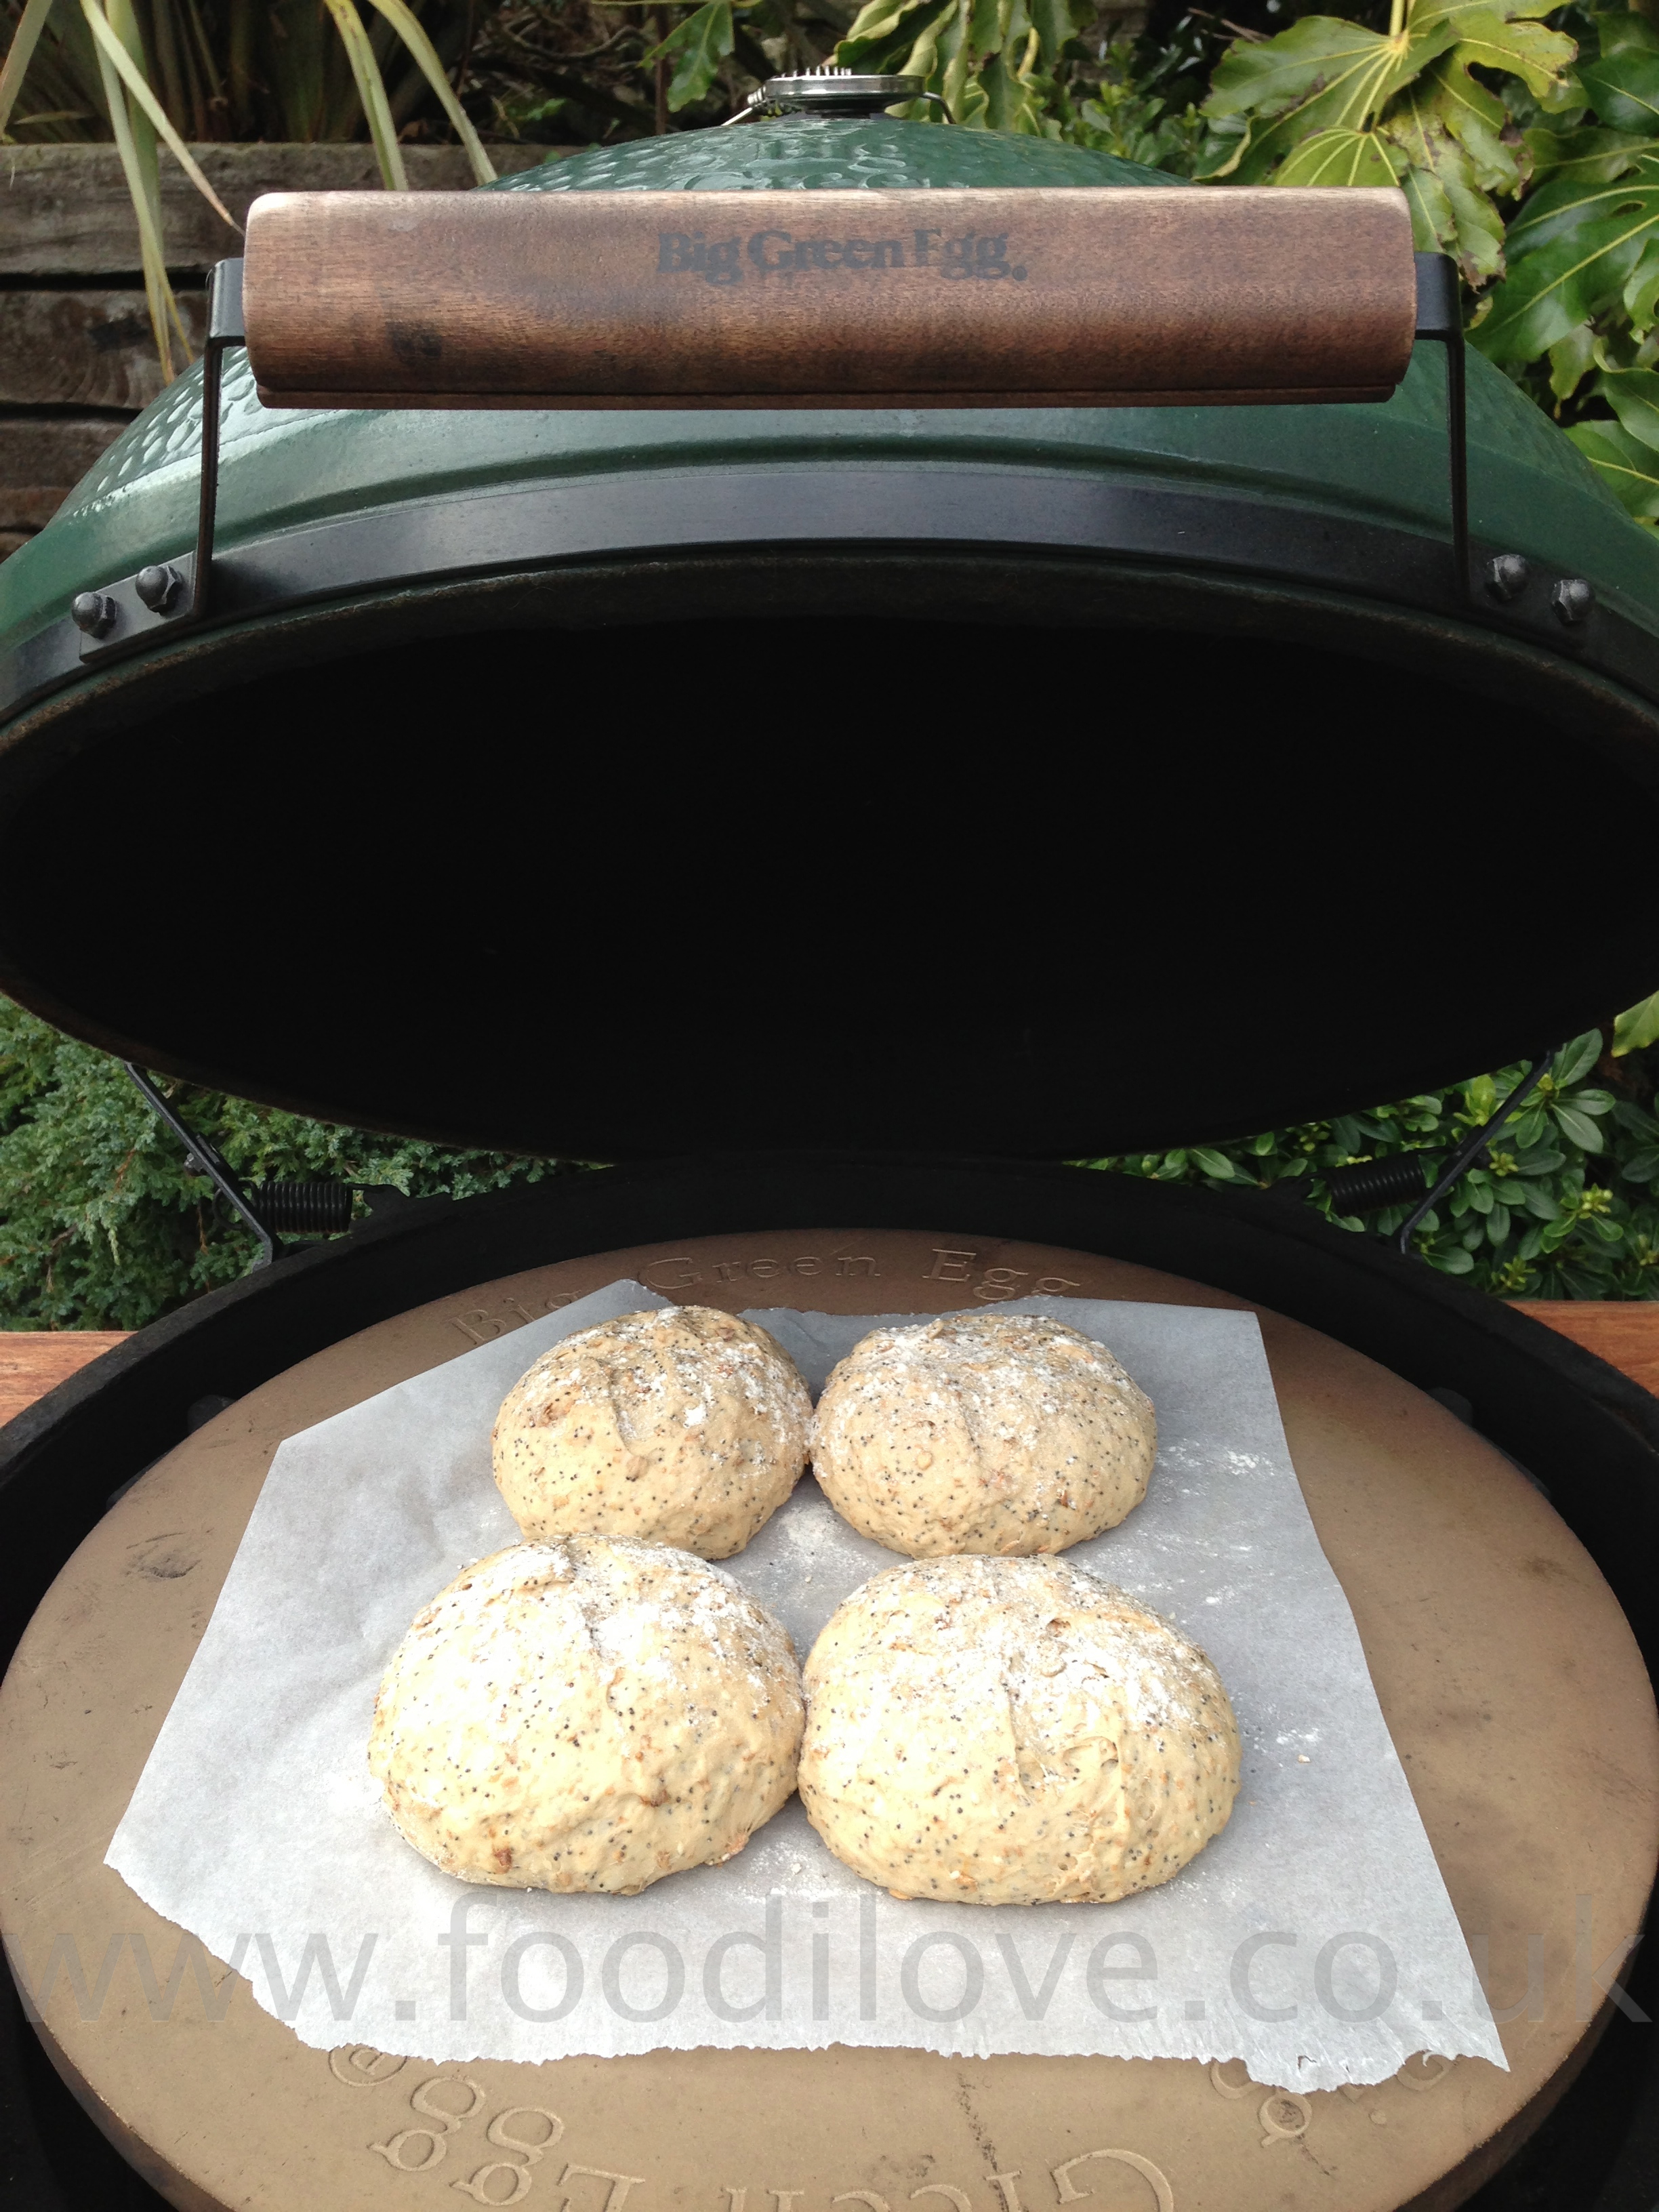
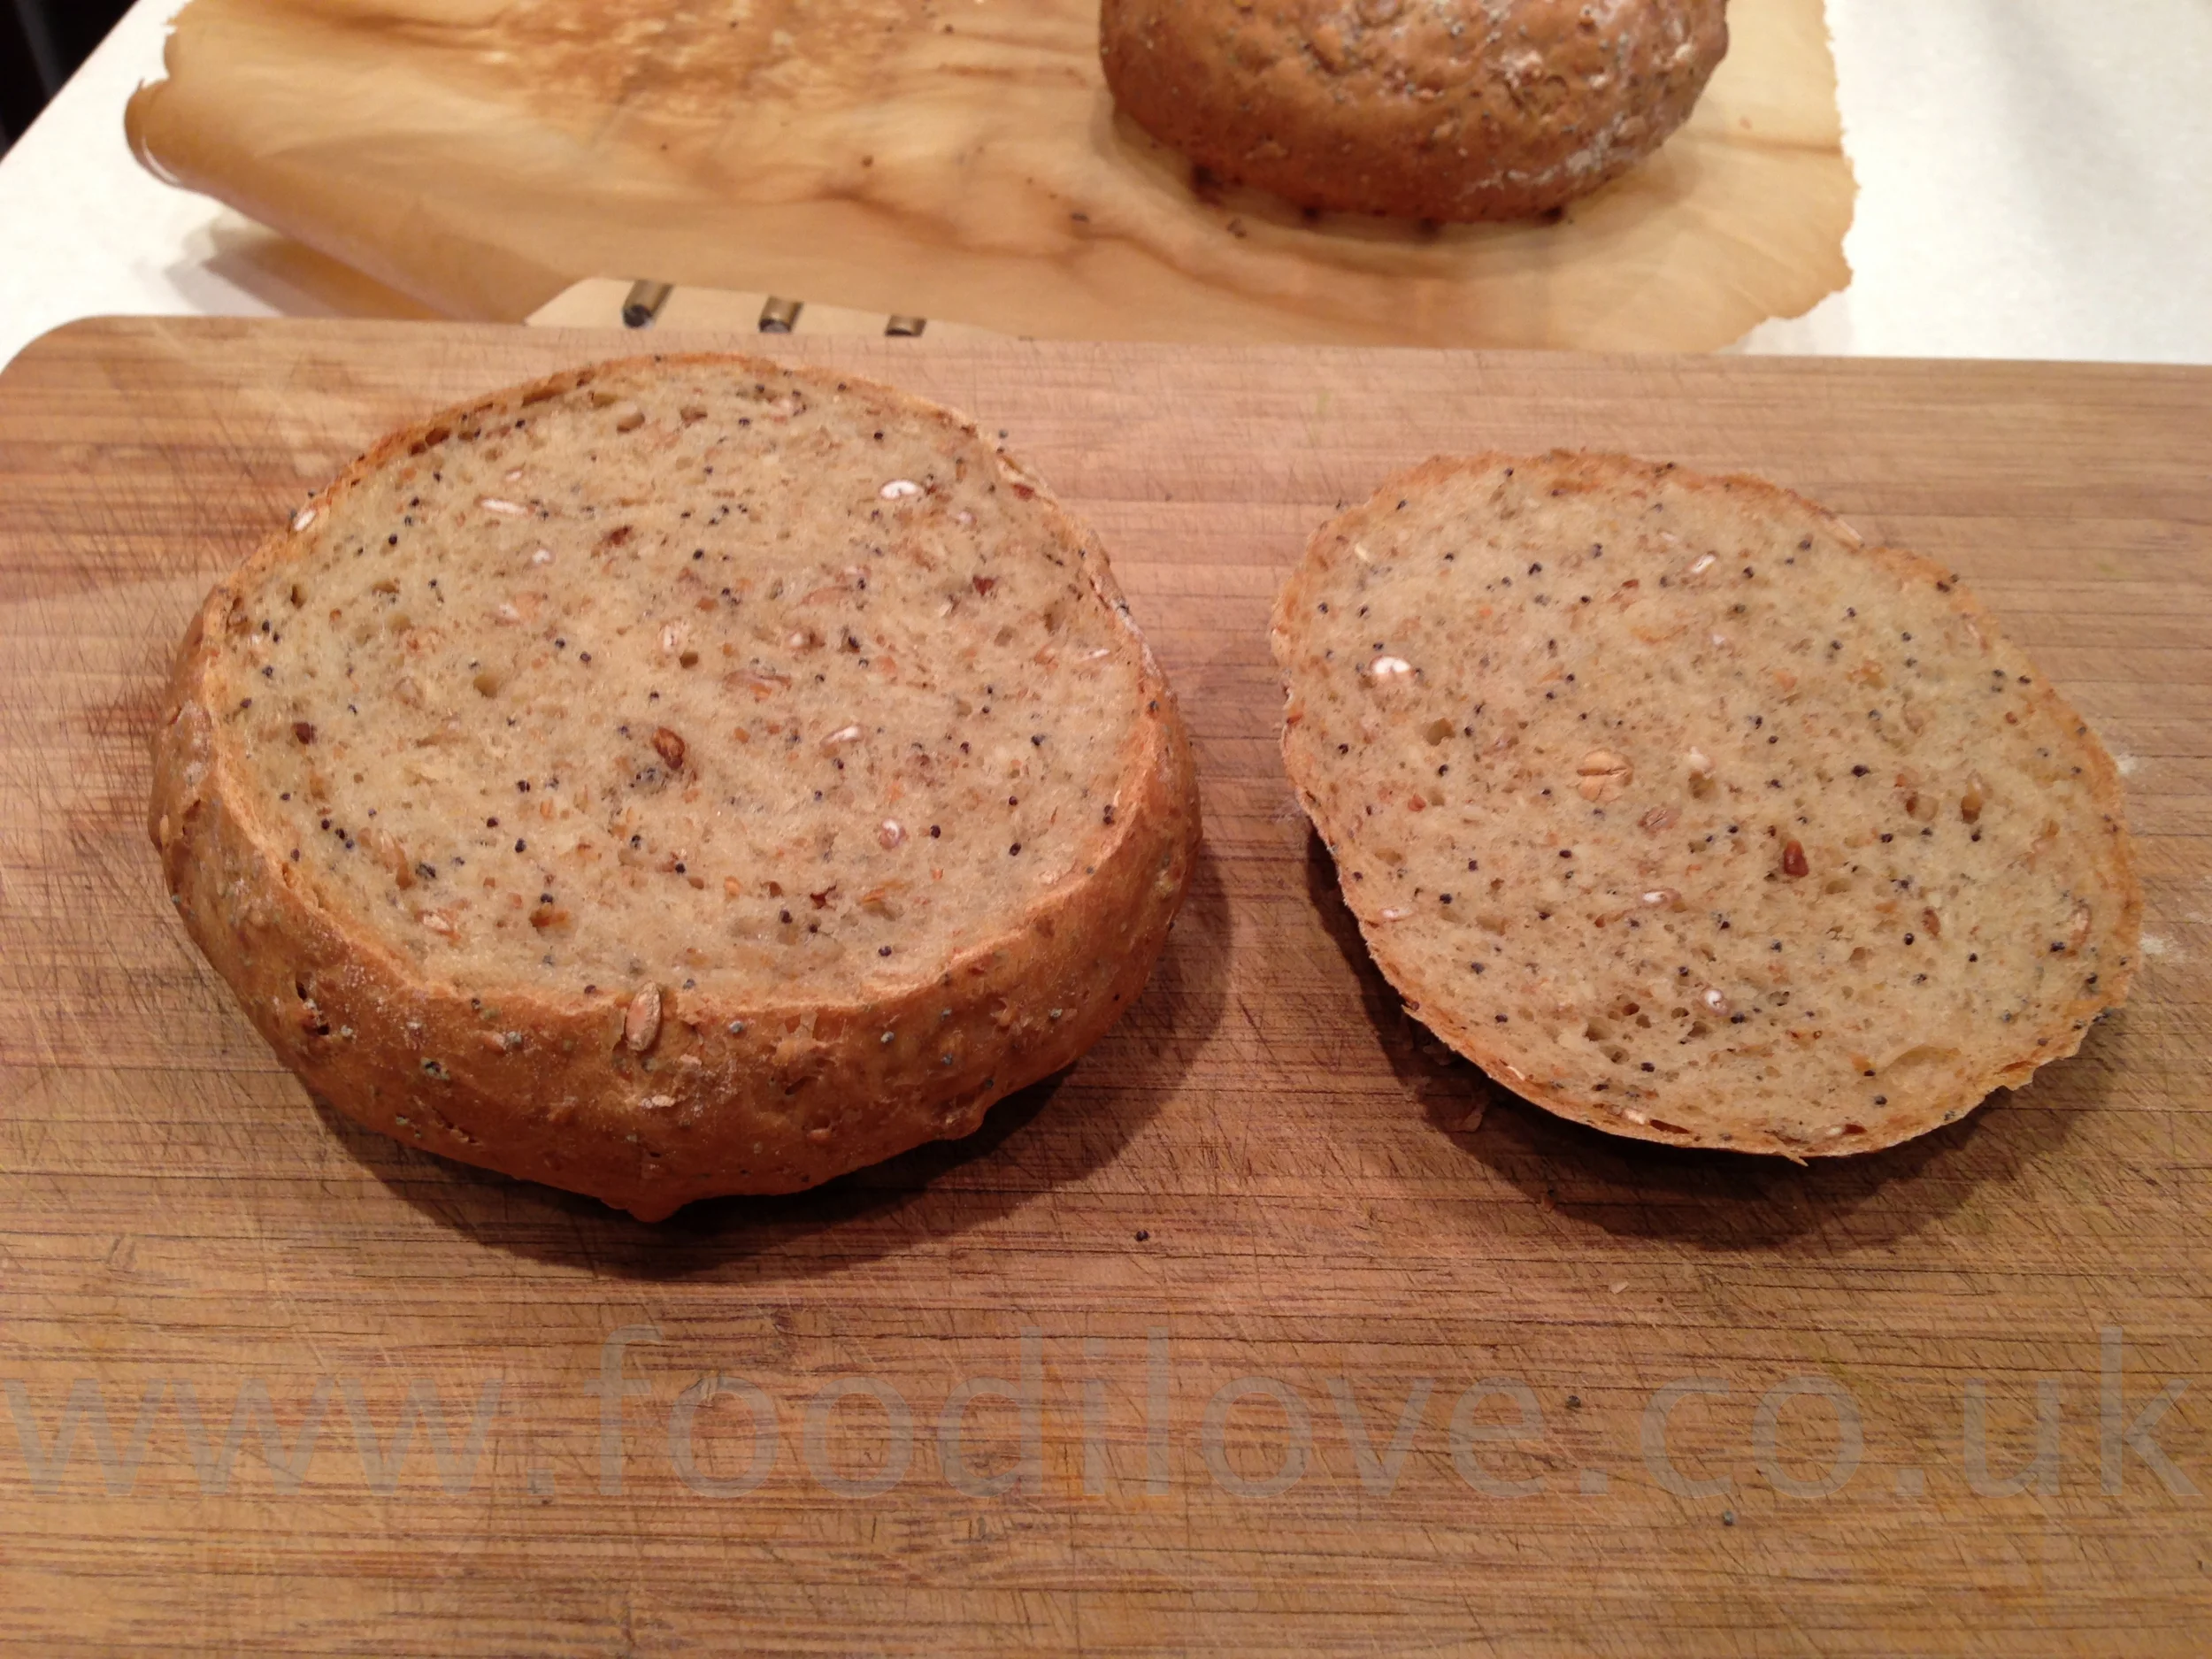
Remove the mussels from the saucepan with a slotted spoon, discarding any that have not opened properly. Place in a serving bowl and pour over the creamy garlic sauce. Garnish with the leeks, carrots and chives. All that is left to do is serve with some freshly made bread (see my recipe here) or some shop bought French bread if you are short of time and serve immediately.

View fullsize IMG_4550.jpg
View fullsize IMG_4551.jpg

It smelt absolutely fantastic, unfortunately as I’m allergic to shell fish I could not try them but the look on Jans’ face said everything :-) . Enjoy, this dish just looks fantastic and it only takes a few minutes to make. As usual please leave any thoughts or suggestions in the comments area below.

Until next week, 

Au revoir

​

May 17, 2013 /Larry Susman
Big Green Egg, Braai, Bread, Fish, Recipes
Comment
Bunny
Chow on the Braai/BigGreenEgg

Bunny Chow on the Braai!

February 15, 2013 by Larry Susman in Baking, Beef, Big Green Egg, Braai, Bread, Curries, Hot & Spicy, Meat, Recipes

Bunny Chow on the Braai/BigGreenEgg

This week I'm going to be making a very Durban dish “Bunny Chow” this is comprising of two things that I have made previously to give one very unique dish. The origins of this dish are disputed but one of them goes as follows (which also provides an etymology for bunny chow) it is that a restaurant run by people known as Banias (an Indian caste) first created the scooped-out bread and curry dish at a restaurant-cum-cafe called Kapitan's on the corner of Victoria and Albert streets in Durban. The food was a means to serve take-aways to excluded people. During the apartheid regime, Indians were not allowed in certain shops and cafes and so the shop owners found a way of serving the people through back windows, etc. This was an easy and effective way to serve the workers. The traditional Indian meal was roti and beans, however rotis tended to fall apart as a take-away item. So they cut out the centre portion of the bread and filled it with curry and capped the filling with the portion that was cut out.

This recipe is great, made form left over curry the next day or freeze and use whenever you need a quick snack. If you haven’t got time you don’t need to make the bread yourself but if you can its worth it, take my word for it. However if you cook this from scratch you will not regret it!

PREP:15 MINS – COOK TIME: 2hrs

Ingredients for making Curry :

  1. 1 x pack of werners Curry spices, from Mild to Ex-Hot
  2. 500g Meat, cubed to bite size
  3. 2 x medium potatoes, peeled and chopped to 2-4 cm (I've added sweet potatoes as well)
  4. 3 x medium tomatoes chopped or tin if you're lazy like me
  5. 3 x large finely chopped Garlic cloves
  6. 2-3 tsp chopped fresh Ginger (i like a bit more personally)
  7. 1 x chopped red onion
  8. 1 x red pepper chopped
  9. Handful of chopper coriander leaves

Method for making Curry:

  • Put the meat into a bowl and add the dry Powdered Spices from the pack to the meat and stir with a wooden spoon until all the meat is coated and there is no loose power left. Place aside and leave to marinate for a short while.
  • Add all the Non-Powdered spices to a tablespoon of olive / vegetable oil in a large saucepan or potjie (dutch Oven) over a medium heat and fry off the spices until the aromas from the spices start to smell wonderful.
  • Add onions and peppers.
  • Add the meat and lightly brown for a few minutes. Sirt constantly to stop the meat from sticking.
  • Add the Garlic and Ginger.
  • Add the potatoes, tomatoes and then pour some water over the whole lot until it just covers all the ingredients.
  • Leave to simmer for 1-3 hours at 200°C (400°F) if in a oven or on low heat if on a cooker plate, as i said the longer the better.
  • Depending on how you like your curry, simmer the water until it evaporates away to the thickness of gravy that you prefer.

PREP:15 MINS – PROVE 2-4HRS – COOK TIME: 25mins

Ingredients for the Brown Rolls: Makes 4 large rolls

  1. 500 g Mixed Grain Bread Flower flour if you can the Wessex Mill was fantastic
  2. 2 teaspoons of dried yeast or 15g or fresh yeast
  3. 320 ml of lukewarm water  
  4. 1.5 tsp sugar
  5. 10g or 11/2 teaspoon of salt
  6. 2.5 tbsp of olive oil
  7. Flower (to sprinkle on the cooking surface so that it does not stick)

Method for making the Bread

  • Pre Heat the Braai to 250°C (480°F)
  • Mix the sugar and yeast into small bowl and stirring in 90 ml of the water. Leave it in a draft free spot to activate. If it doesn't start bubble and ferment in about five minutes, then you are going to have to start again as this is an important part process. Your yeast must be fresh and active as this is what is going to make your dough rise.
  • Then mix the flower and salt in a bowl or food processor fitted with a plastic blades, do it by hand it's a lot more fun. Add the olive oil and the remaining water to the flour as well as the balance of the yeast mixture and start to stir until it makes a loose crumbly mix, then roll into a ball and empty it onto flat surface covered with flour. Now you are going to have to knead for at least eight to ten minutes, this helps the bread to start to. If you need to add a little more flour or a few drops of water do so as necessary. The final dough should not be sticky but is dry to the touch.
  • Next rub the inside of a large bowl with some olive oil, place you dough mix into it and then roll the ball around the bowl and coat with the olive oil. Then cut small crossing the top of the dough with sharp knife and cover with a teacloth or put it in a large plastic bag with space to grow and leave in a draft free area for about 1-1 1/2 hours until the dough has doubled in size. Once it has risen quite substantially, to double its original size, you will need to punch it down to reform it to the size it was originally. You'll notice that it seems to be very light and airy (it will be slightly heavier with brown bread) and if it's like this then you're onto a winner.
  • At this stage you can now store it for up to 4 hours in the fridge to use later, just remember to bring it back to room temperature before you start to use it. Cut your dough into 4 and roll into balls, then using the palm of your hand you are going to kneed the dough for a second time for a minuet or two. Then reshape and cover with a teacloth or put it in a large plastic bag with space to grow and leave in a draft free area for about another two hours to prove again. I suggest leaving it a t this stage on the backing tray or bread peel that you will use to put it in the braai to cook with. This is so that you don’t have to pick the dough up again which will cause you to know the air out of it and this is where it will sink and you will end up with a poorly risen loaf of bread.
  • Place it in the braai/BigGreeEgg and close the lid, whatever you do don’t be tempted to open the lid for the first 10 mins of the bake. This will only cause the bread to deflate and sink not only that it also stops the yeast from being baked off. If you don’t allow the heat to kill the yeast you will end up with a severe case of indigestion as the bread will still be fermenting in your chest after you have eaten it.
  • After about 20 mins or so open the lid up and carefully lift up the bread, turn it on its side and give it a tap with your knuckle. If it sounds like a drum then its cooked if not place it back down and give it another couple of mins to bake.

Once cooked place on a rack to cool for 20 mins at least now get the curry you prepared earlier. 

View fullsize IMG_3781.jpg
View fullsize IMG_3761.jpg
View fullsize IMG_3749.jpg
View fullsize IMG_3751.jpg

Once cooled cut the top of the roll off but don’t discard it as this will form the lid of your bunny chow. Take the bottom and scrape all the bread out of it so that you create a bread bowl, this is where you will but the Durban Curry place to top on it and serve to you hungry friends and family.

View fullsize IMG_3789.jpg
View fullsize IMG_3785.jpg
View fullsize IMG_4188.jpg
View fullsize IMG_3802.jpg

Please feel free to leave your comments below as I love to hear what you think about my cooking and make suggestions what you would like to see me cook in future.

February 15, 2013 /Larry Susman
Baking, Beef, Big Green Egg, Braai, Bread, Curries, Hot & Spicy, Meat, Recipes
Comment

© 2017 Susmans Best Beef Biltong Co Ltd